except for a bucket of grease.
First of all, realize there’s 4 parts to the “securing system” on a VW front door – the inside operating lever (the thing you pull to open the door from the inside), the outside operating lever (the outer handle), the lock (the thing the key goes in), and the latch itself, which is inside the front door. 99% of problems – that’s right, nearly all problems related to door shutting and locking problems are caused by one thing – the latch inside the door itself.
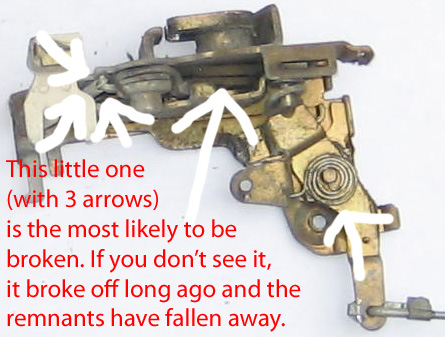
Here’s a pic of the front passenger door latch from a 1979 VW bus …
The arrows point to all the springs in the latch.
And here’s the latch from an earlier bay …
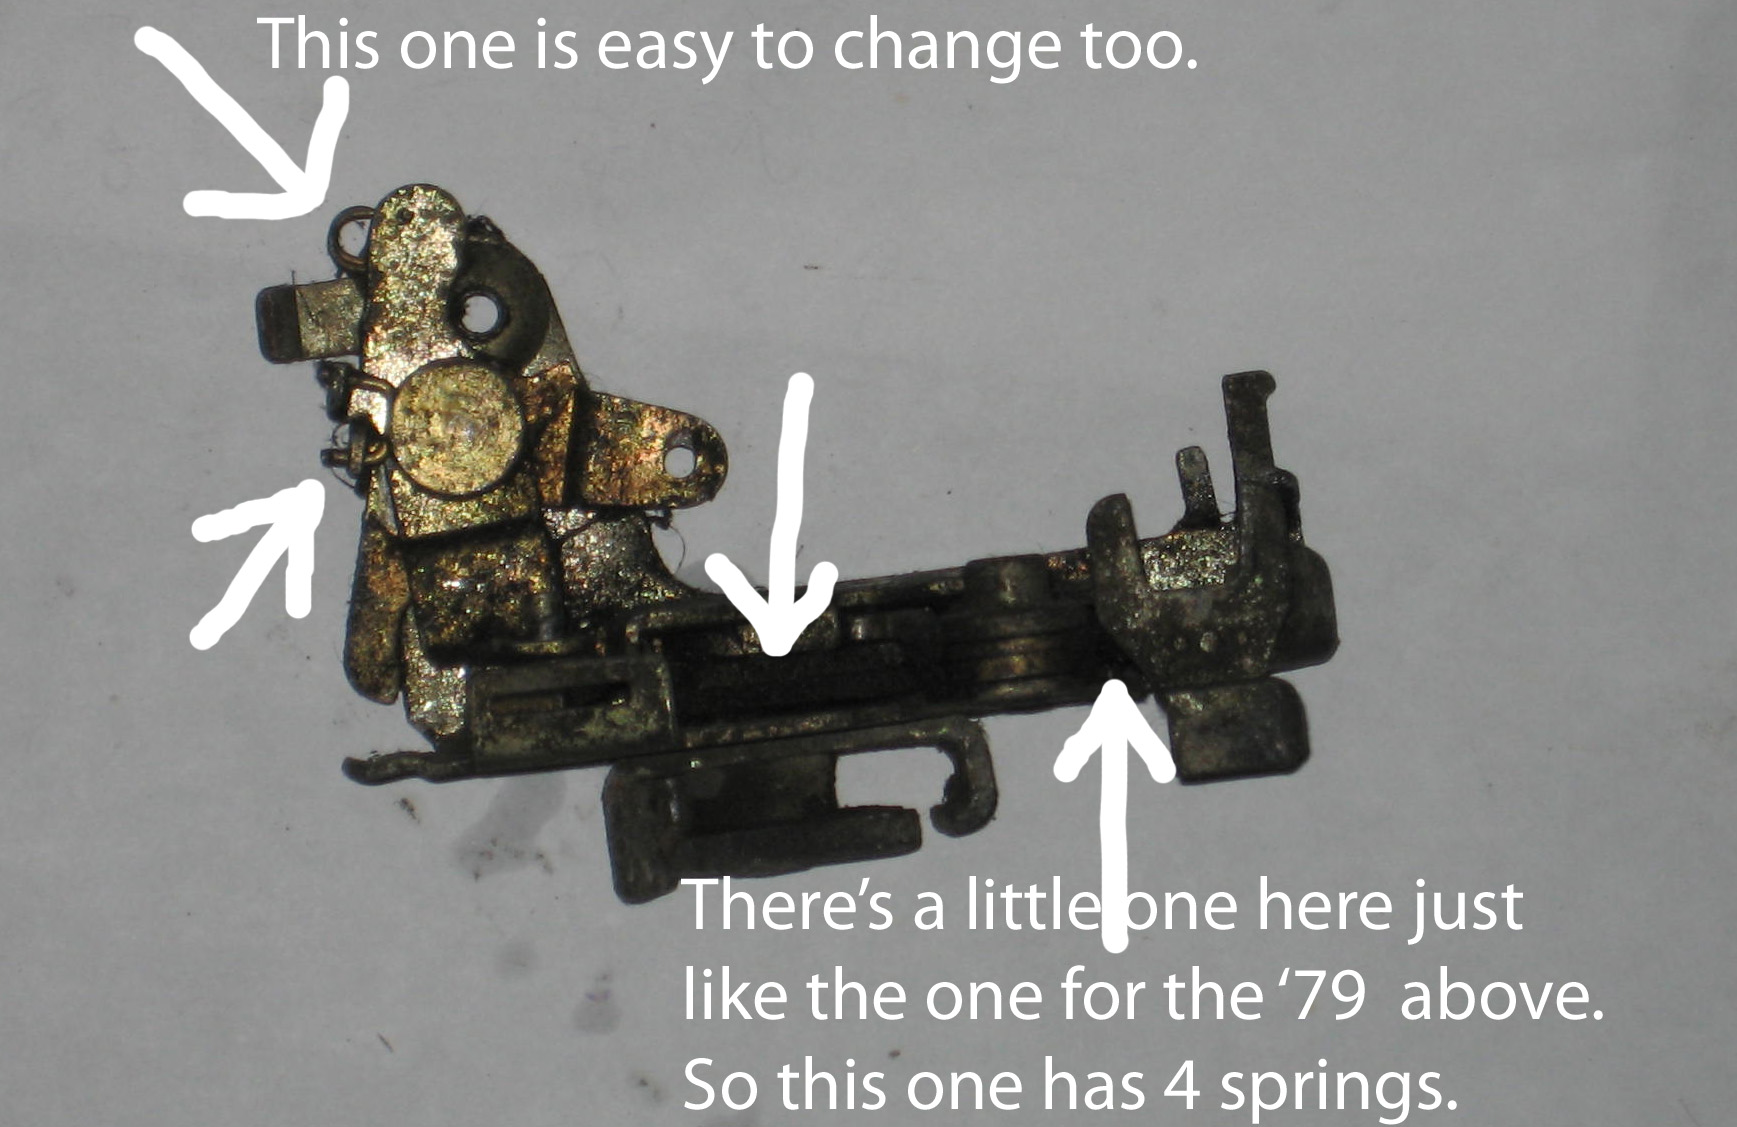
It’s got 4 springs. .That’s a lotta springs. There’s another one on the outer handle, and there’s about ten on the lock itself. In the lock, all but one are so small that if you sneeze on one of the 9 out of the ten, you’ll probably never see it again. Springs are made of special steel and have grain just like wood. And just like when you bend a piece of green wood, when you bend metal, the outside of the curve stretches and weakens and the inside compresses. But a the material a spring is made of is stronger than wood and more uniform in it’s internal structure. A spring should last forever but what happens is when a spring get’s rusty – just a little bit, particularly on the outside of the curve, since it’s already stretched and thus stressed – it becomes much easier for it to break. The only reason for a spring to break on the latch is lack of protection from rust and that protection is petroleum products – grease and oil.
This is the lock cylinder. The protrusions on seen in the photo are the actual tumblers. They engage with 2 grooves in the the handle so it won’t turn but when the key is installed, the tumblers are pulled flush and the lock cylinder can rotate and thus unlock
the door. If it won’t turn easy, try filing the offending tumbler(s) shorter. A bench grinder is much faster. Taking the one or two real recalcitrant ones that always seem to be present may be necessary for easy rotation.
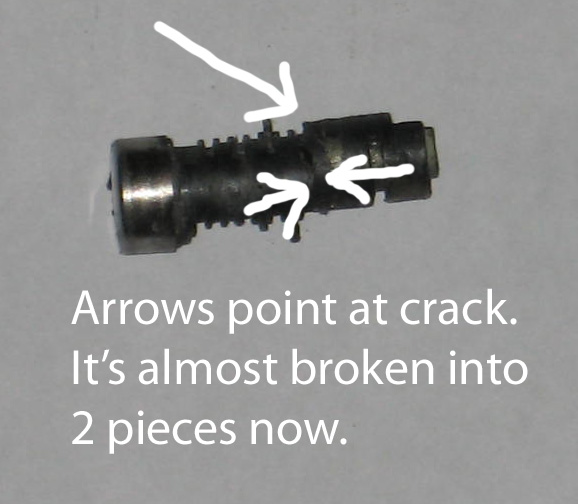
It’s broken.
This is the lock cylinder. The protrusions seen in the photo are the actual tumblers. They engage with 2 grooves in the handle
so the cylinder cannot turn but when the key is installed, the tumblers are pulled flush and the lock cylinder can rotate and thus unlock the door. Take this out of the handle (small Phillips screw at inner end of tumbler and it slides out. This screw also secures a small lever – your’s may be missing, look for remnant under screw.). Lubricate and re-install with key and test. If it won’t turn easy, try filing the offending tumbler(s) shorter. A bench grinder is much faster. Taking the one or two real recalcitrant ones that always seem to be present may be necessary for easy rotation. Don’t loose the tiny springs that act on the tumblers themselves but if you do remove tumblers permanently, remove the springs so they can’t fall out later and prevent free rotation of the lock cylinder.
Make sure you take a good look at the lever on the inner end of the cylinder before you remove it so you know which way it’s orientated (cell phone pic).
And the only reason it’s broken is because of a lack of this …
;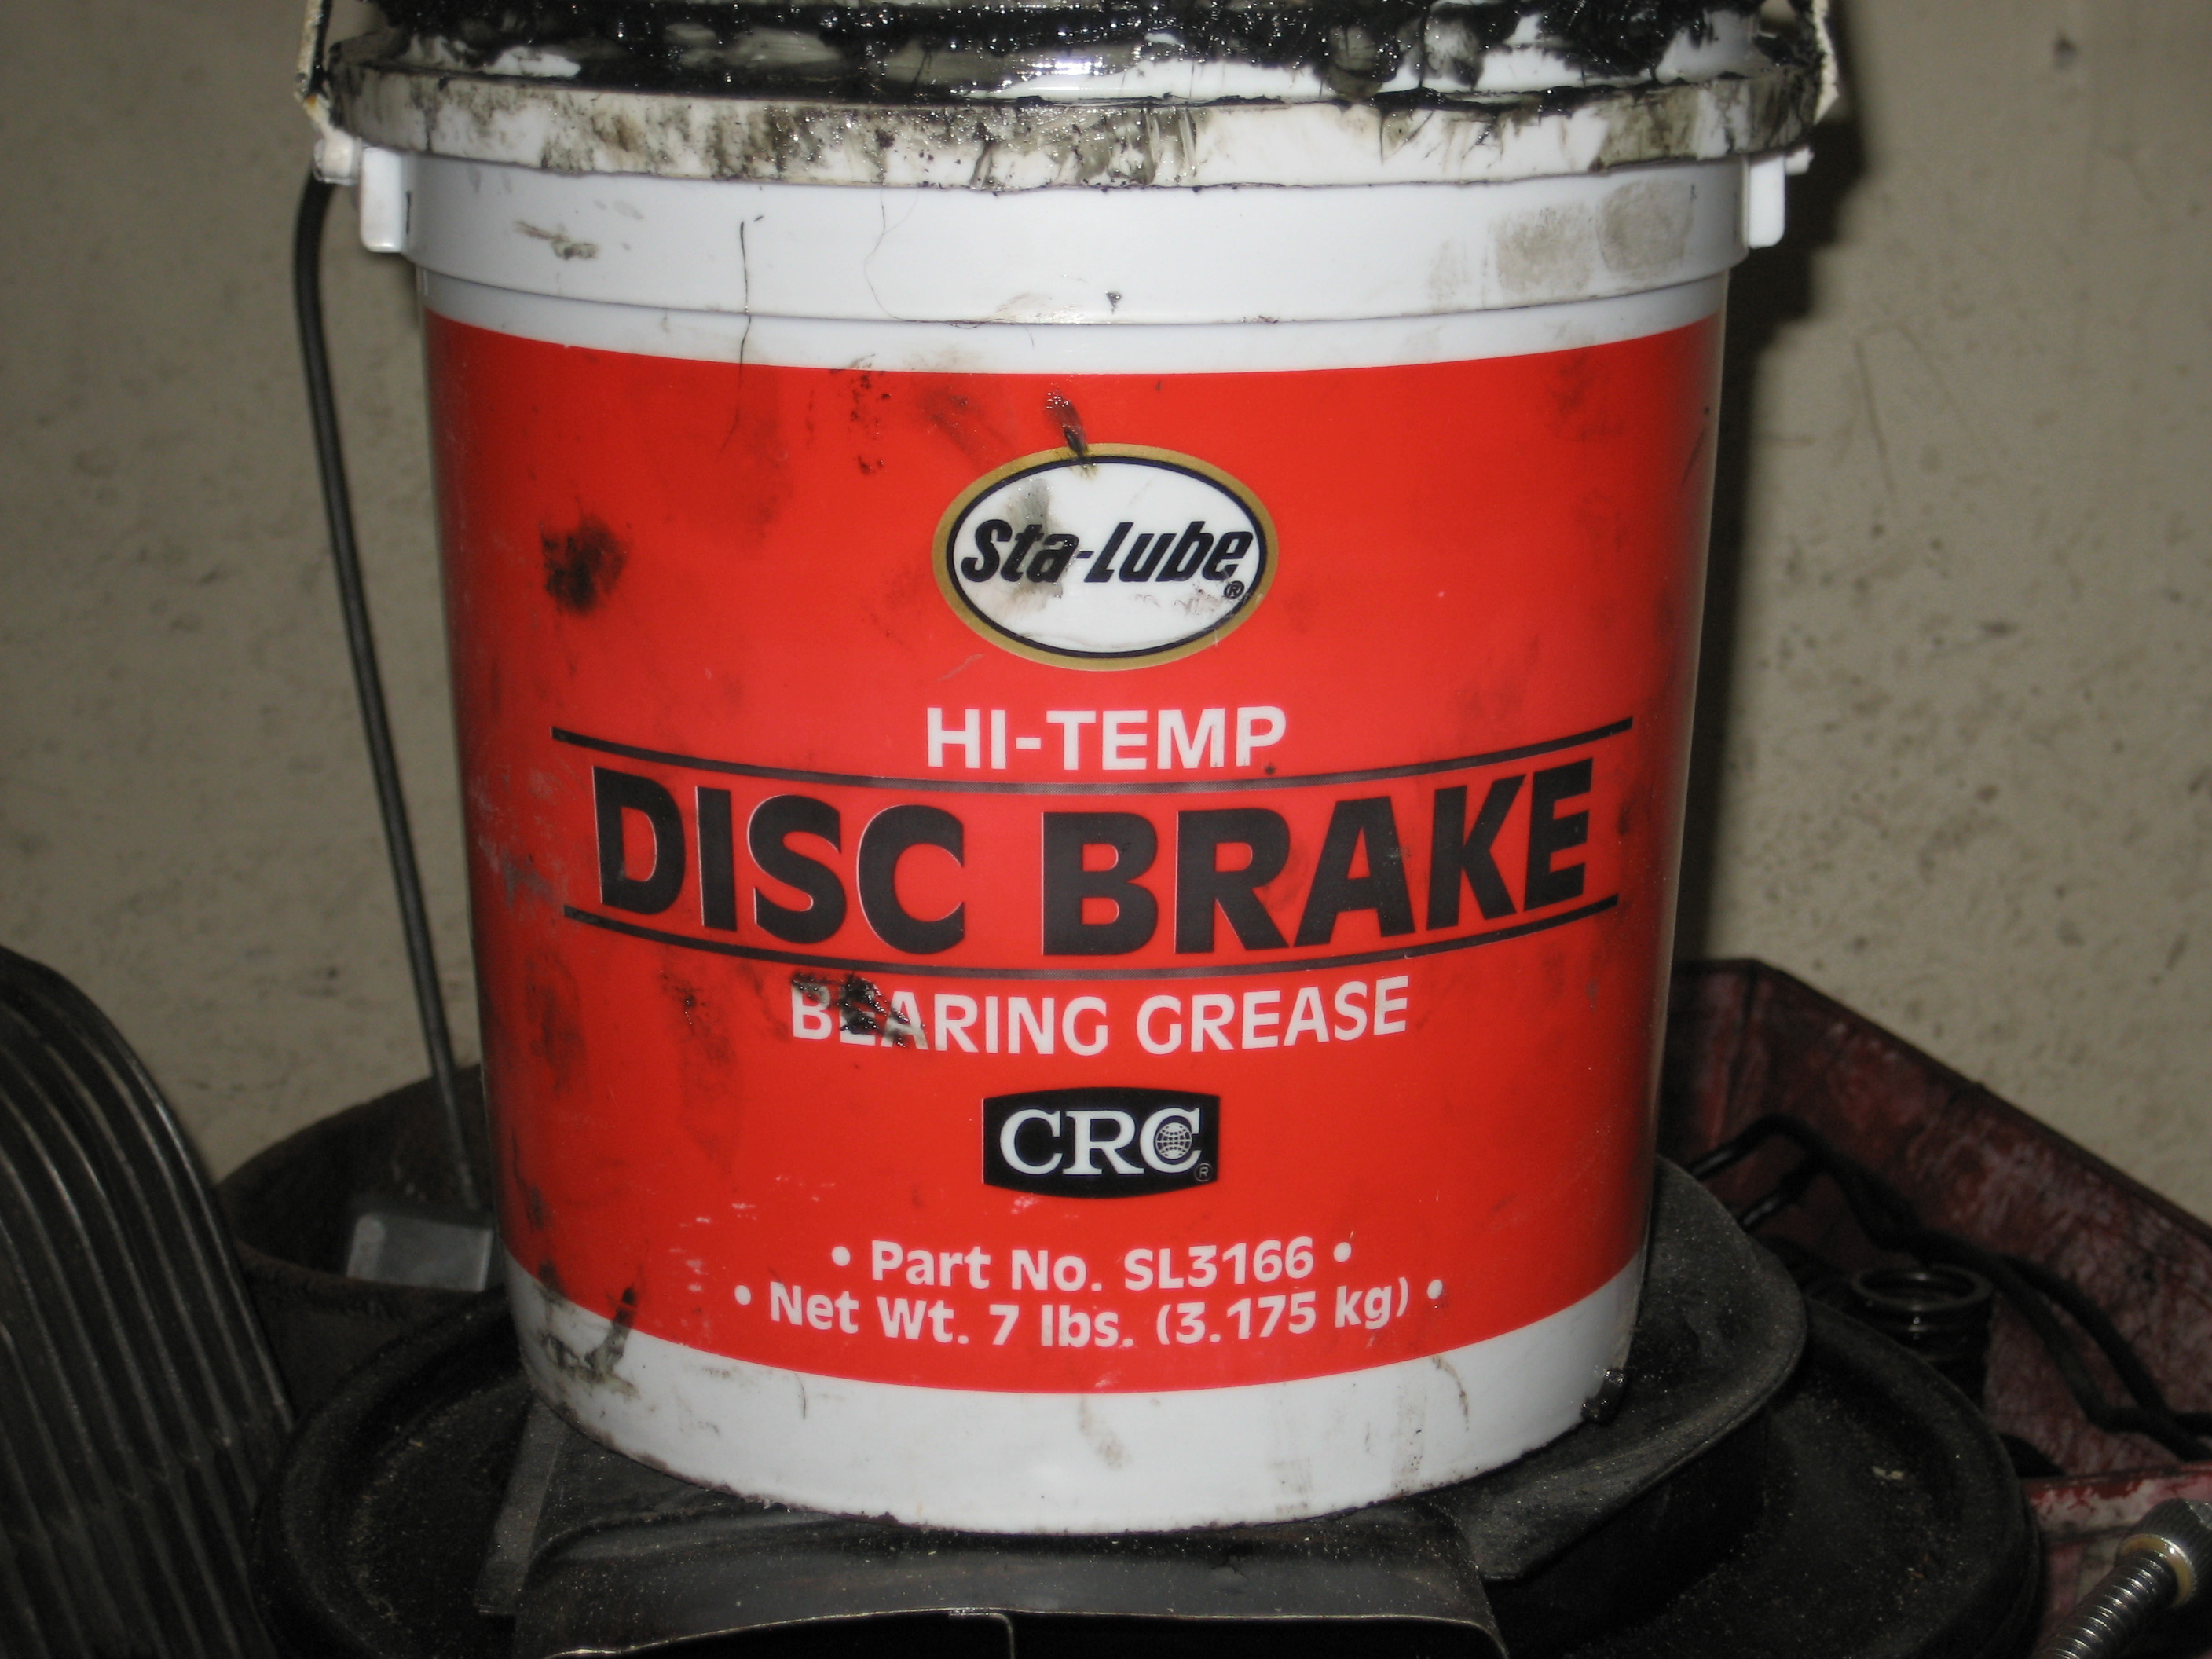
Grease and oil protect the springs and prevent them from breaking (read rust). Every single moving part on a new VW has some kind of lubricant on it. Including the door latches. After 30, 40 or 50 years since the car was manufactured, this grease is long gone. And grease is what keeps springs from breaking. The latch is really a series of levers and the presence of the springs are necessary to act upon these several levers to assist them in moving with ease. Without lubrication, the springs can break (rust), the levers are hard to move and the springs (the ones that aren’t broken) have a hard time assisting them in moving, and it gets too hard for the primary lever – THE KEY – to generate sufficient leverage on these several levers in the latch and what happens is either the key breaks or the or the tumbler breaks or … something fails … and makes it impossible to lock the door.
If you want you’re locks to work right – like NEW, actually – remove the latches, and make sure no springs are broken. The only ones you can replace is the small one (see pic) that’s about the same size as the spring in a writing pen and the other shown in the pic of the early bay latch but you’ll need another latch to remove them from to fix yours unless you can find a real one new or something not original actually works. If it does work, the levers it acts upon should snap back and forth from one position to another. When the spring is right, the action it performs should result in snappy, instantaneous response from the mechanism that it actually acts upon.
Of course, you’ll need to grease the entire assembly, then oil it, in that order. Grease won’t stick to oil but oil makes grease flow. Make sure the springs get a good dose. Spray the whole thing with WD-40 when done. Let it drain unless you’d like to spread the rust fighting benefits of oil runoff to the insides of your doors. Operate the latch by hand in your hand, not installed, in every possible position – lock it, unlock it, open it from the inside and outside connection, etc – every possible combination of operation. You’ll also need to take the small screw at the end of the lock and slide the lock assembly out using the key as a tool to assist (leave it in and pull). Grease the lock, and the inside of the handle. Grease the moving parts of the handle too. After installation, if the inside latch won’t open it, try shortening the connection rod by bending it a bit (Yes, you bend it. VW had a special tool for this but whatever works. It’s in Bentley.)
Make sure you test the every possible combination of operation before you put the door panel on. There’s a better than 50% chance you’ll have to pull the latch out again to mess with it. If you have a problem that seems do defy reality, look real closely at the operation of the latch. You my find a lever just doesn’t seem to push another lever far enough. This kind of problem can be solved by bending or even brazing a tiny bump on the pusher or the pushee to make things reach a little farther.
Operate the lock in the handle with the key and see if it turns easy. If it’s hanging up, remove the tumblers (the term tumbler is self explanatory with the lock in your hand – you’ll understand) that seem to be causing the binding and file or grind them a little at a time until you can rotate the lock easily in the handle. You can shorten or even toss a couple tumblers to make a key turn a lock that’s different from the others on the vehicle to make one key fit all, for instance – you’re customizing the lock to work with a key that fits, for instance, all the other locks in the vehicle if you had to replace a particular one with a used one from another vehicle.
After you’ve accomplished all of the above, reassemble in the door.
Your locks will work like brand new and this condition will last for at well over a decade with daily use, honest.
All done and all you needed was grease. If you did need parts, they were hopefully used and the only reason you needed them was because of a lack of petroleum products. And don’t think buying a new handle and putting it on will fix anything – it won’t. Only greasing the latch will work for any reasonable amount of time. And the key on a repro handle has a key that’s totally different than anything original, like the ignition key. If you stay original and are diligent, you could end up with one key fits all or, worst case, one for the ignition and another for all the doors.
And only an “in your hands” application of lubricants to the latching mechanism will achieve the desire result. Grease in an aerosol can will not go where it needs to go when it’s sprayed. However, if you have a type 3, go for it. It’s a lotta work removing the latches from a type 3.
Graphite? Graphite makes for good pencils but it wont’ fix a VW door latch/lock that hasn’t seen any petroleum products for 40 years.
Sliding Door
For the front latch on a bus sliding door, you can’t apply grease to the springs because the entire mechanism is completely enclosed. The only solution is to completely submerge it it oil – clean or otherwise. Let it drain for awhile after immersion. The rear one can be grease by hand.
Here’s a pic of a 74 and up bus sliding door mechanism in case your forgot how the spring or the rod leading off the spring is oriented …
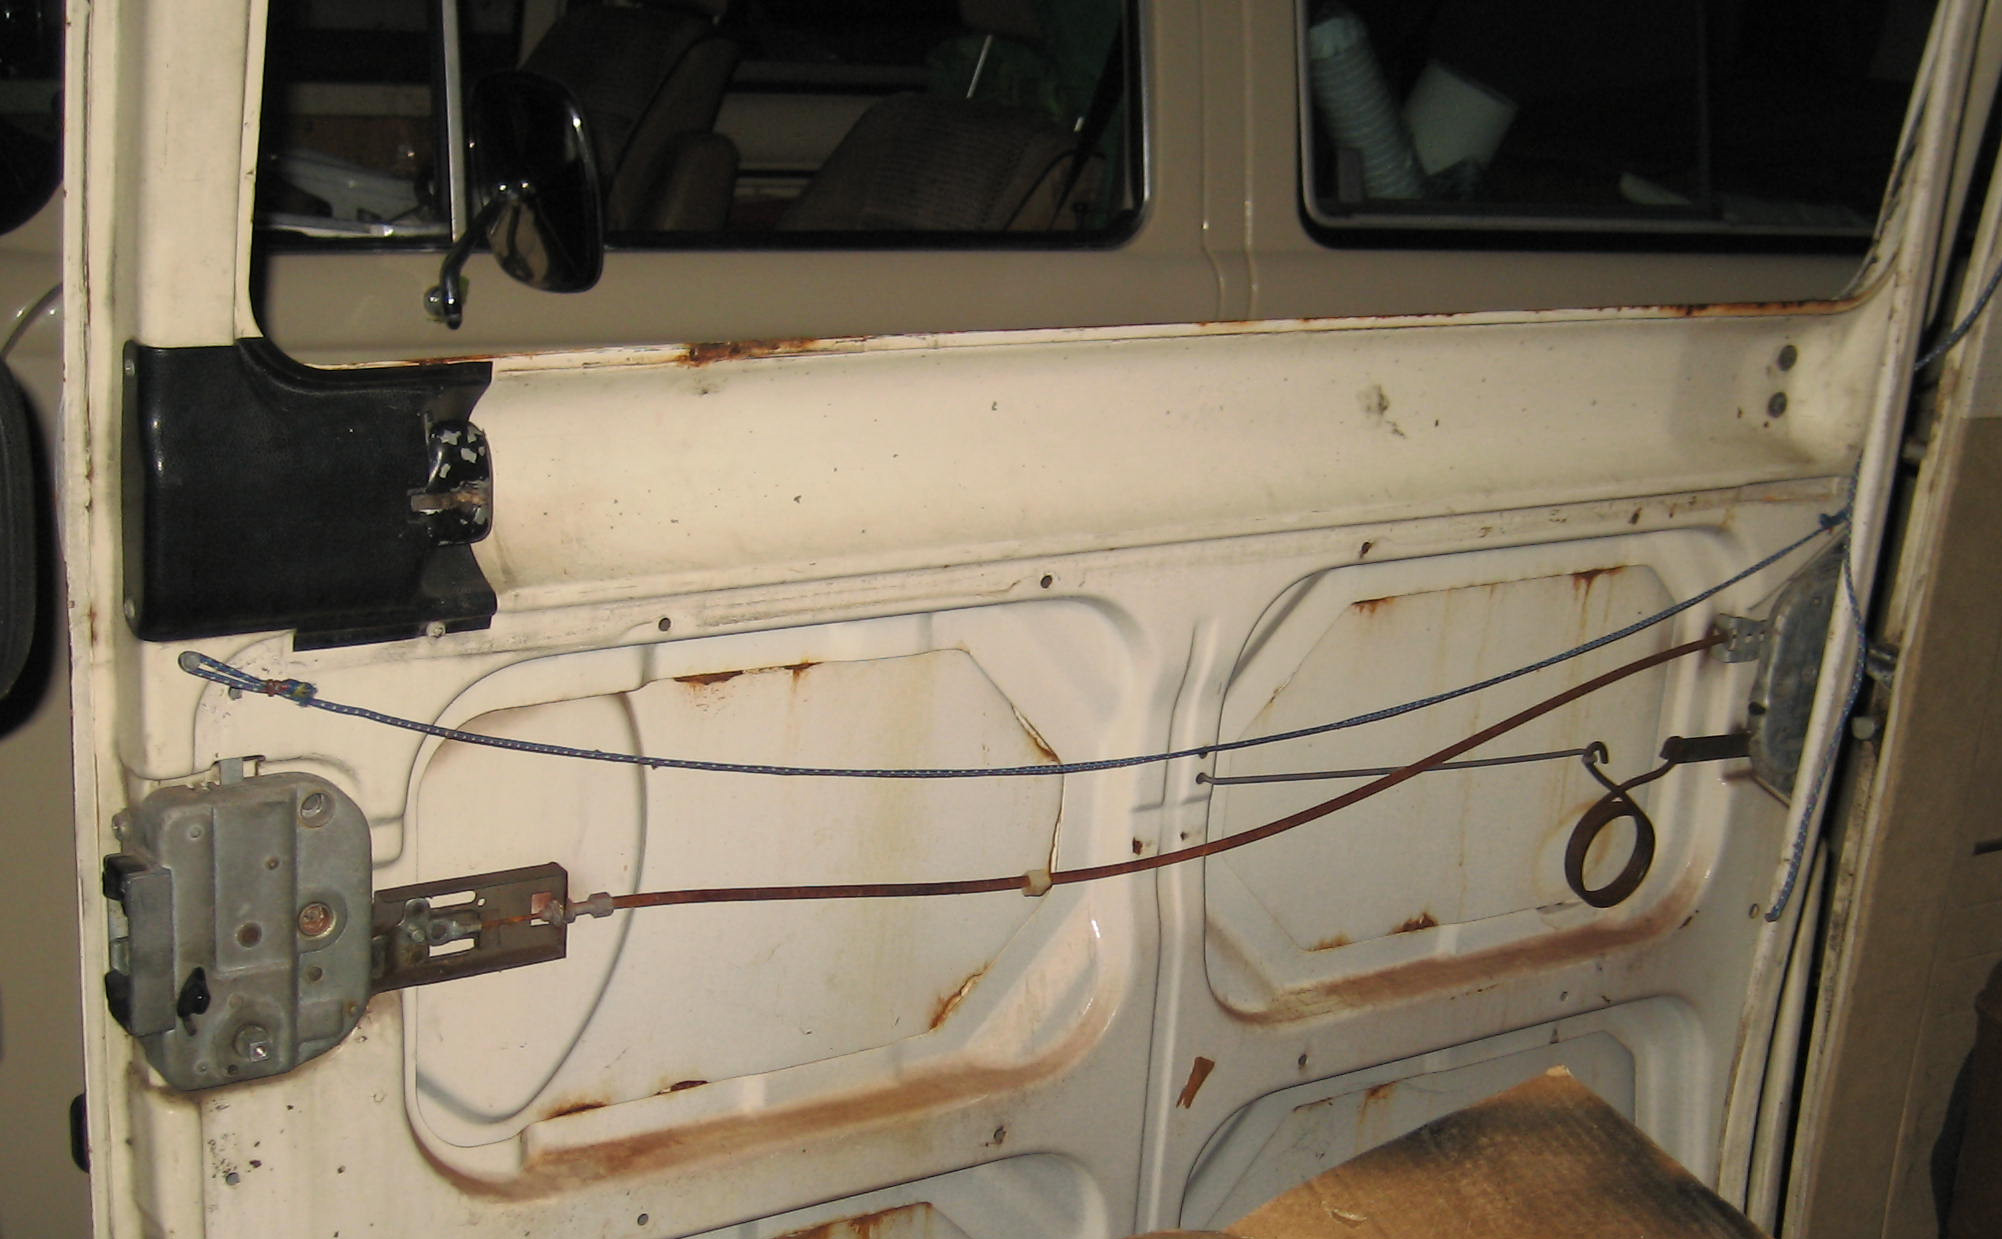
After a nice oil dip and grease rubdown, with respect to your sliding door – can you say “silky”? Squirt some oil on the mechanism that holds the door open – the little hook thing. It’s got springs too. Also put some oil on the pivot on the door that the body to door link swivels on and the track below the rear window. Grease the tracks for the top roller and the bottom roller very sparingly – it’ has little effect. Just a thin film. Squirt the cable(s) with WD-40 holding them vertically so it runs down inside the sheath (bowden tube). It makes a difference. Smear a thin film on both striker plates. The back door is easy – same thing, grease and oil. When you’re done with the locks,
This entry was posted on Saturday, April 12th, 2014 at 8:37 am
You can follow any responses to this entry through the RSS 2.0 feed.

i need a bowden cable for my t25 1980/81 could i get one made up or does it have to be a vw . thanks for your time , liz
r