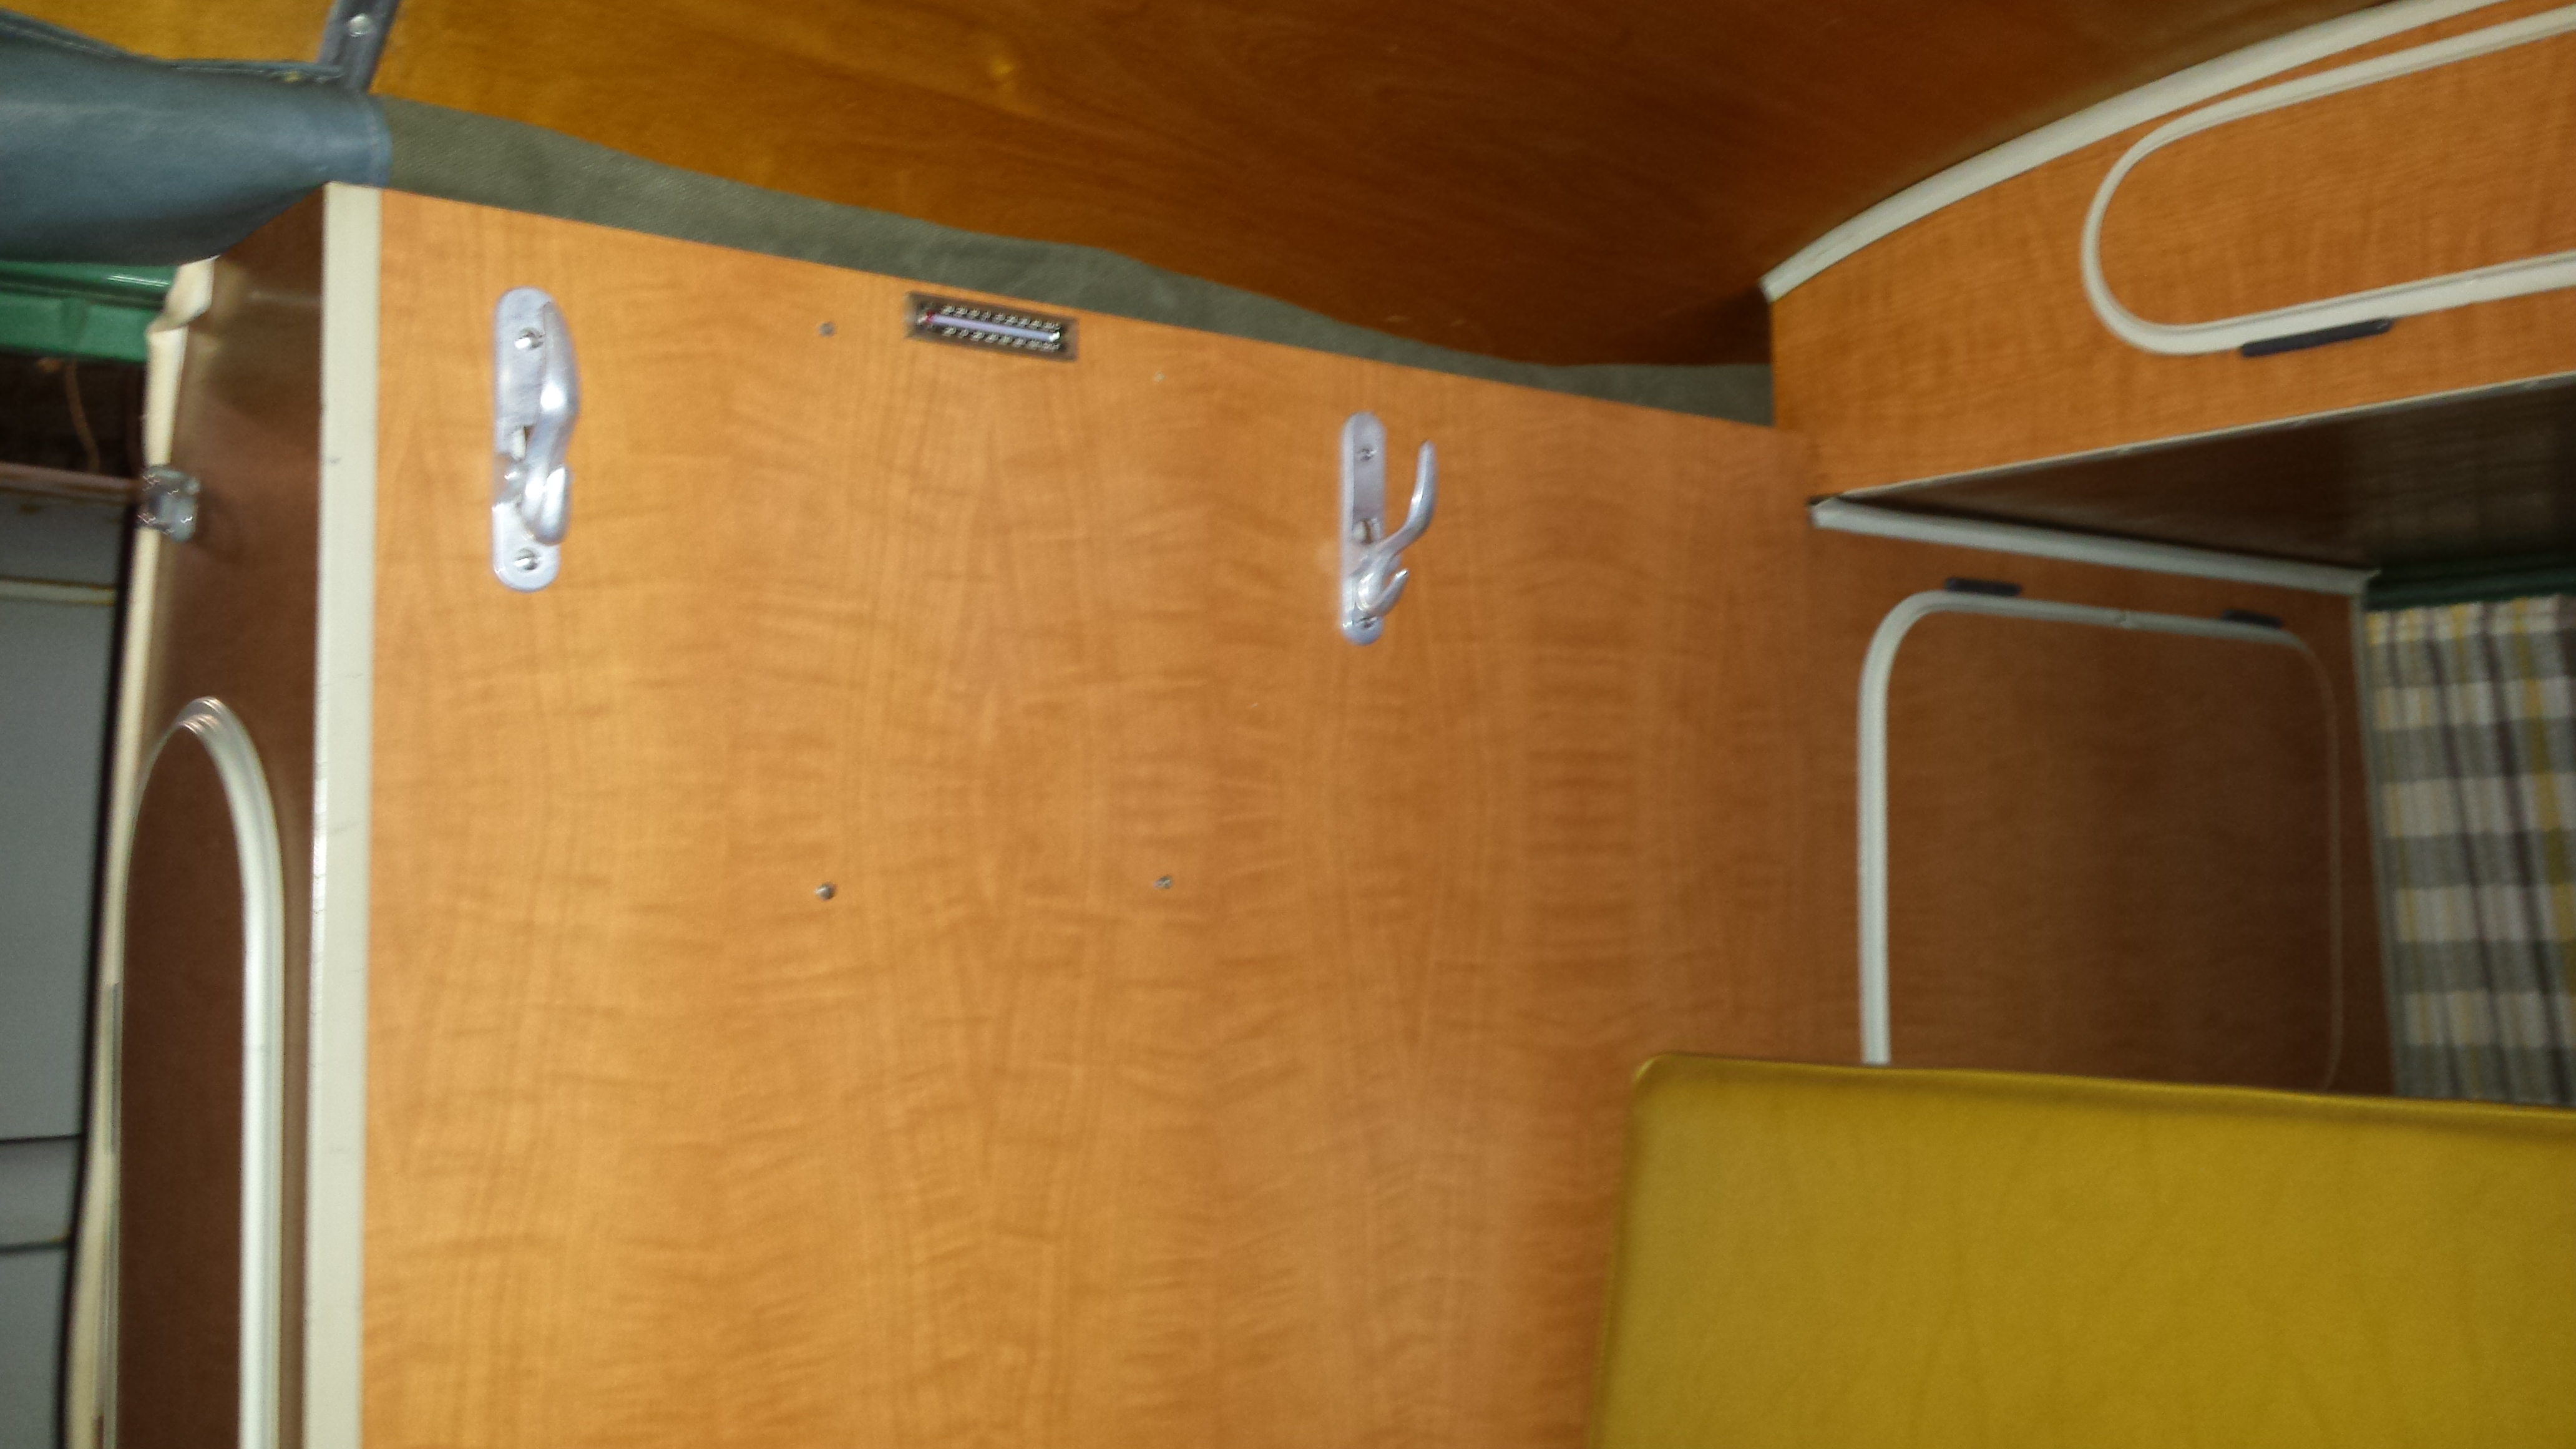
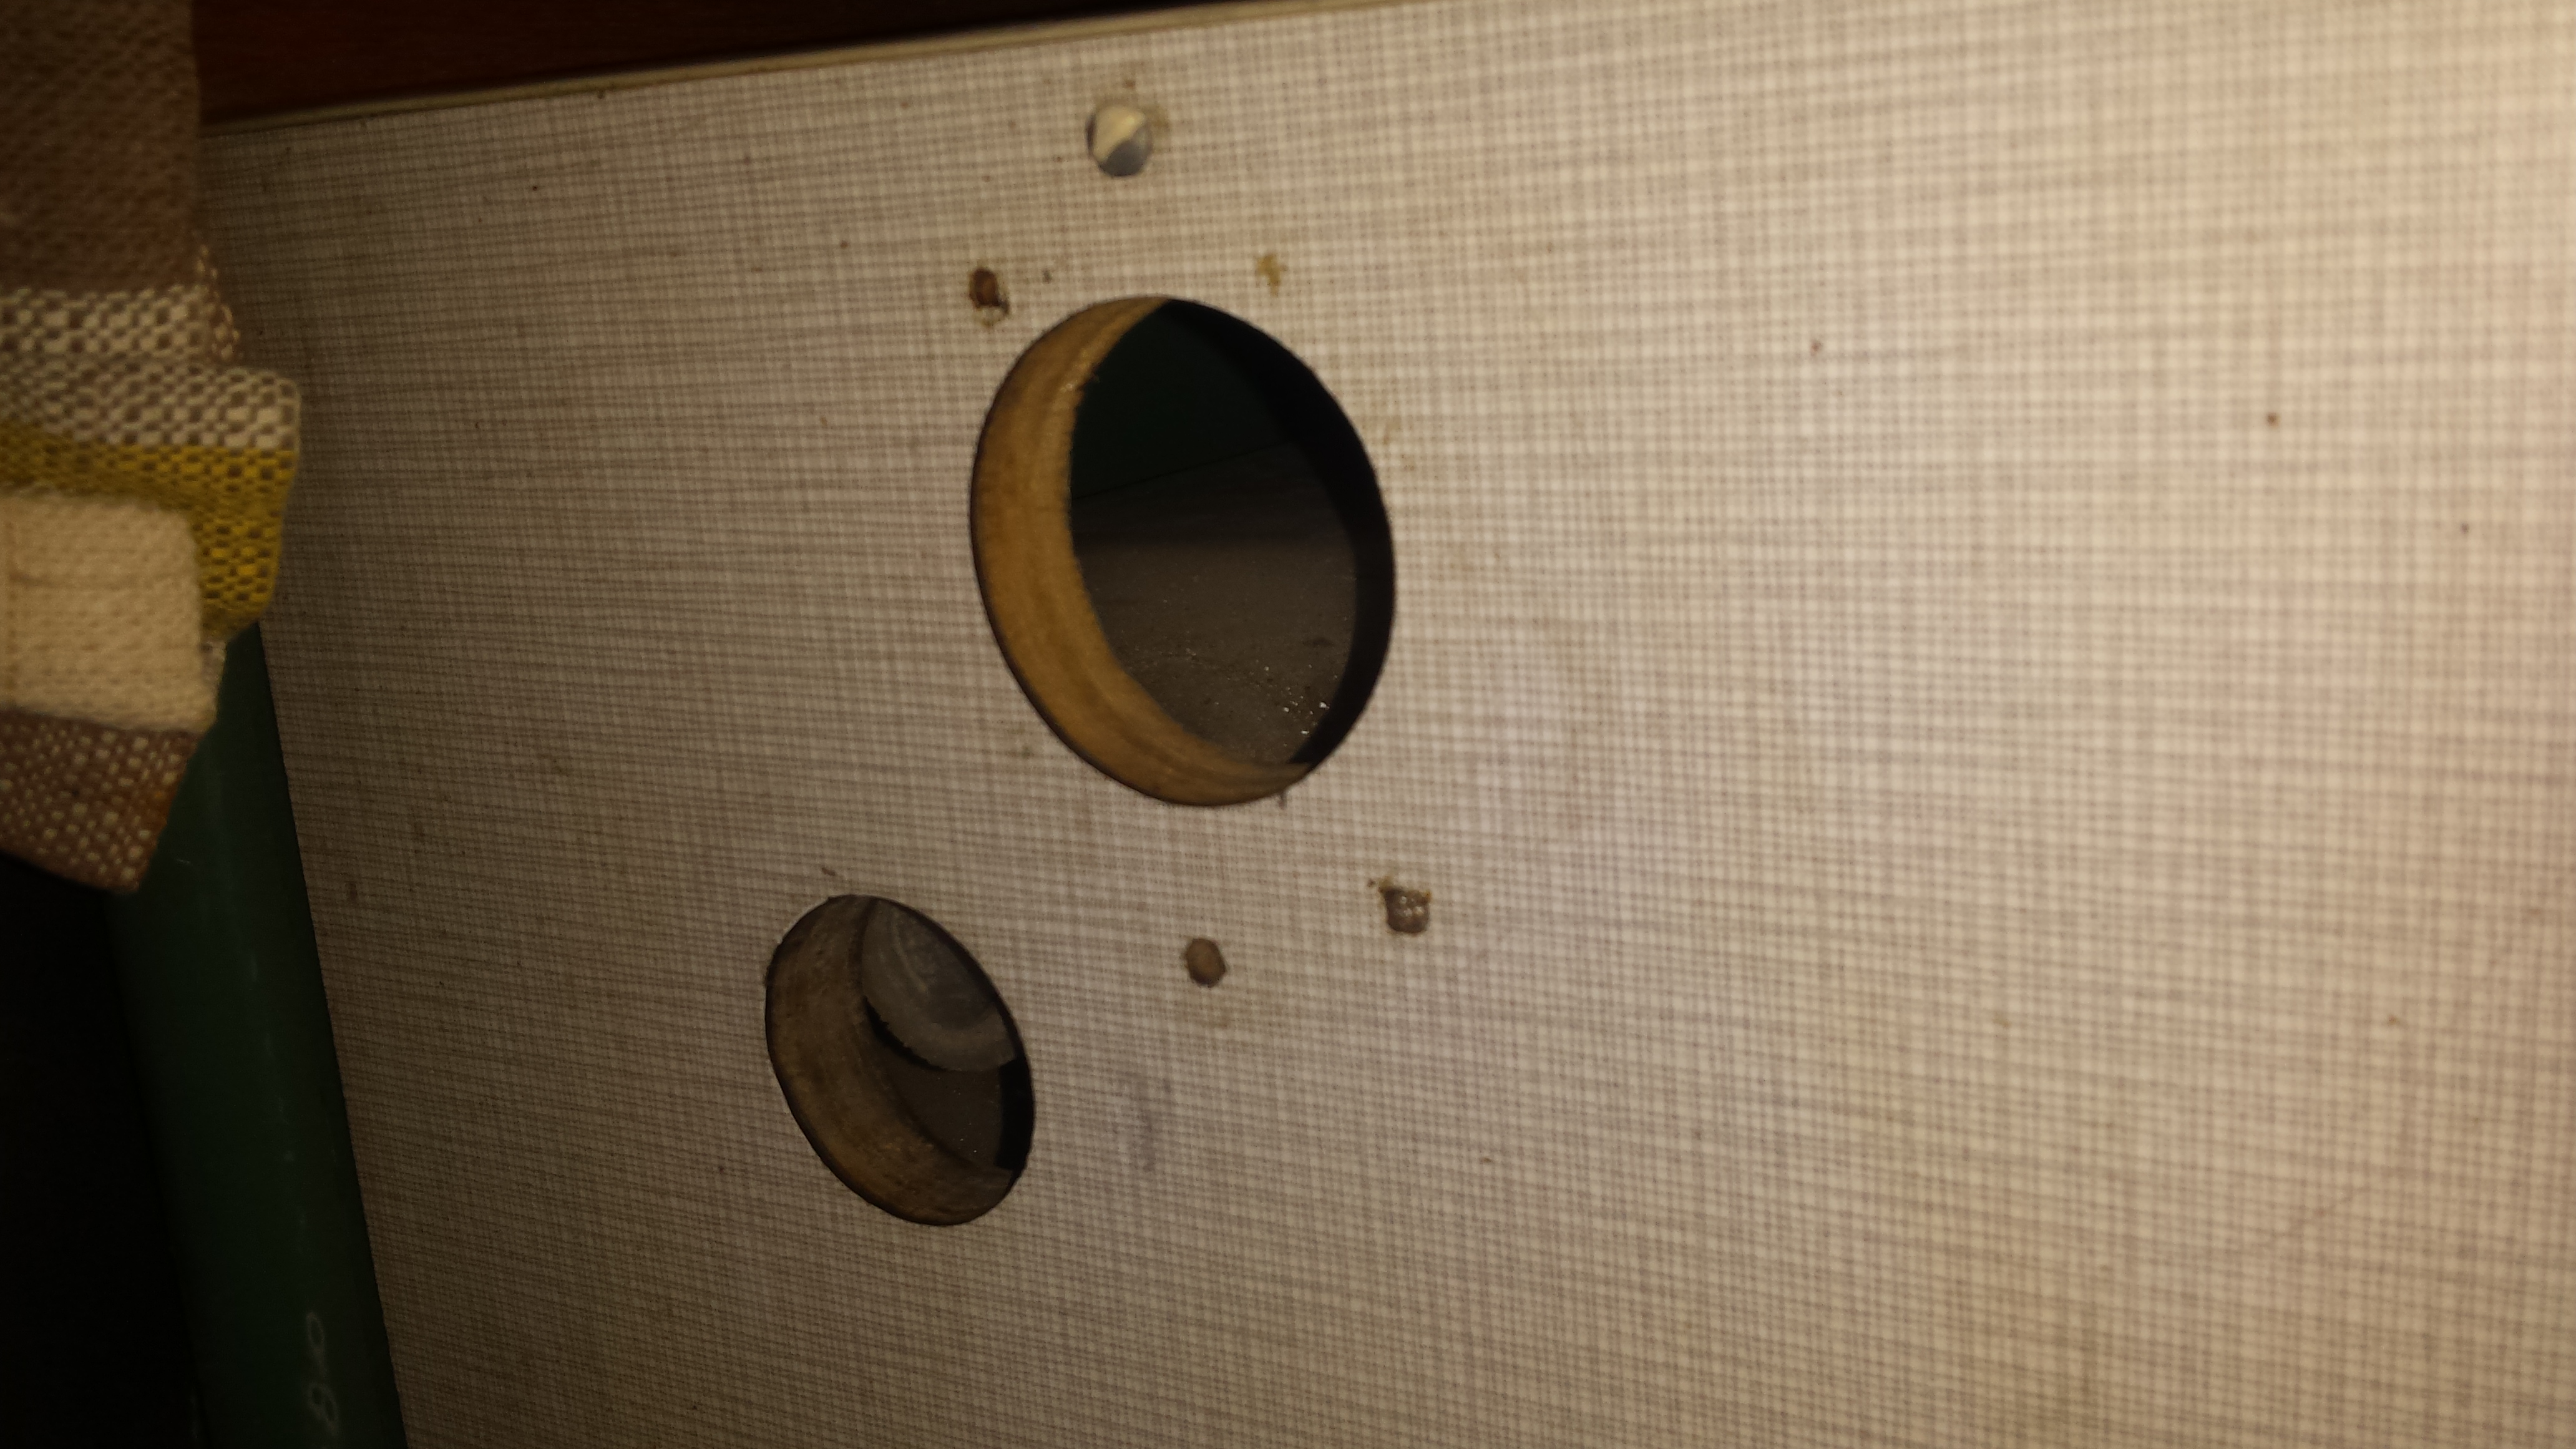
The coat hanger are an original accesory. You can see the 2 small holes for hanging a picture a few inches below and between them.
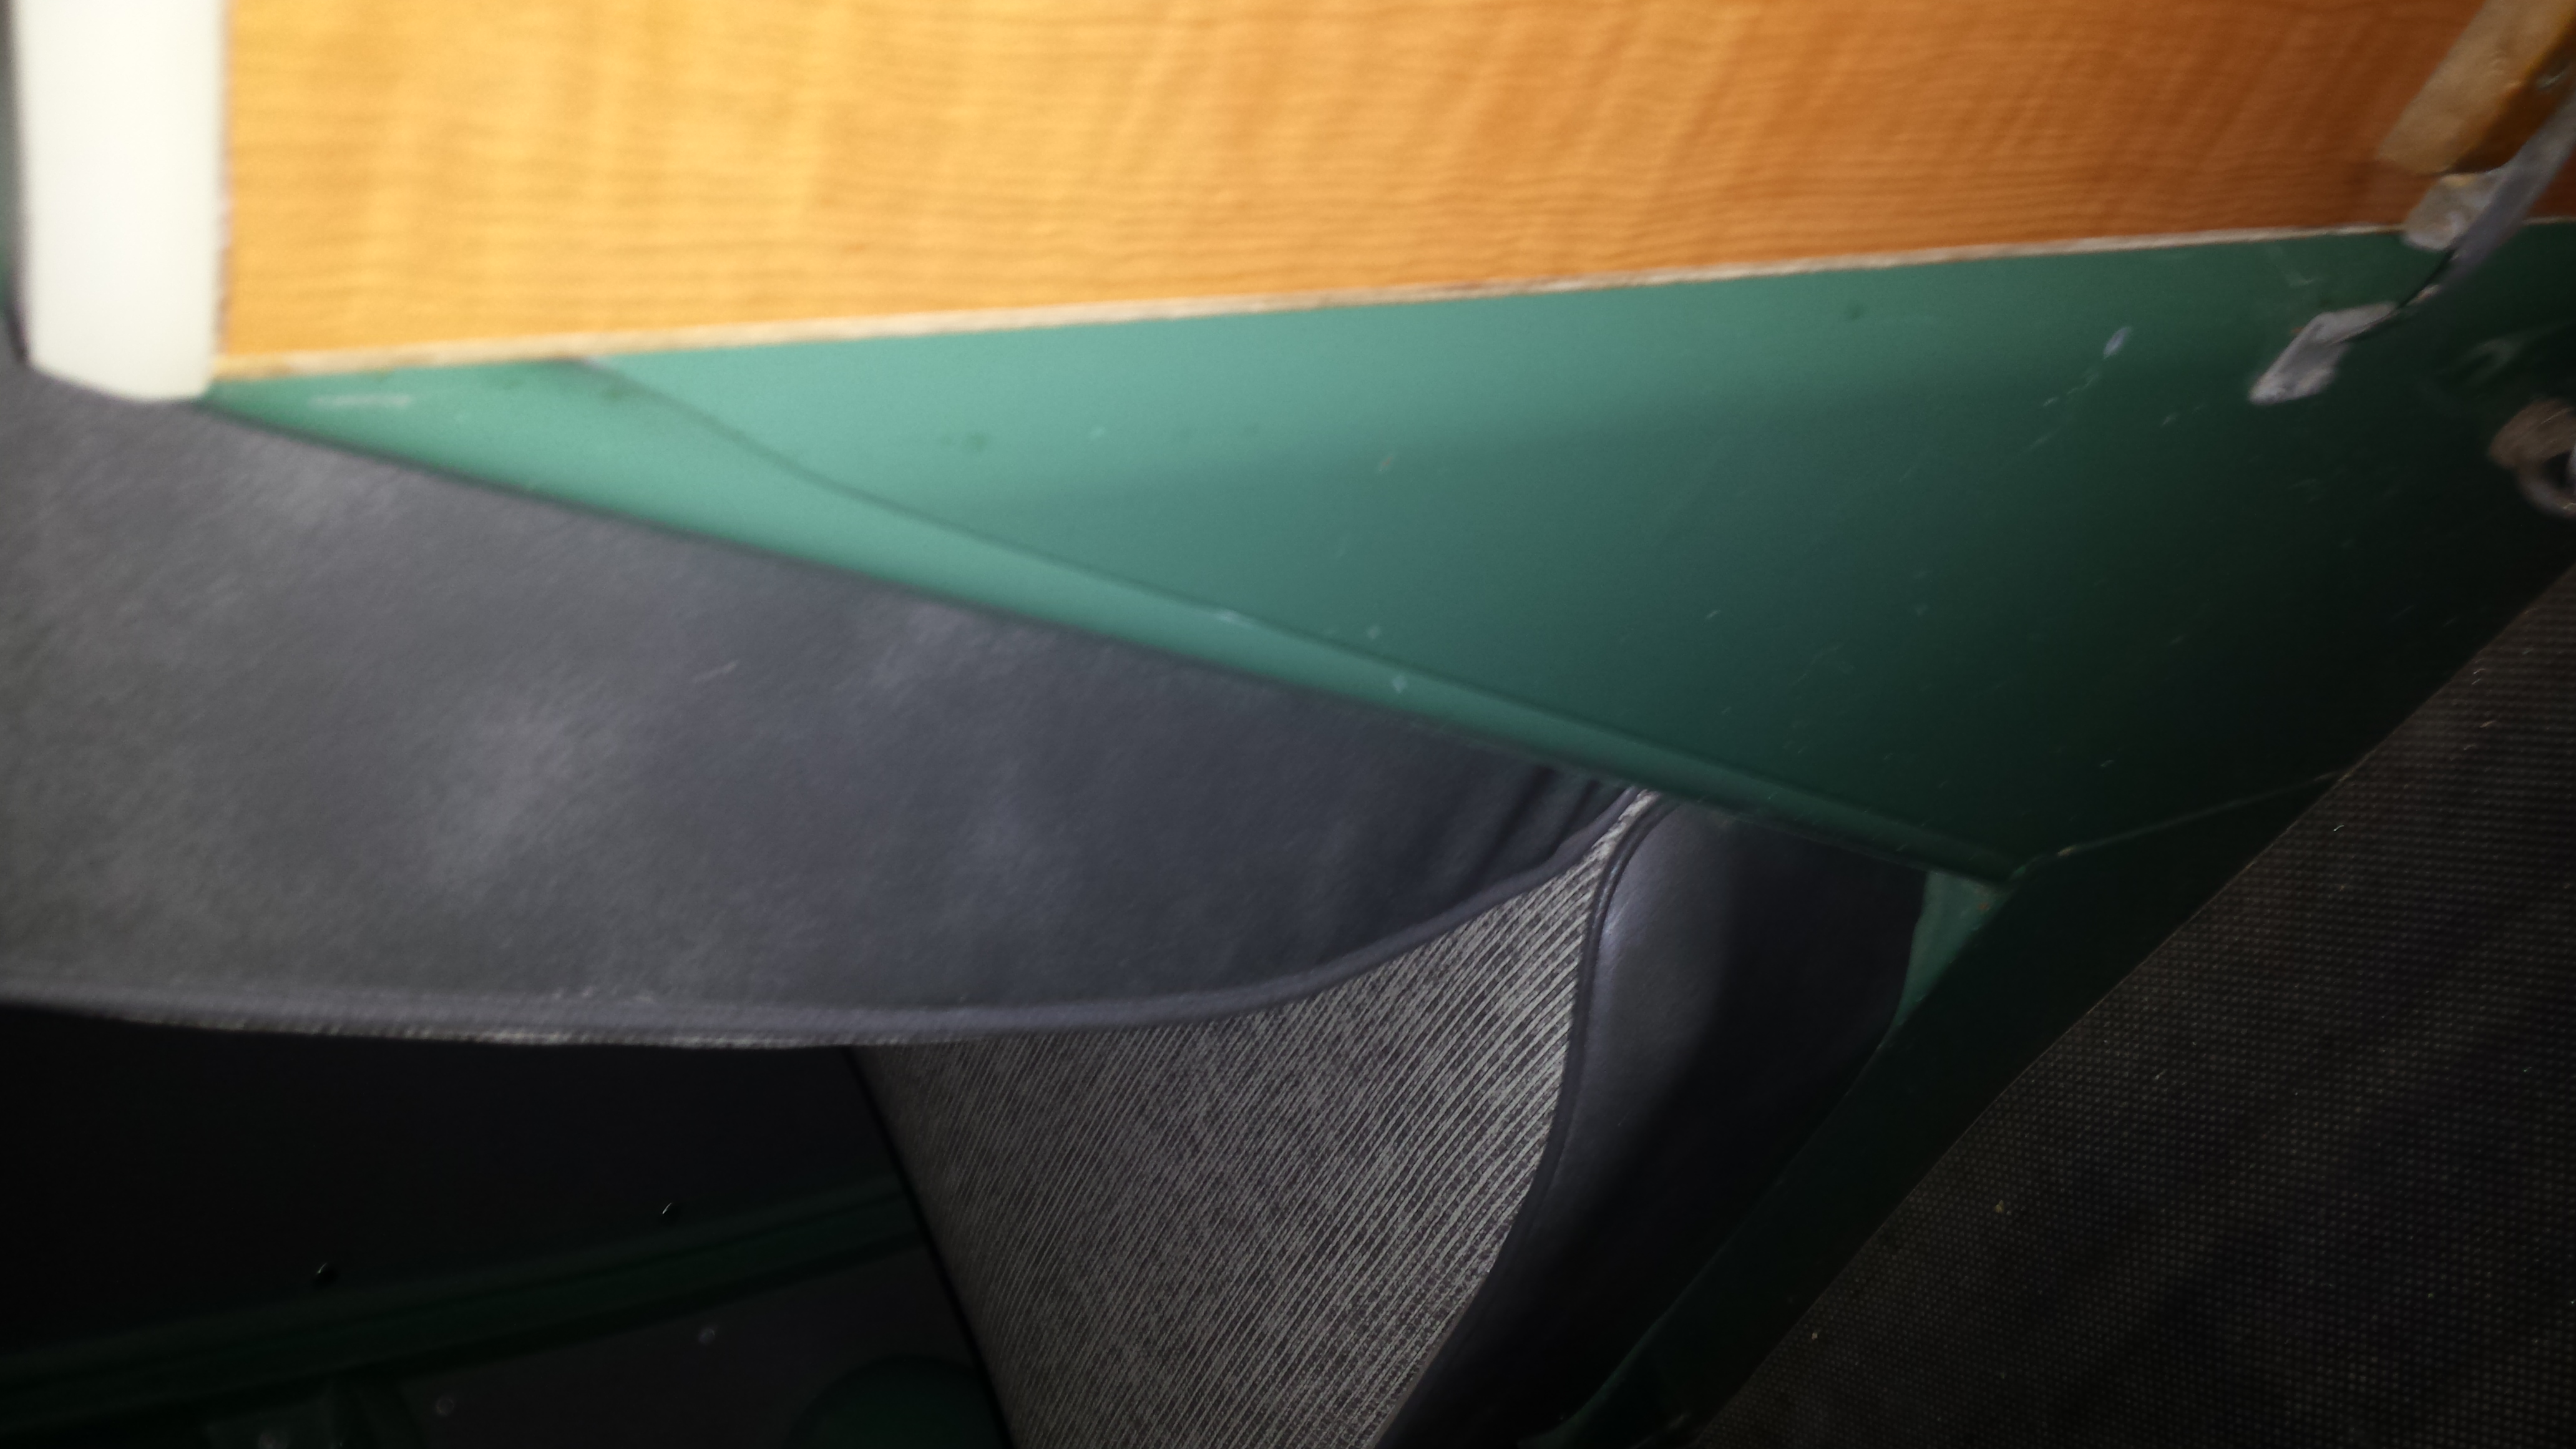
Looking down the passenger side of walk thru area. You can see the side of the back part of the seat and the bottom of the seat protruding forward
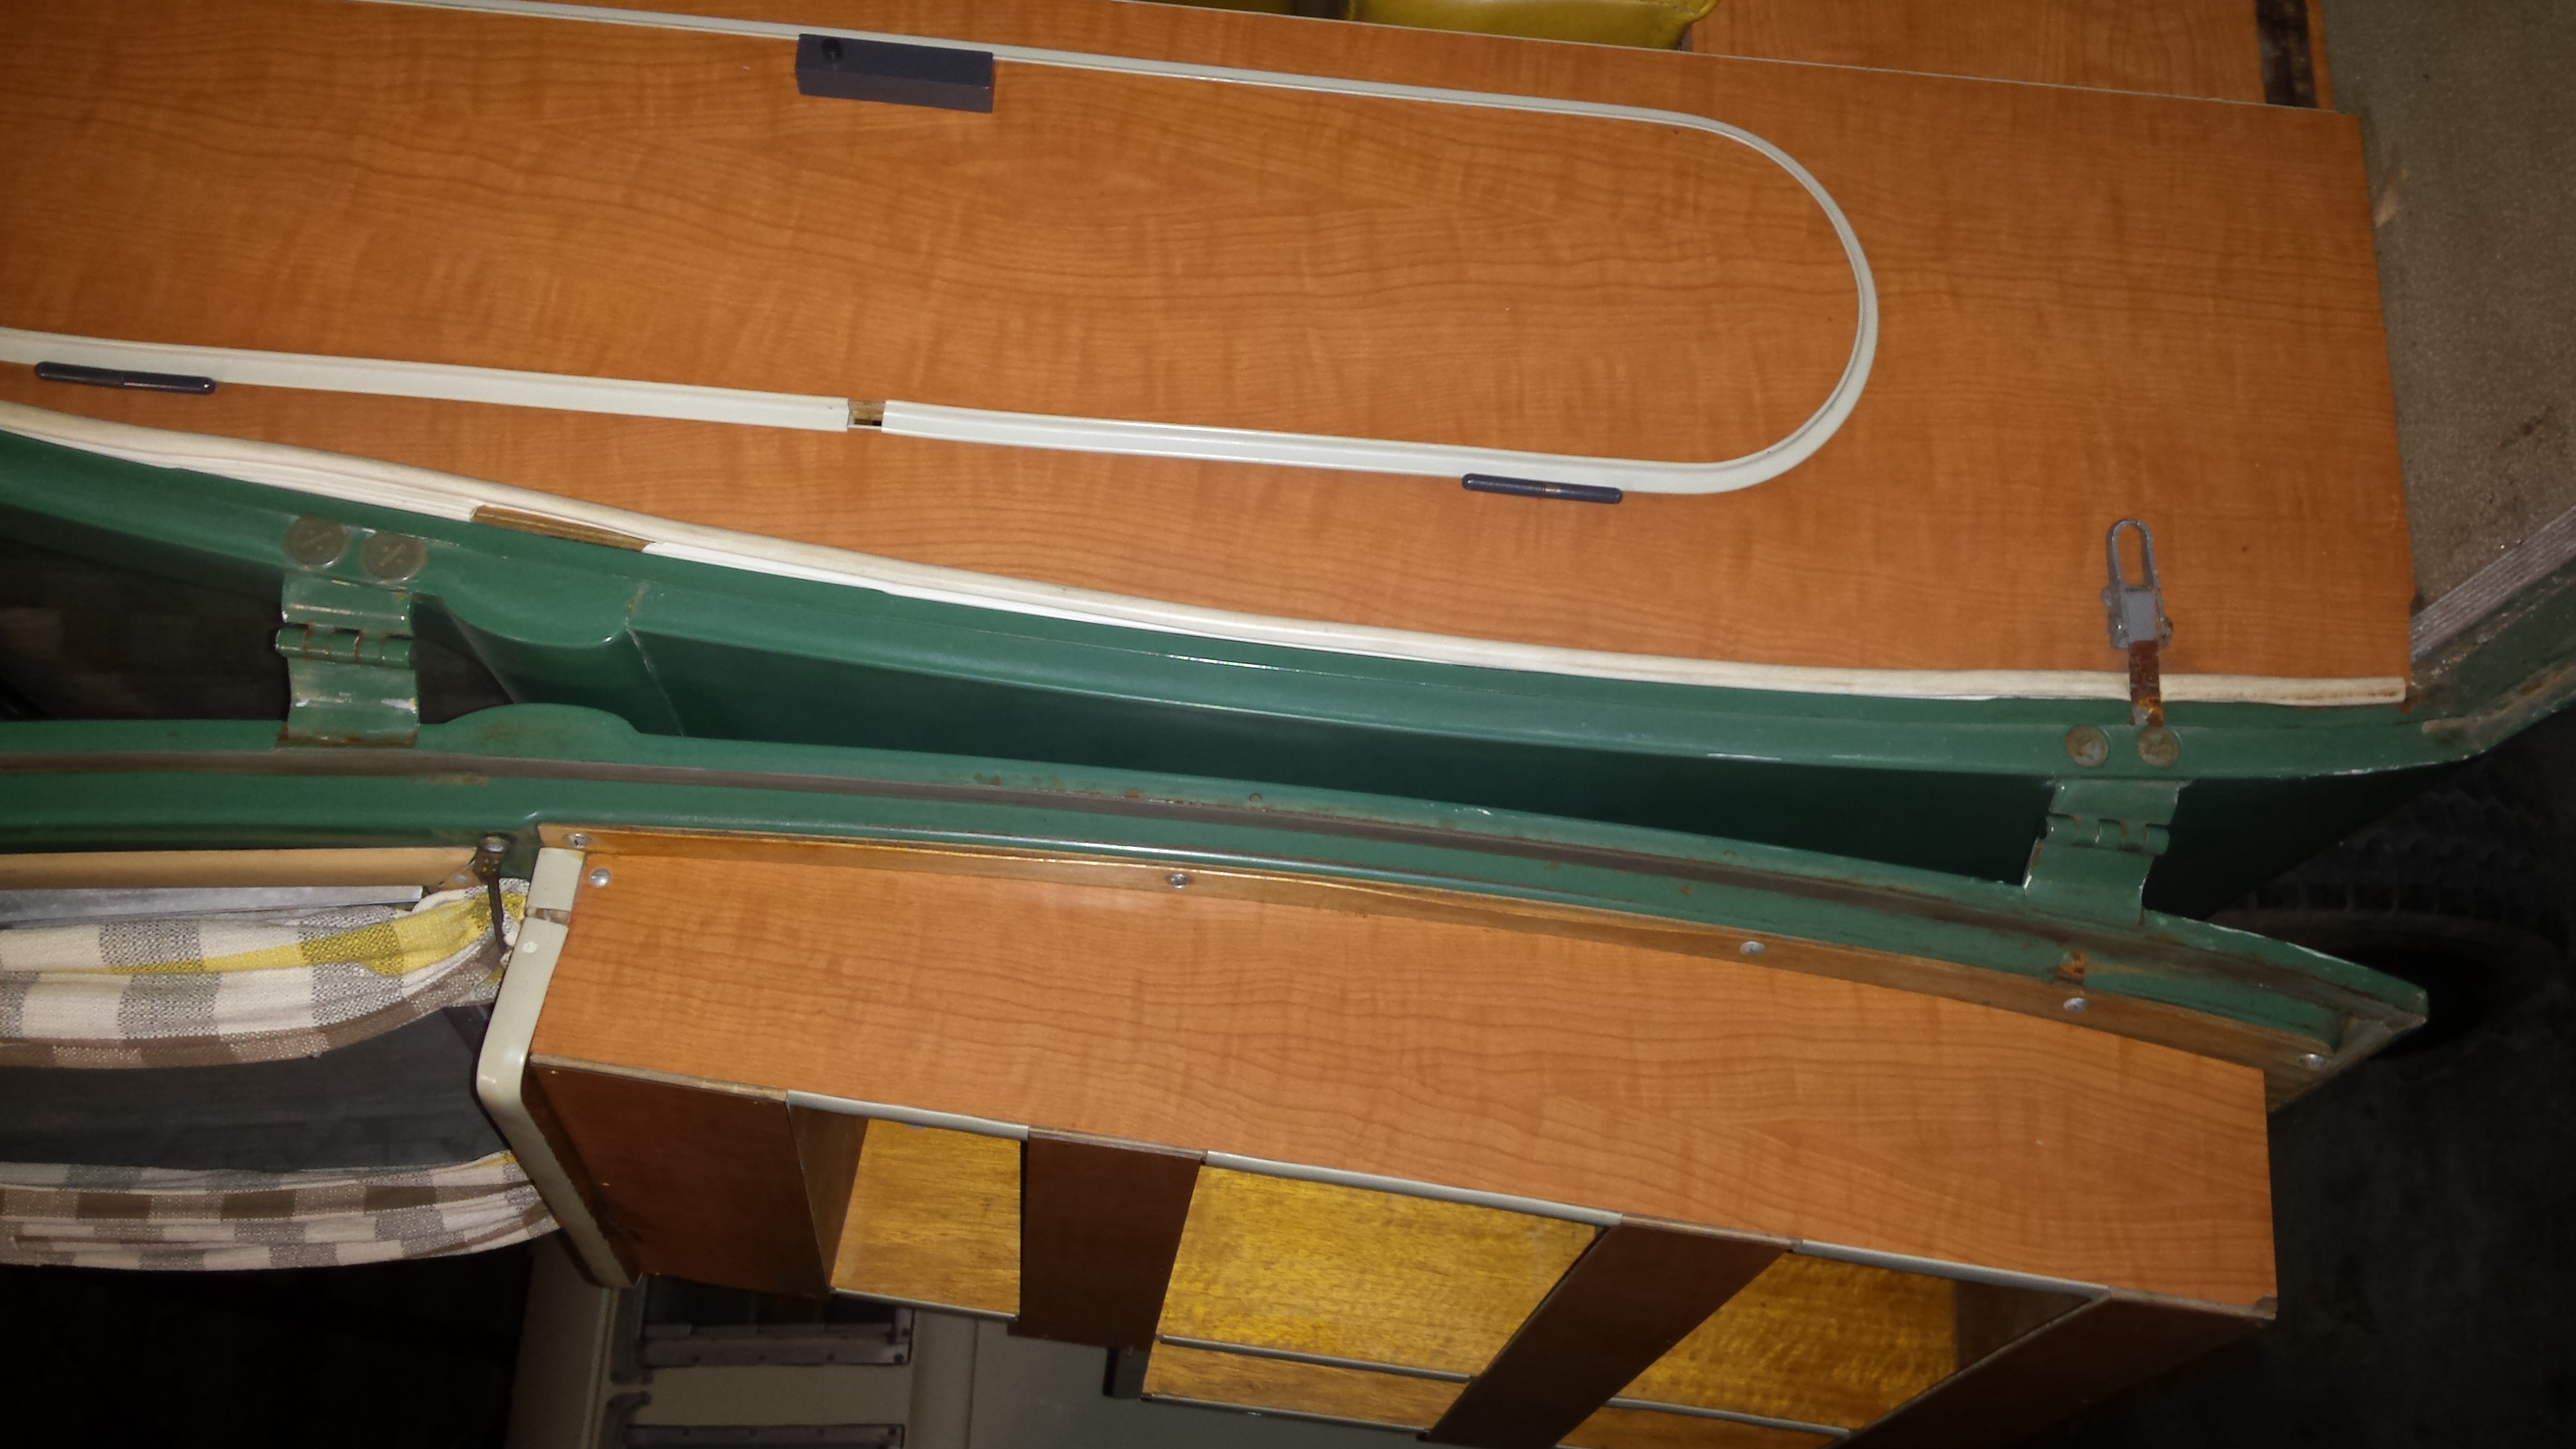
View of rear most side door and inside cabinet. Paint is nice. Paint in these areas is original – never painted over ever.
Driver’s side of walk through area. Paint is unblemished. All interior paint is original – never painted over. If I was to put a “grade” on the vehicle overall, I’d say it’s a 50 year old car in the condition of a ten year old car. And I should know. I was working on them when they were 10 years old. And even five years old.

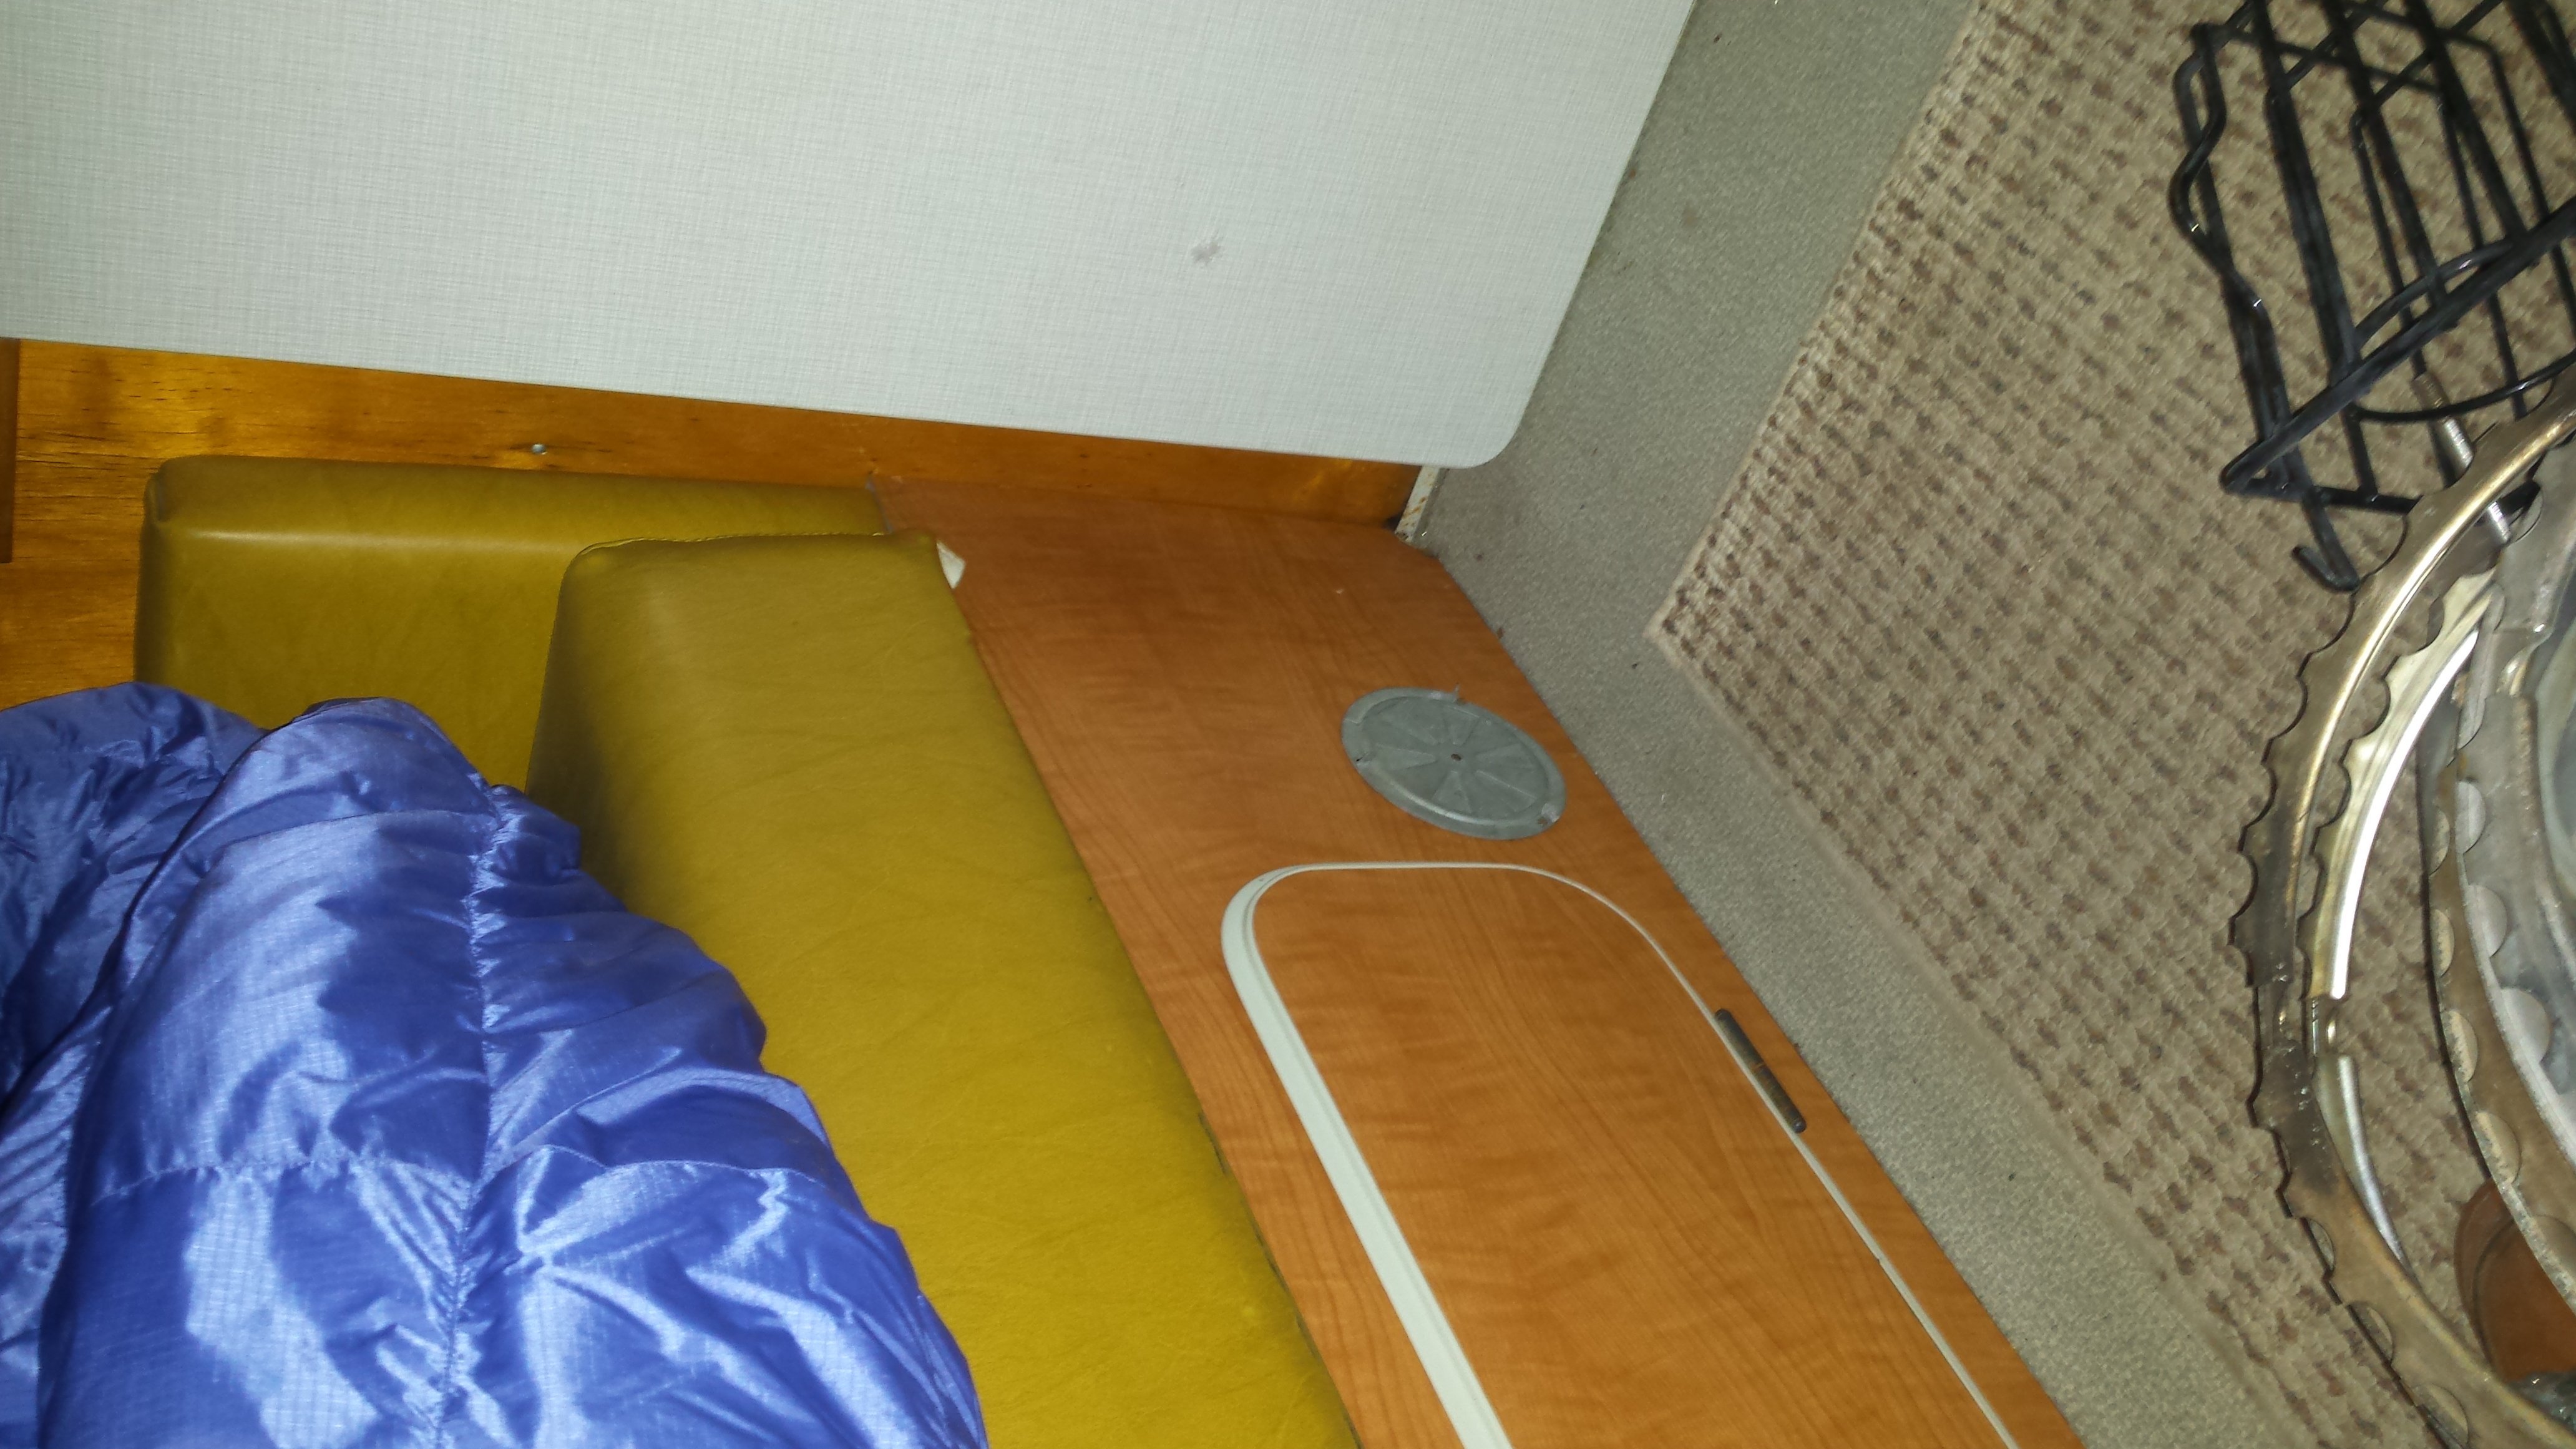
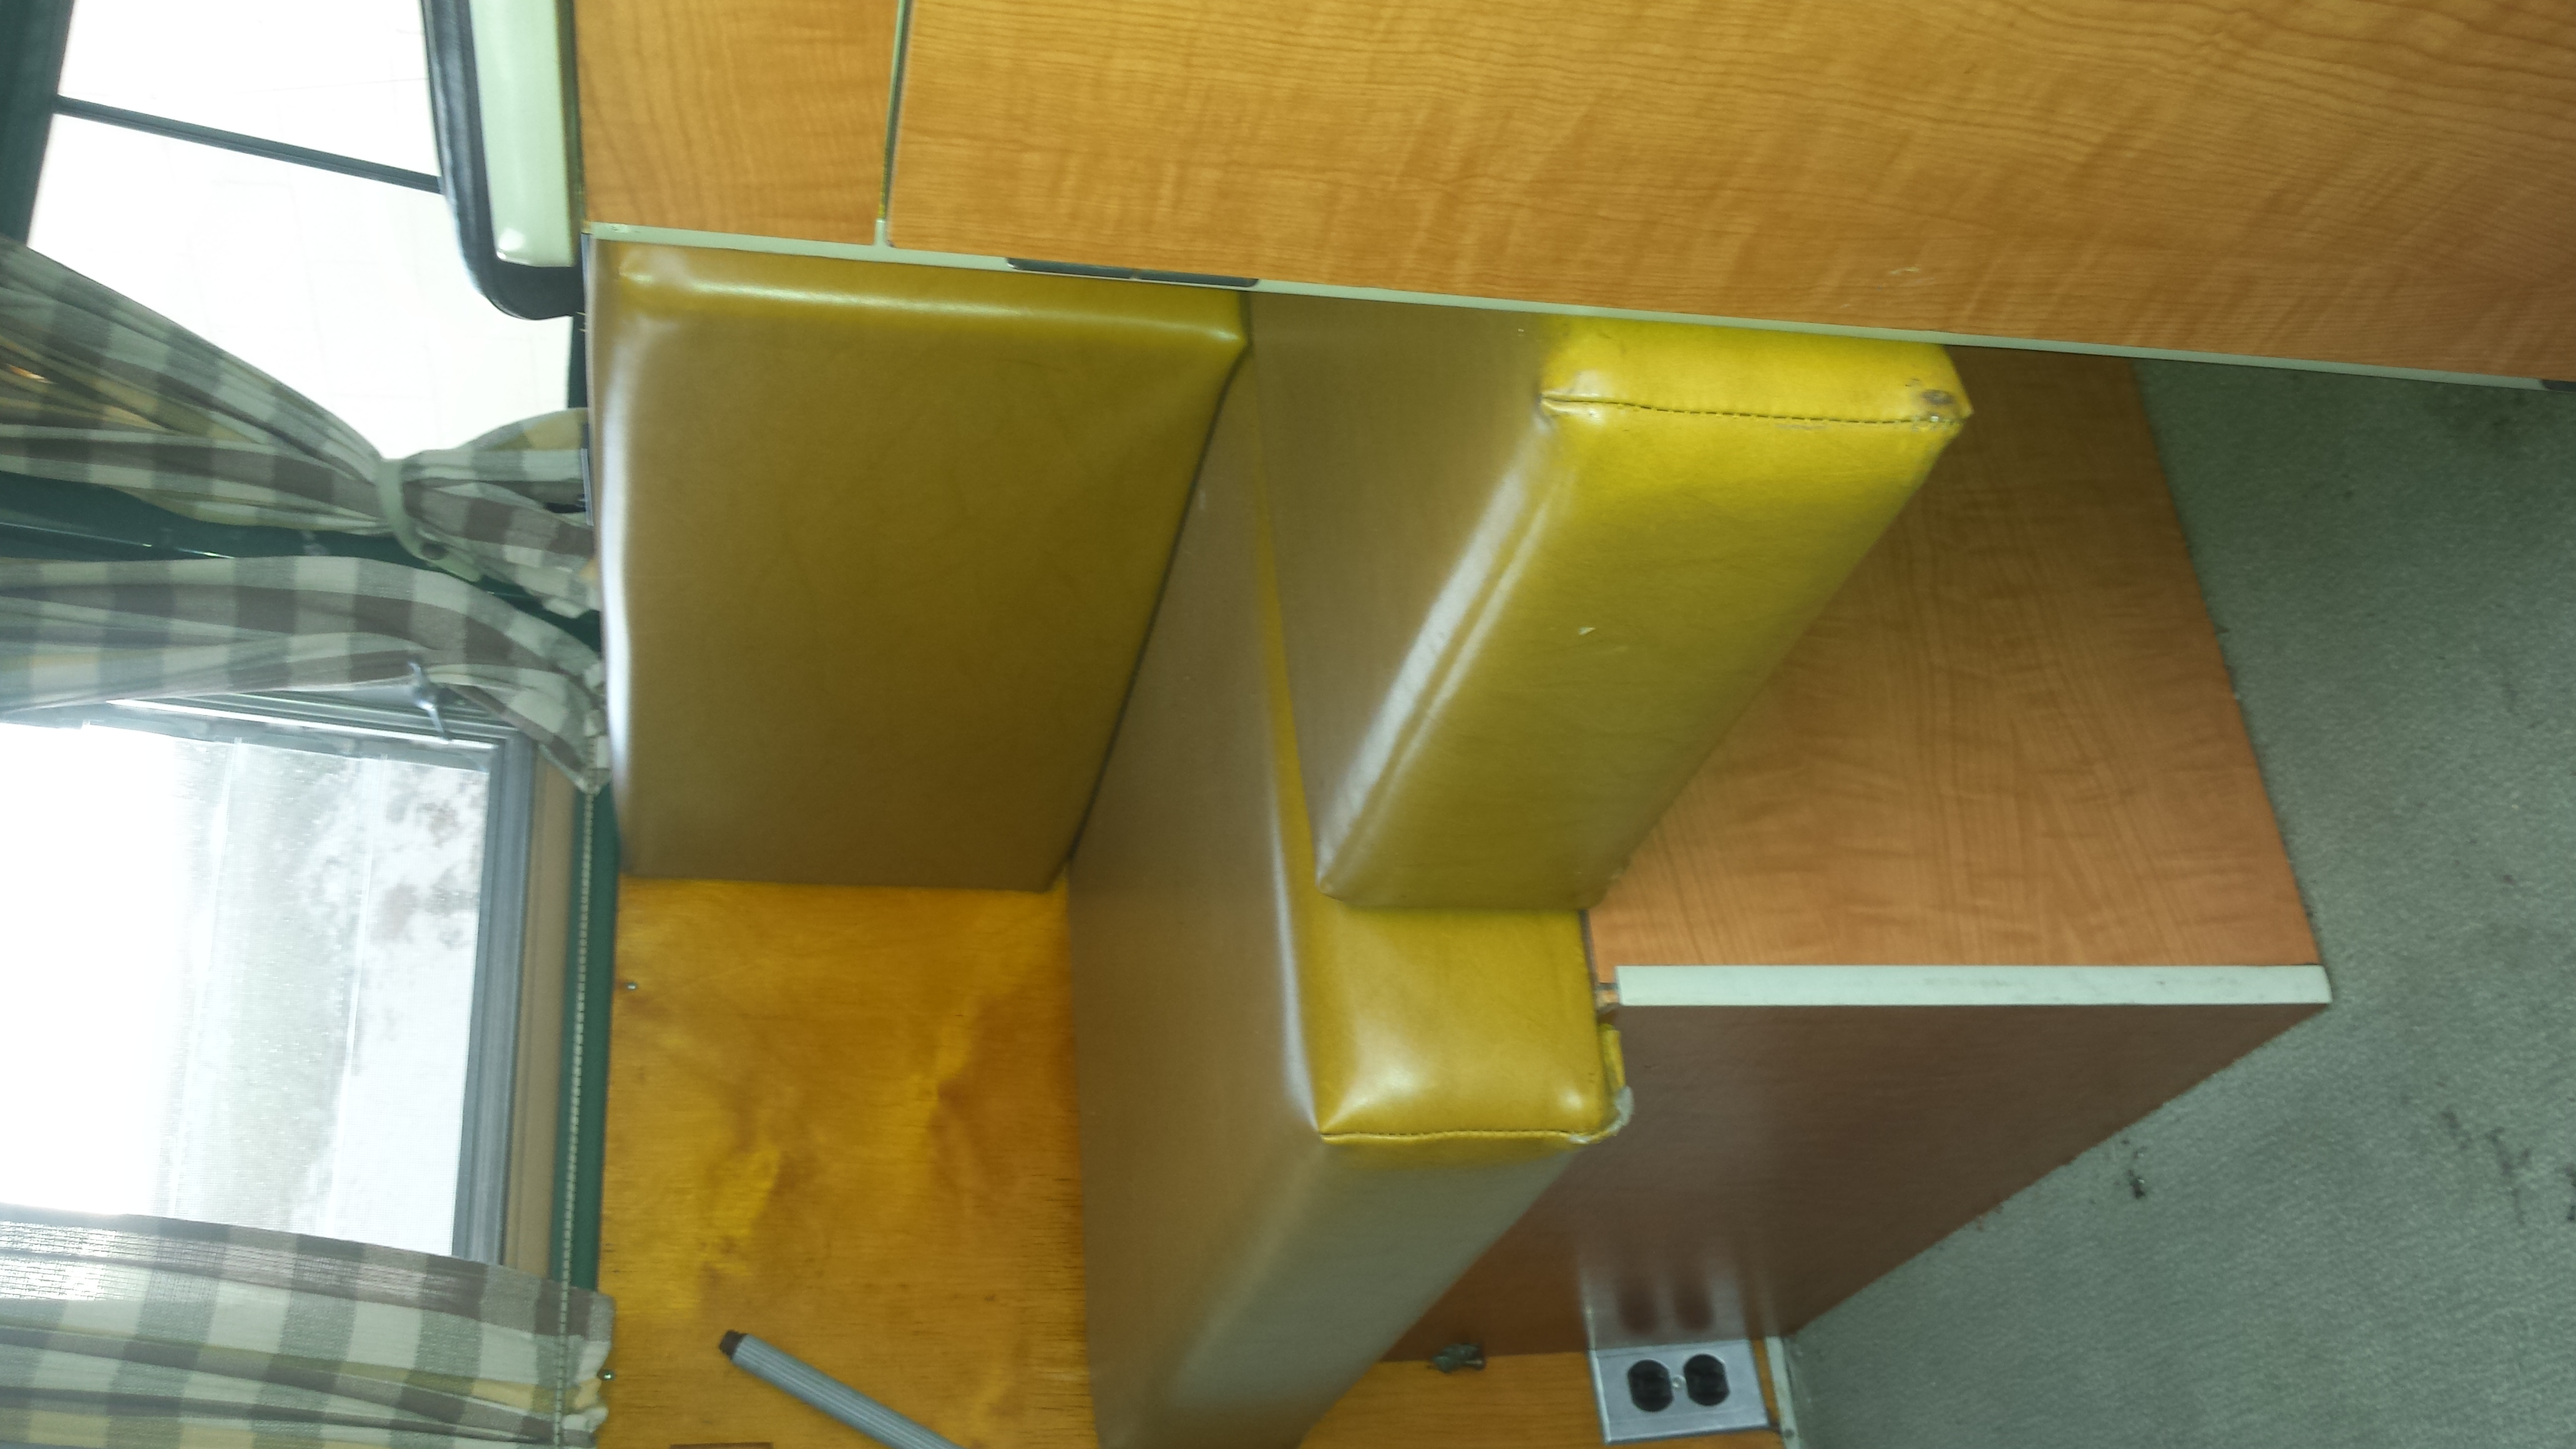
“Middle seat” perched on wooden supports in walk through area. Easily removable and stashed. On bay window models this has metal legs so it’s not easy to get it outta the way. With just two passengers, I’d leave it at home.

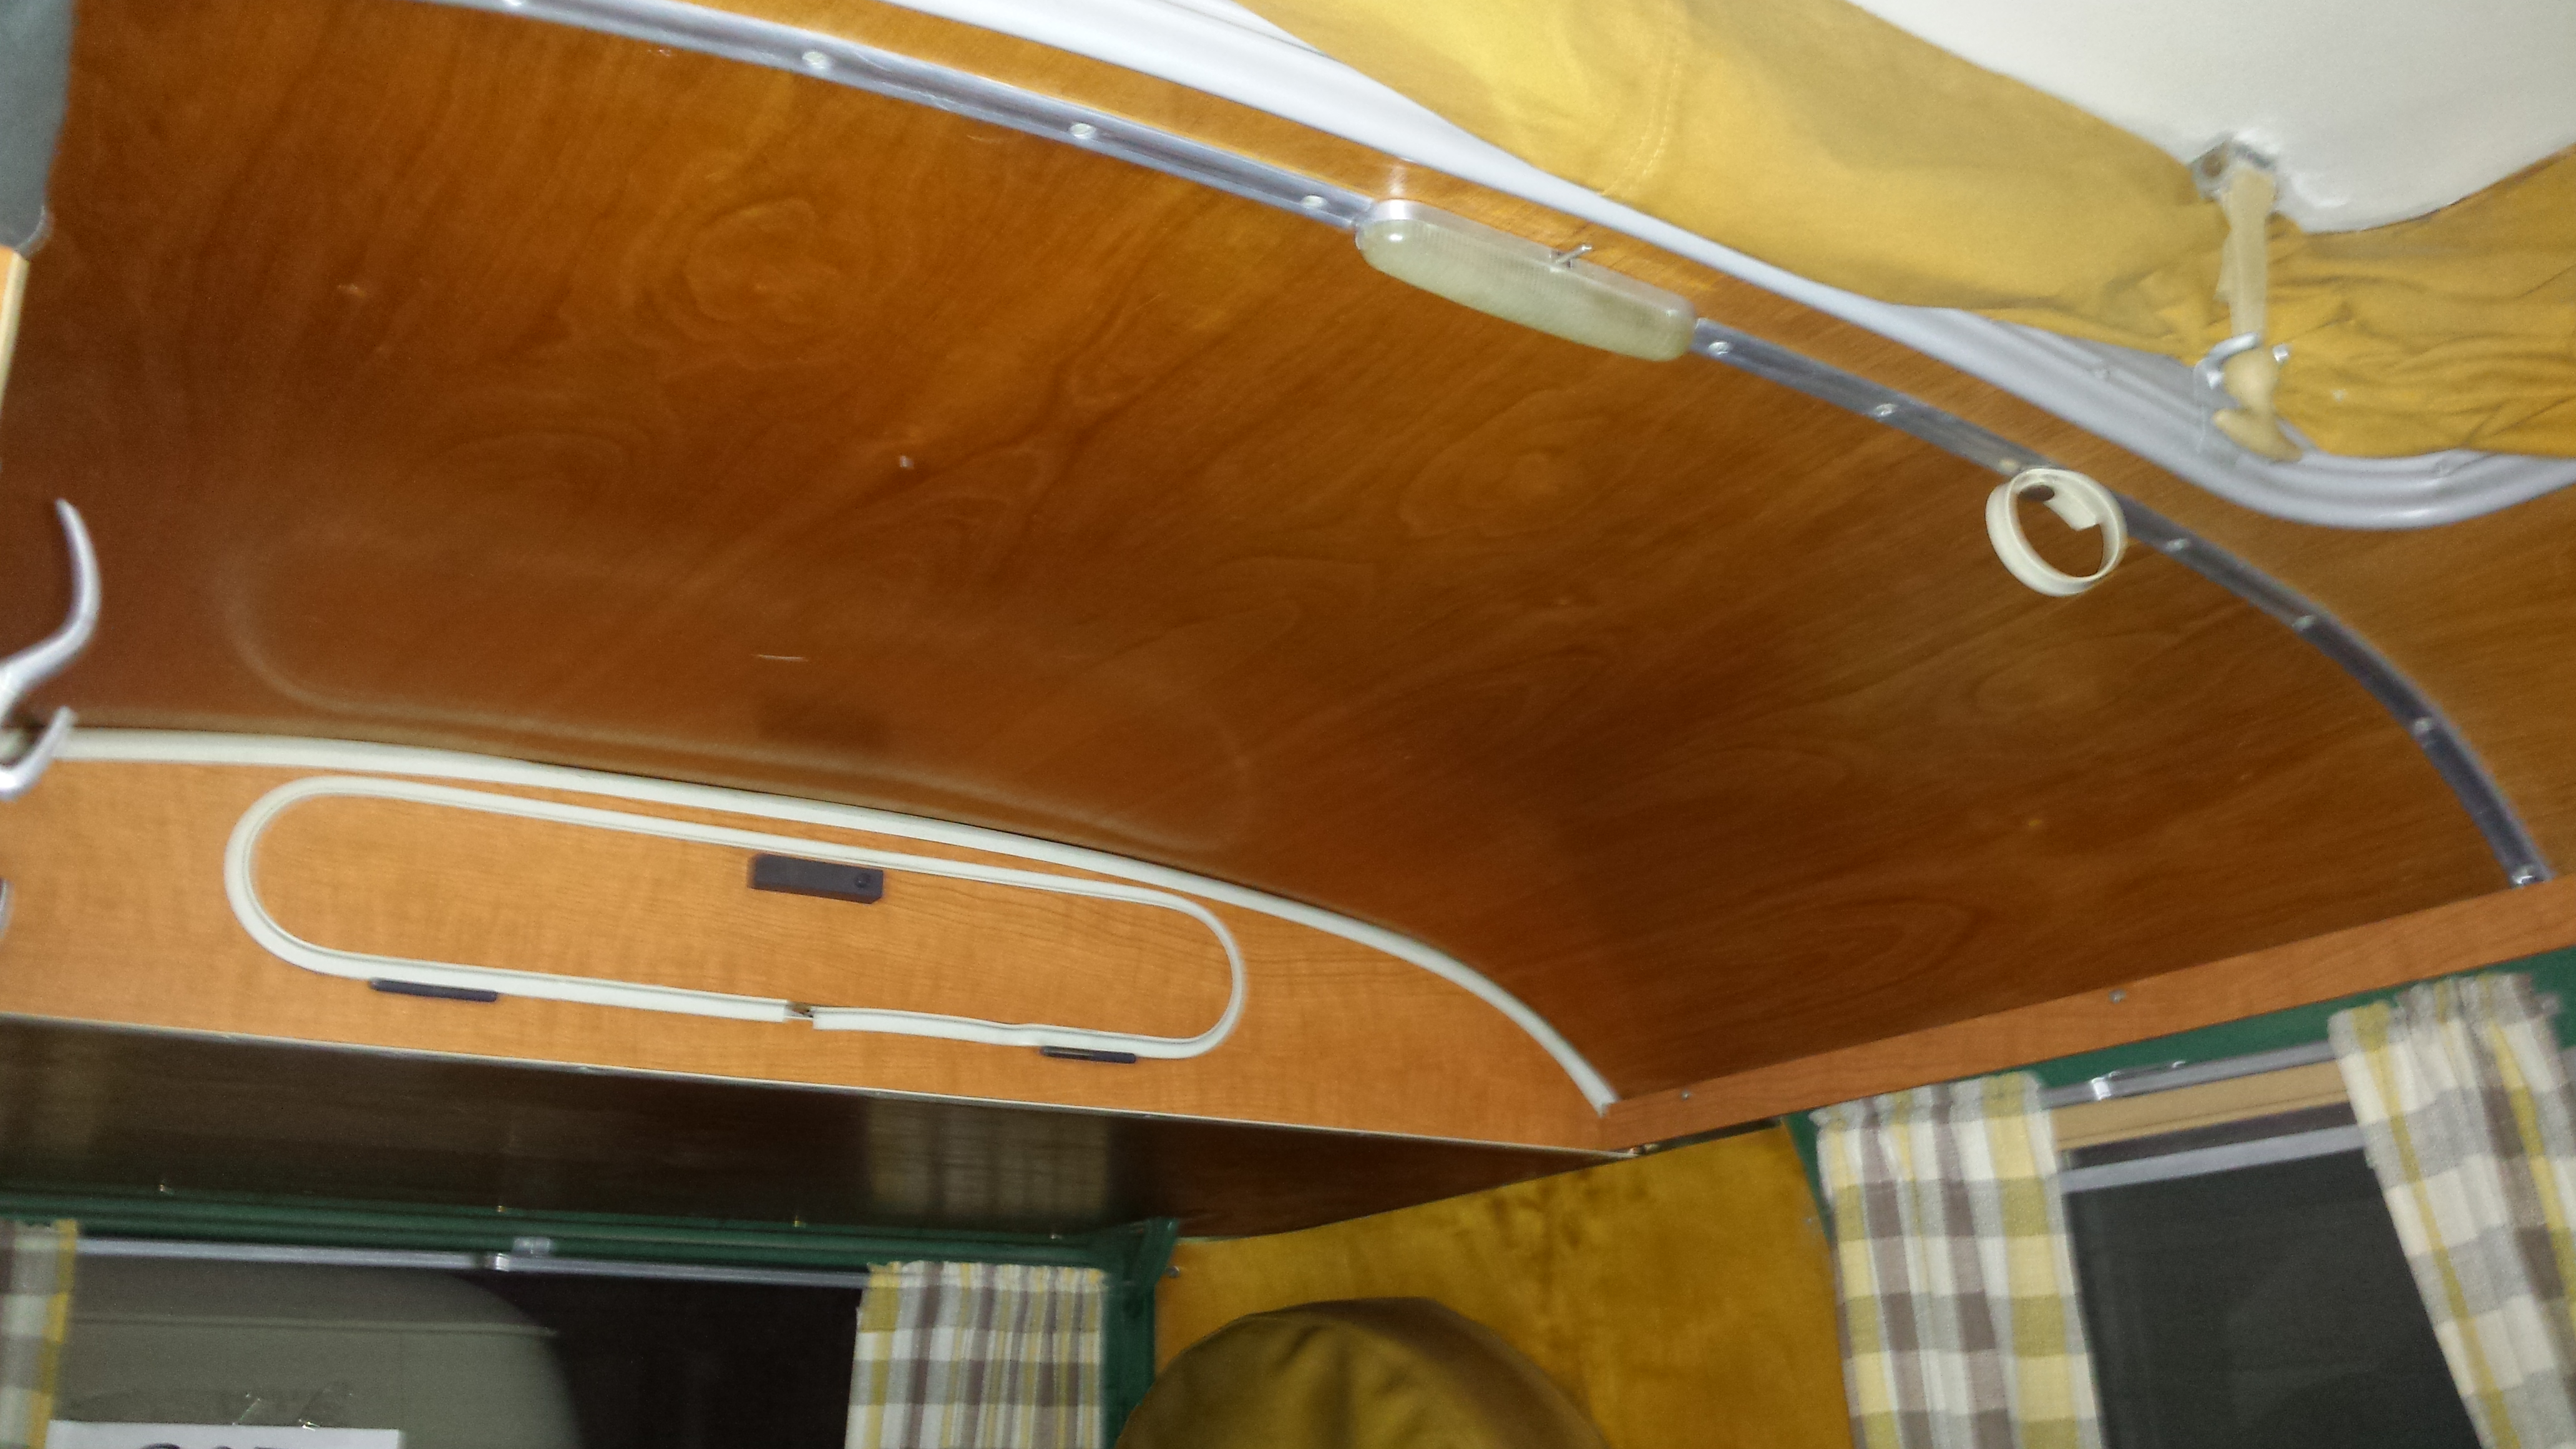
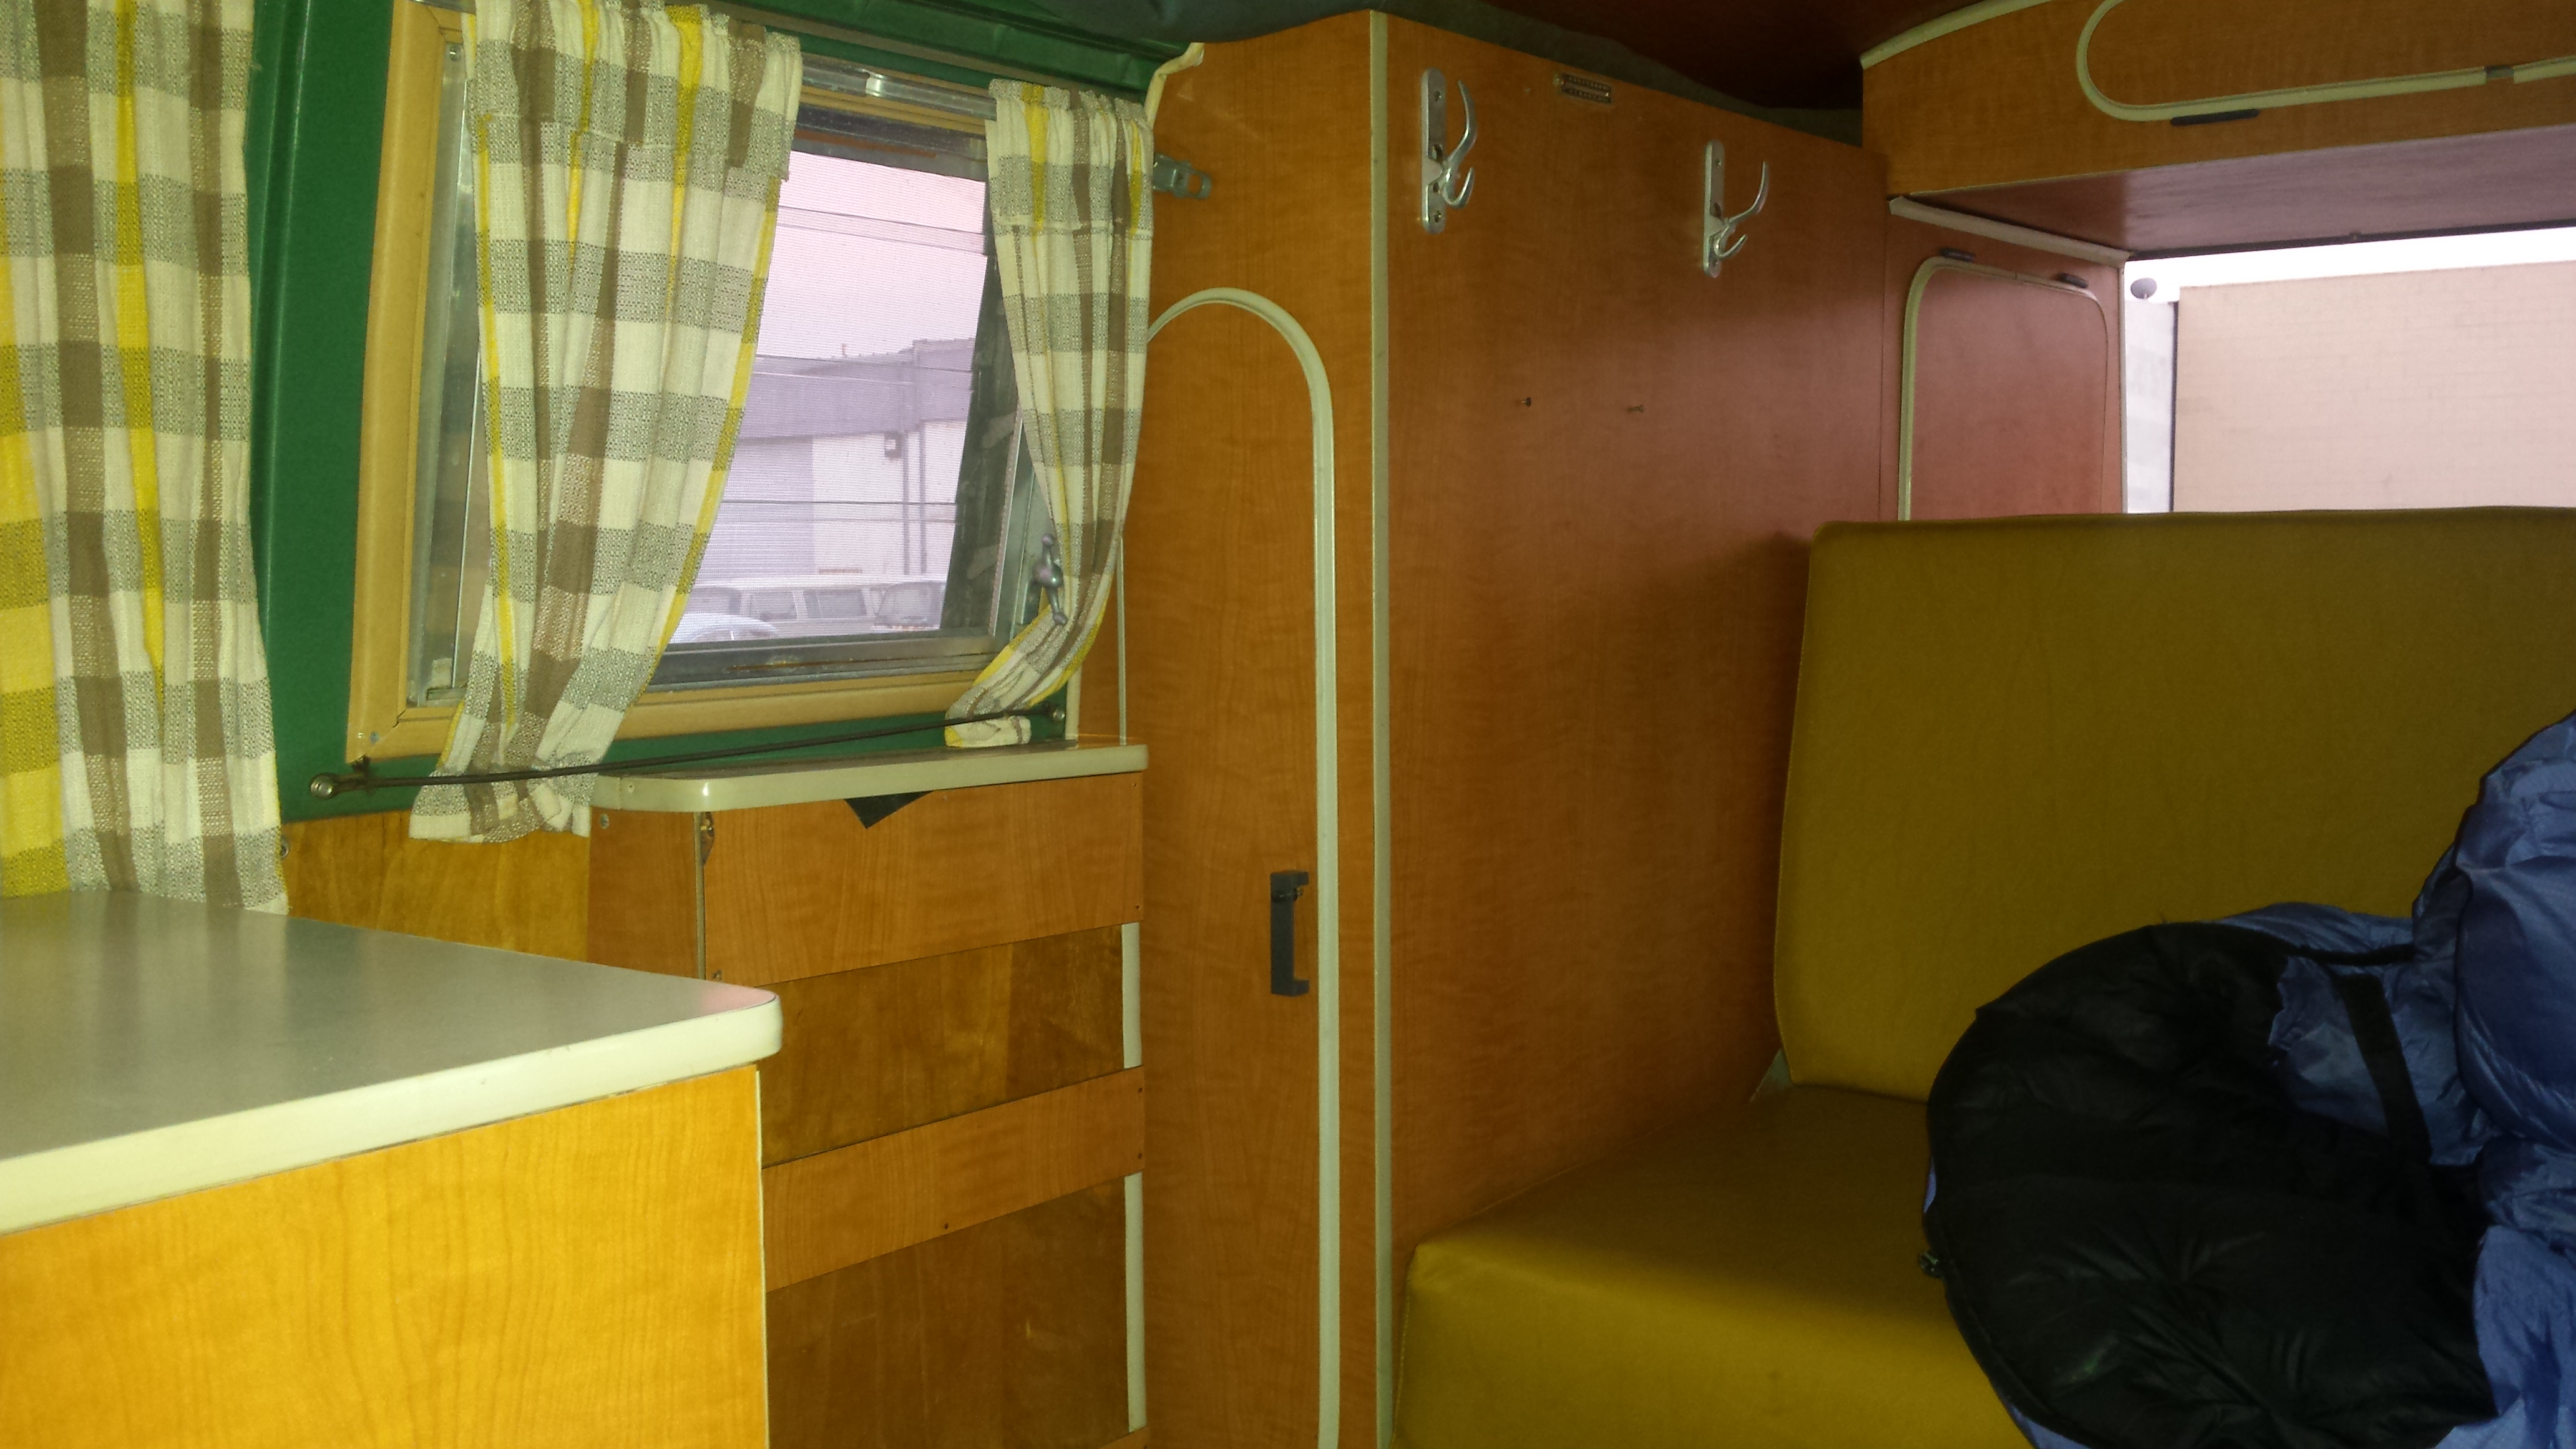
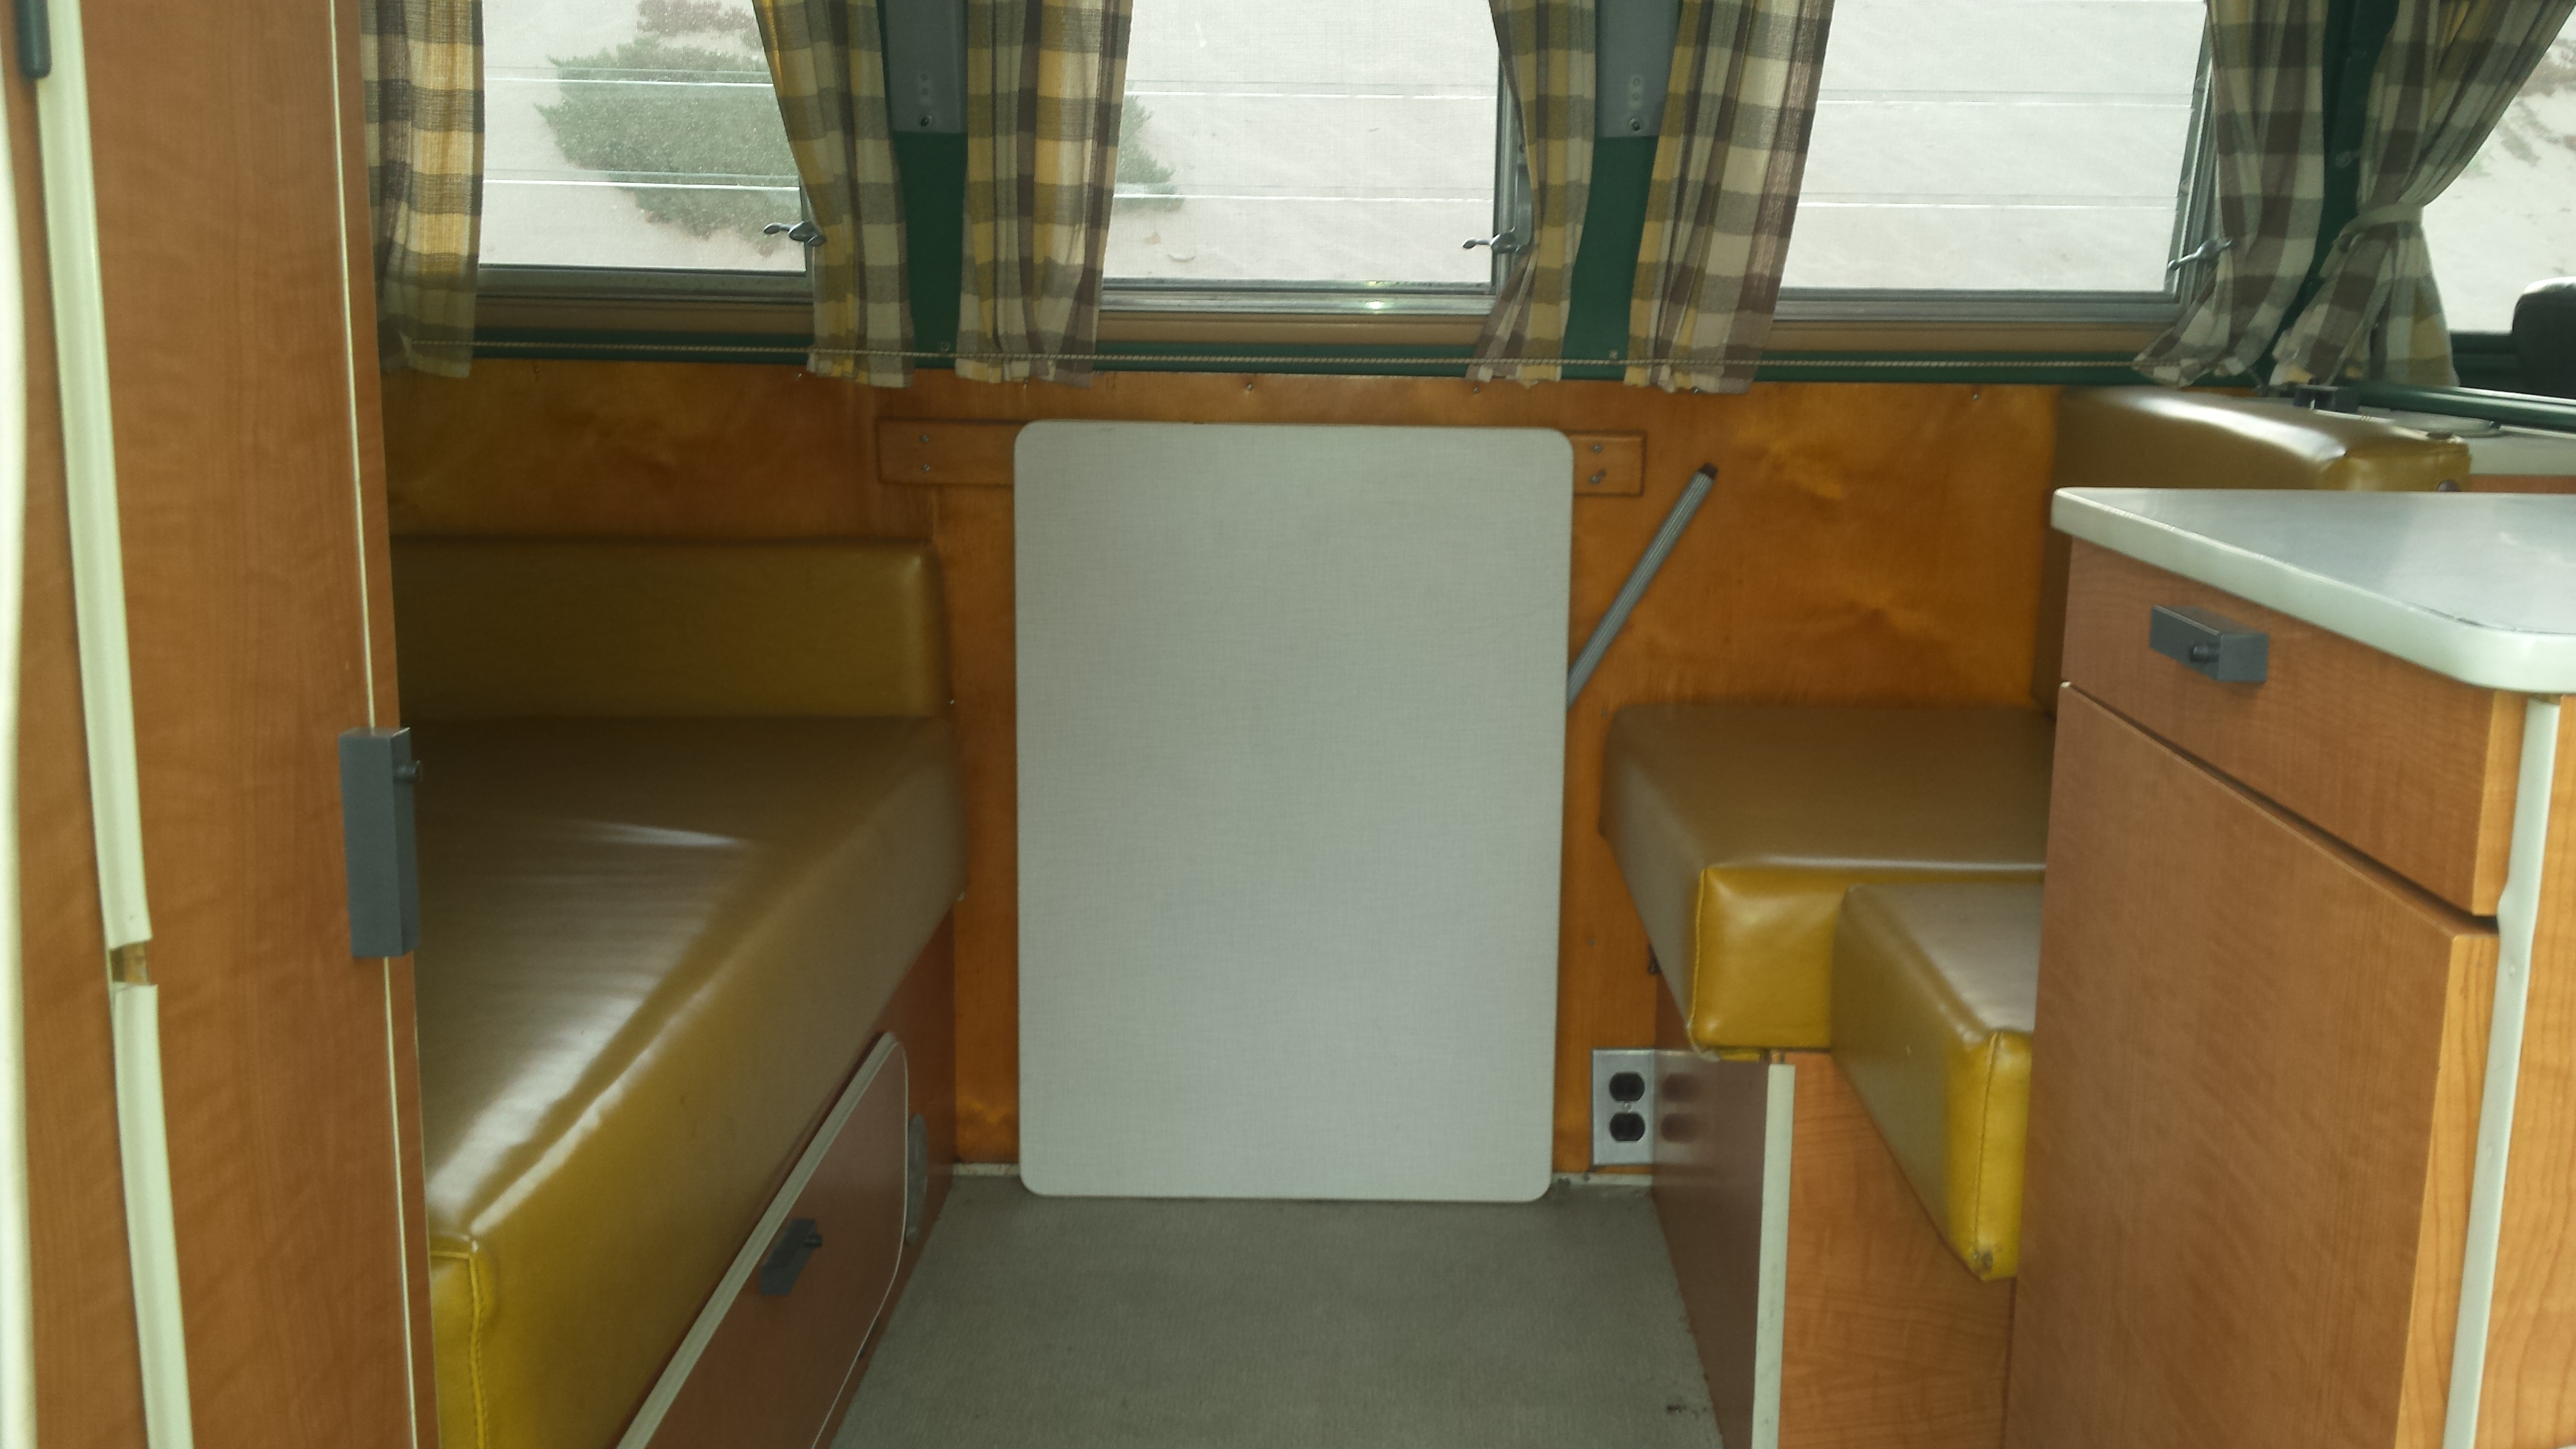
A view into the back. Cozy. Very cozy with the warm, welcoming color of the laminate. Curtains are orignal as far as I can tell. The curtains that cover the front door windows and windshields are there and in good condition.
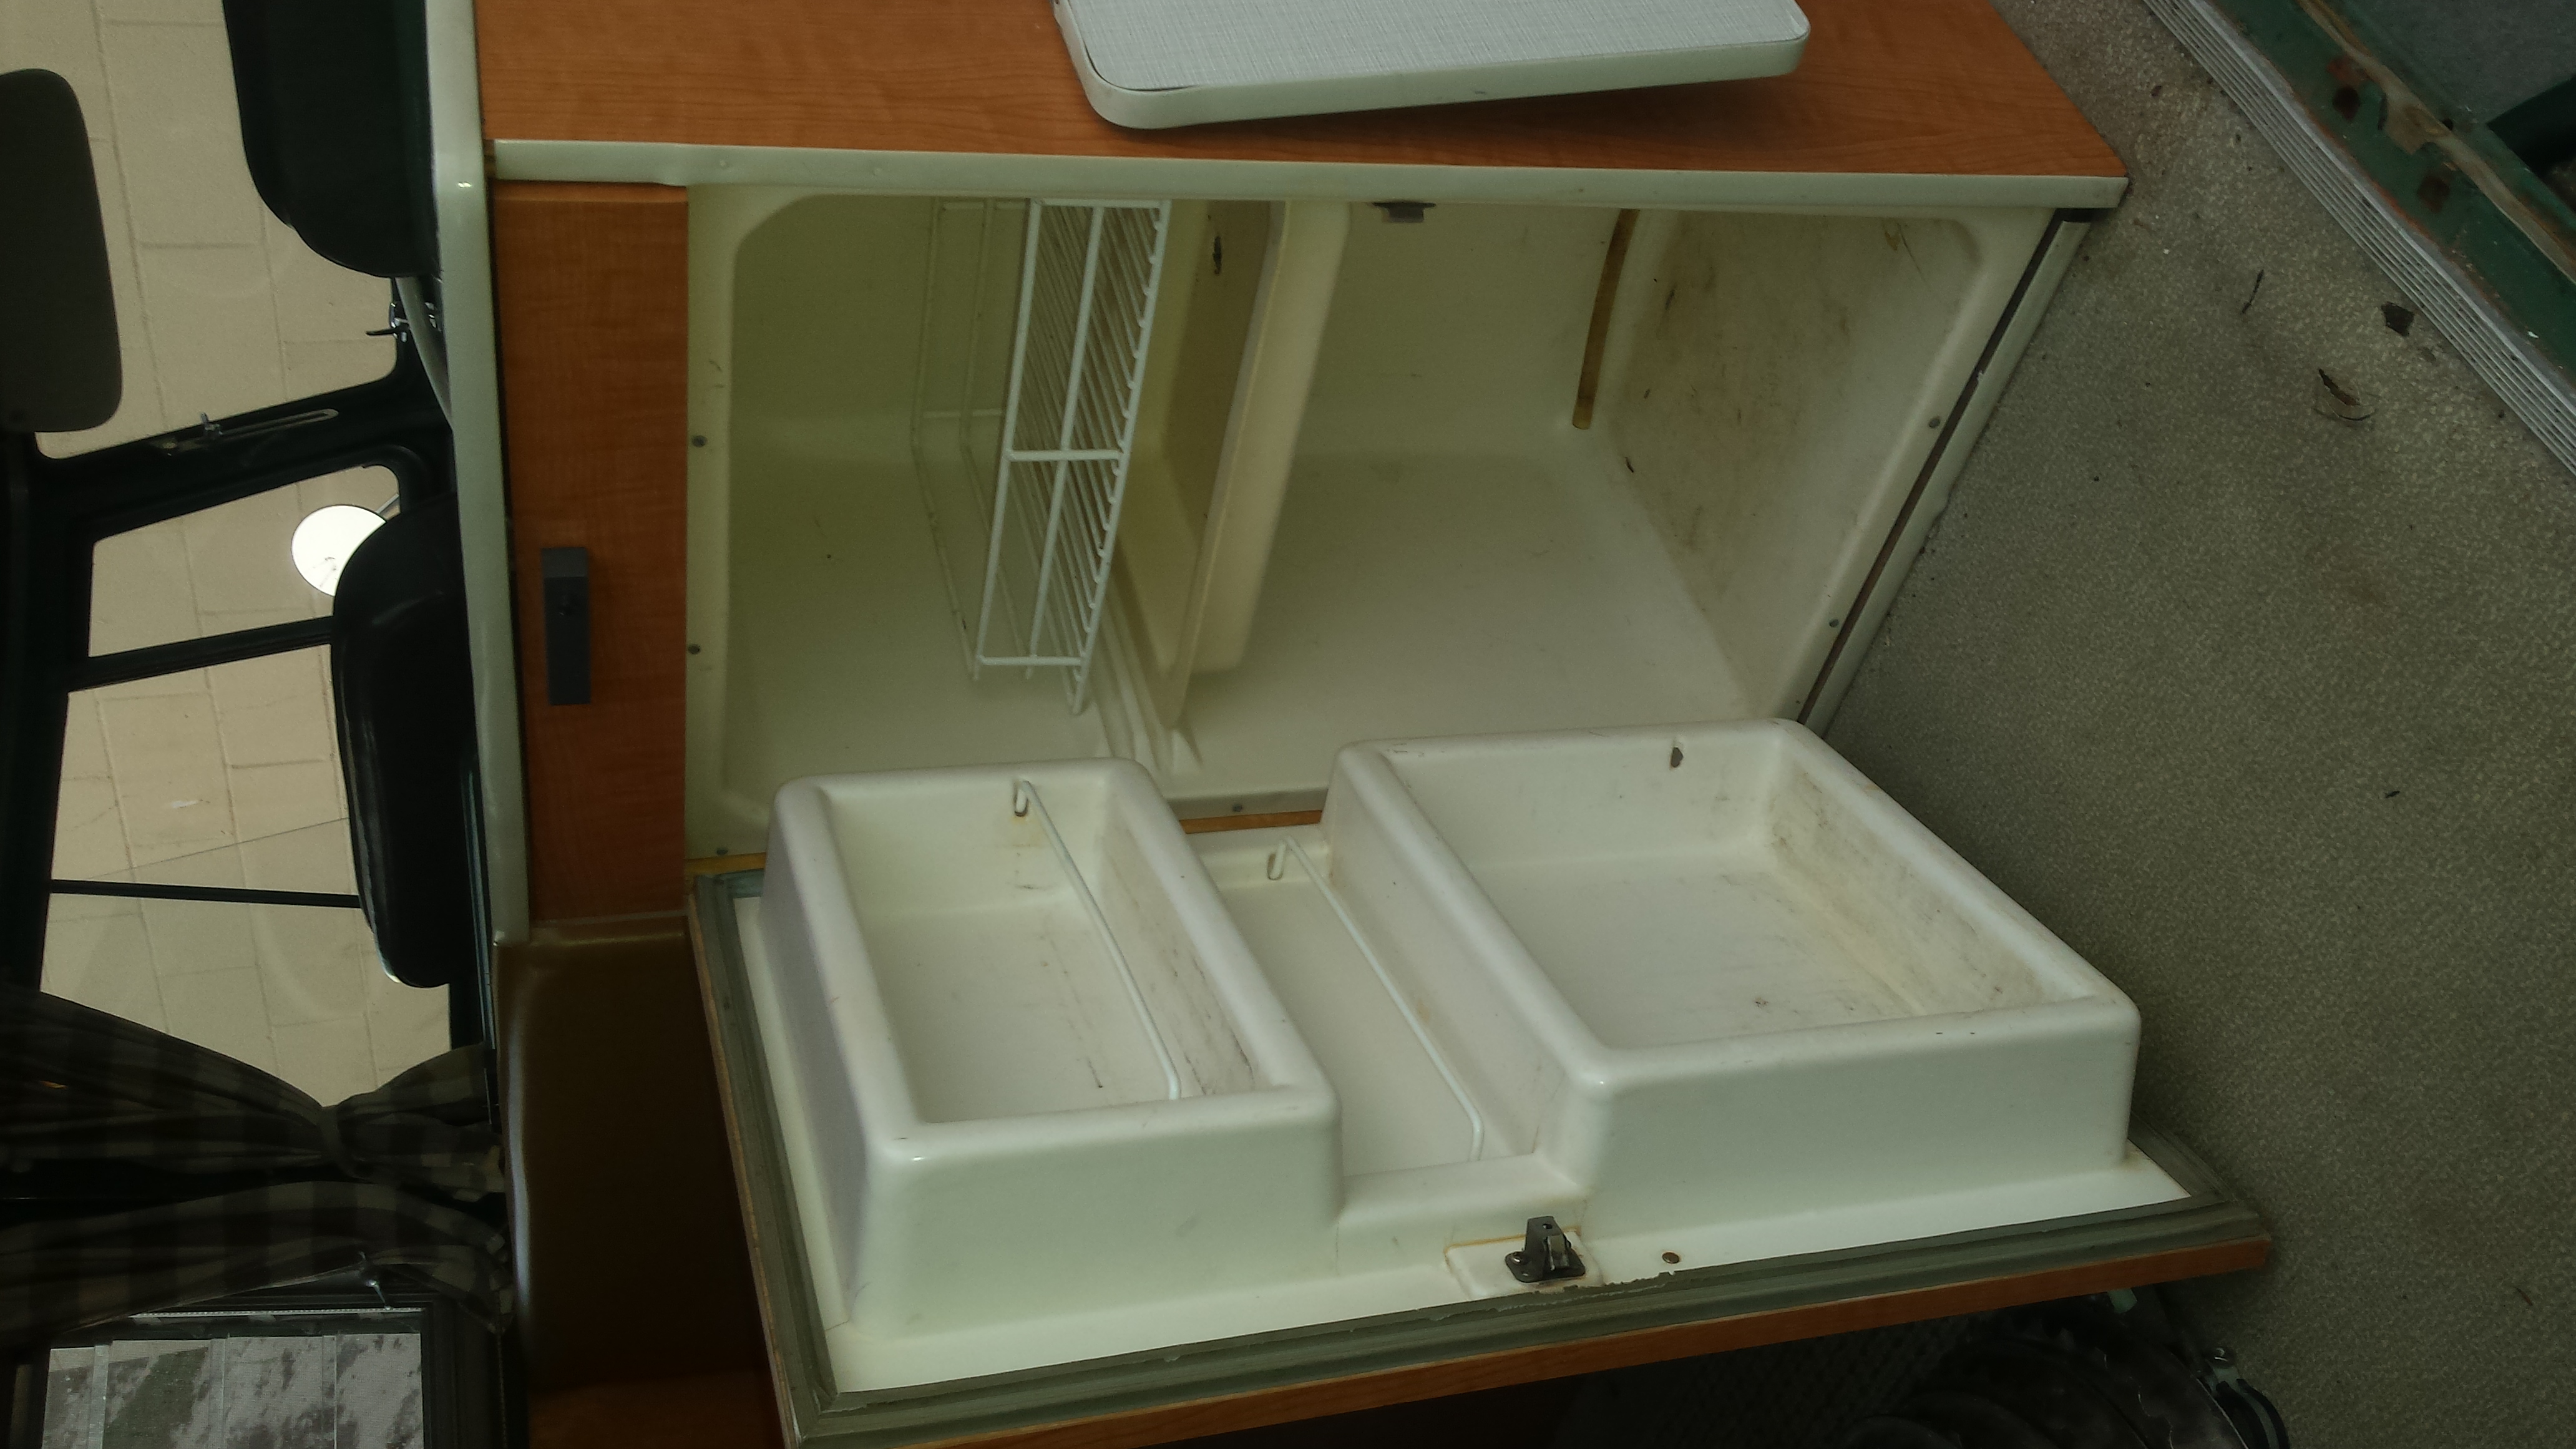
Top of ice box. Left side is front of bus. Tank filler threaded neck protrudes about half inch out of hole for screw ib cap. Larger hole is for faucet. 4 maller holes are for faucet mounting. I don’t believe there are any extra holes
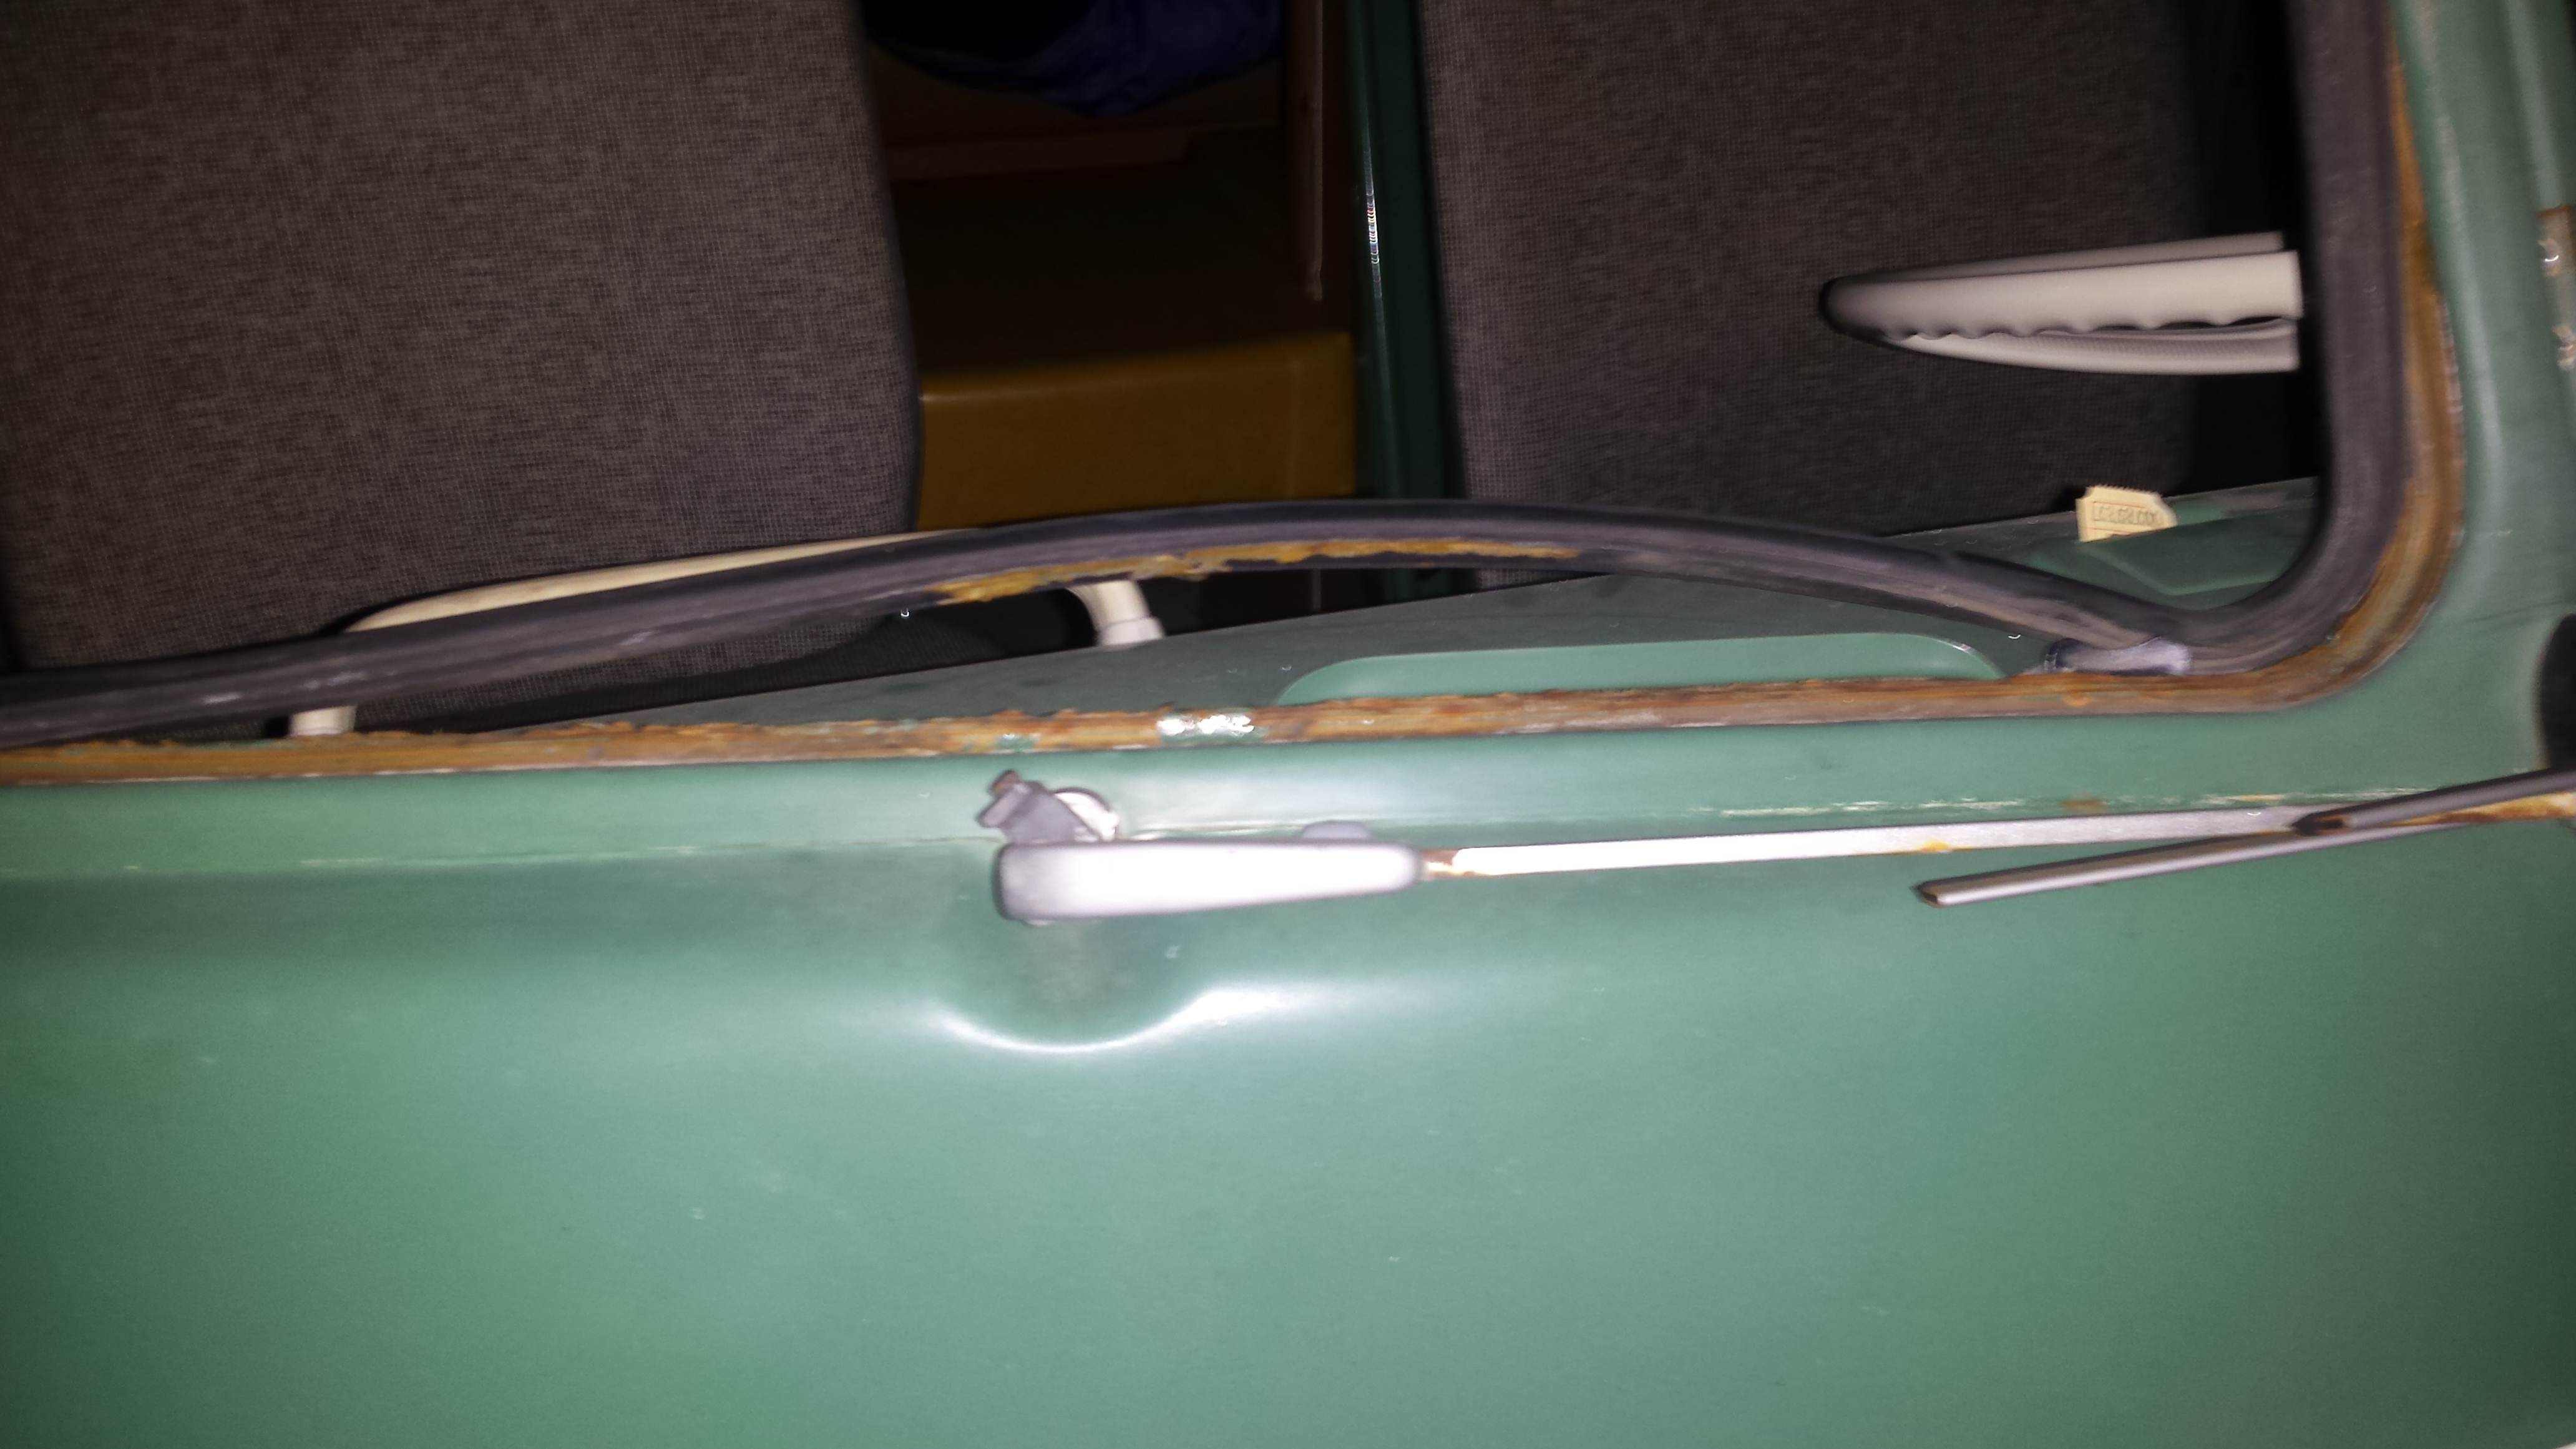
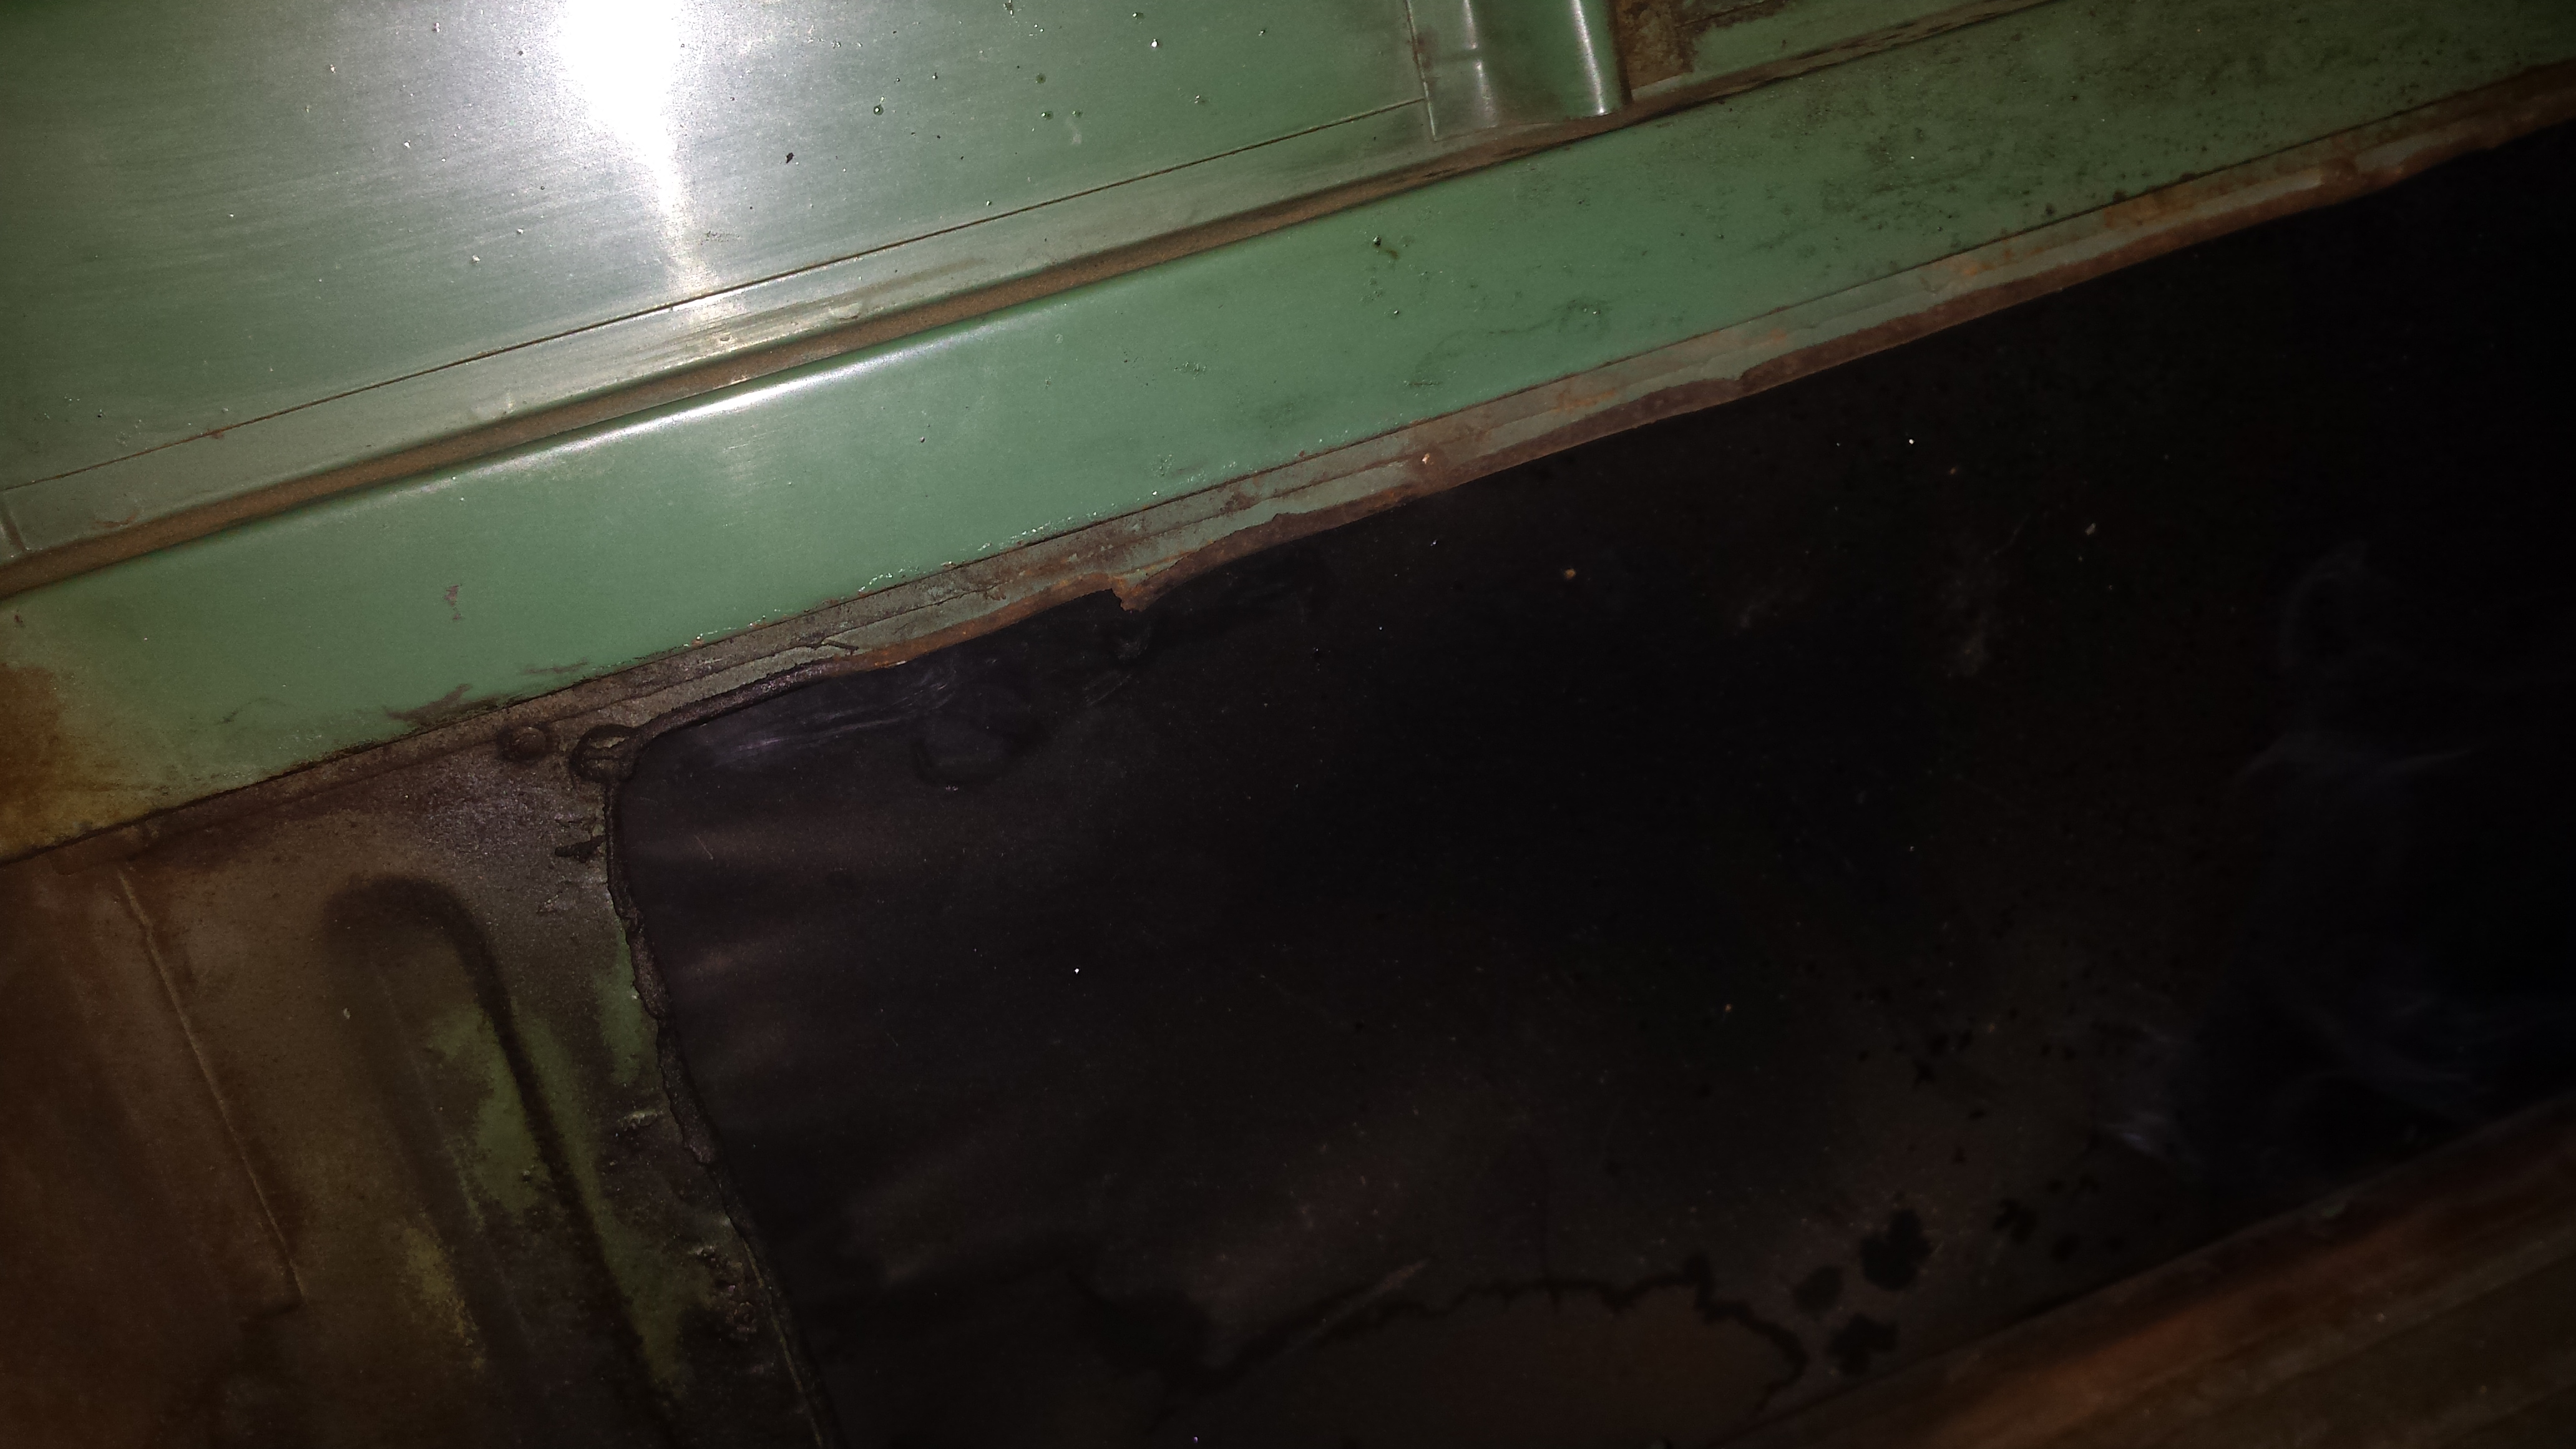
Passenger window seal area. There is no rust here – that’s 3M Yellow weather strip adhesive to hold the window rubber in place. It’s old so it’s crispy but personally, I would use no glue or just enough to keep the rubber down. On my old 67, I never glued them in.

Driver’s side windshield area. Glue is still doing it’s job here so rubber is too well bonded to pull up. No rust here either.
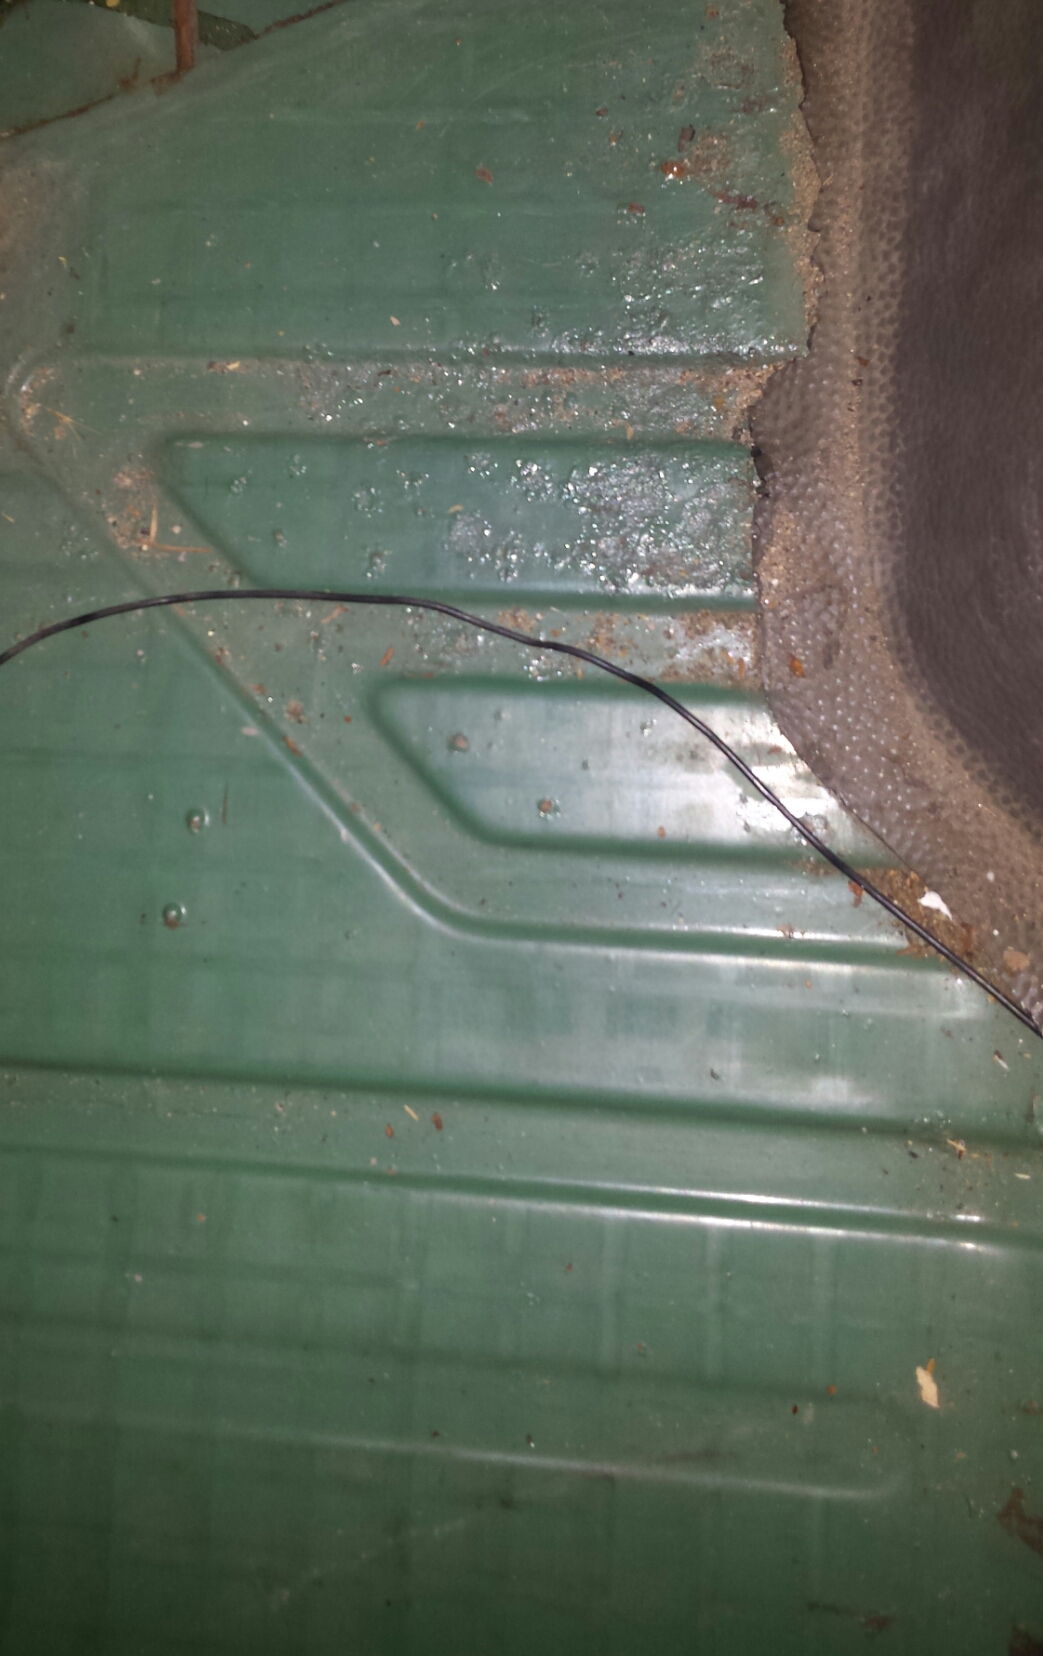
Passenger side floor area closest to door. A little surface rust and paint flaking. Rust is purely superficial.
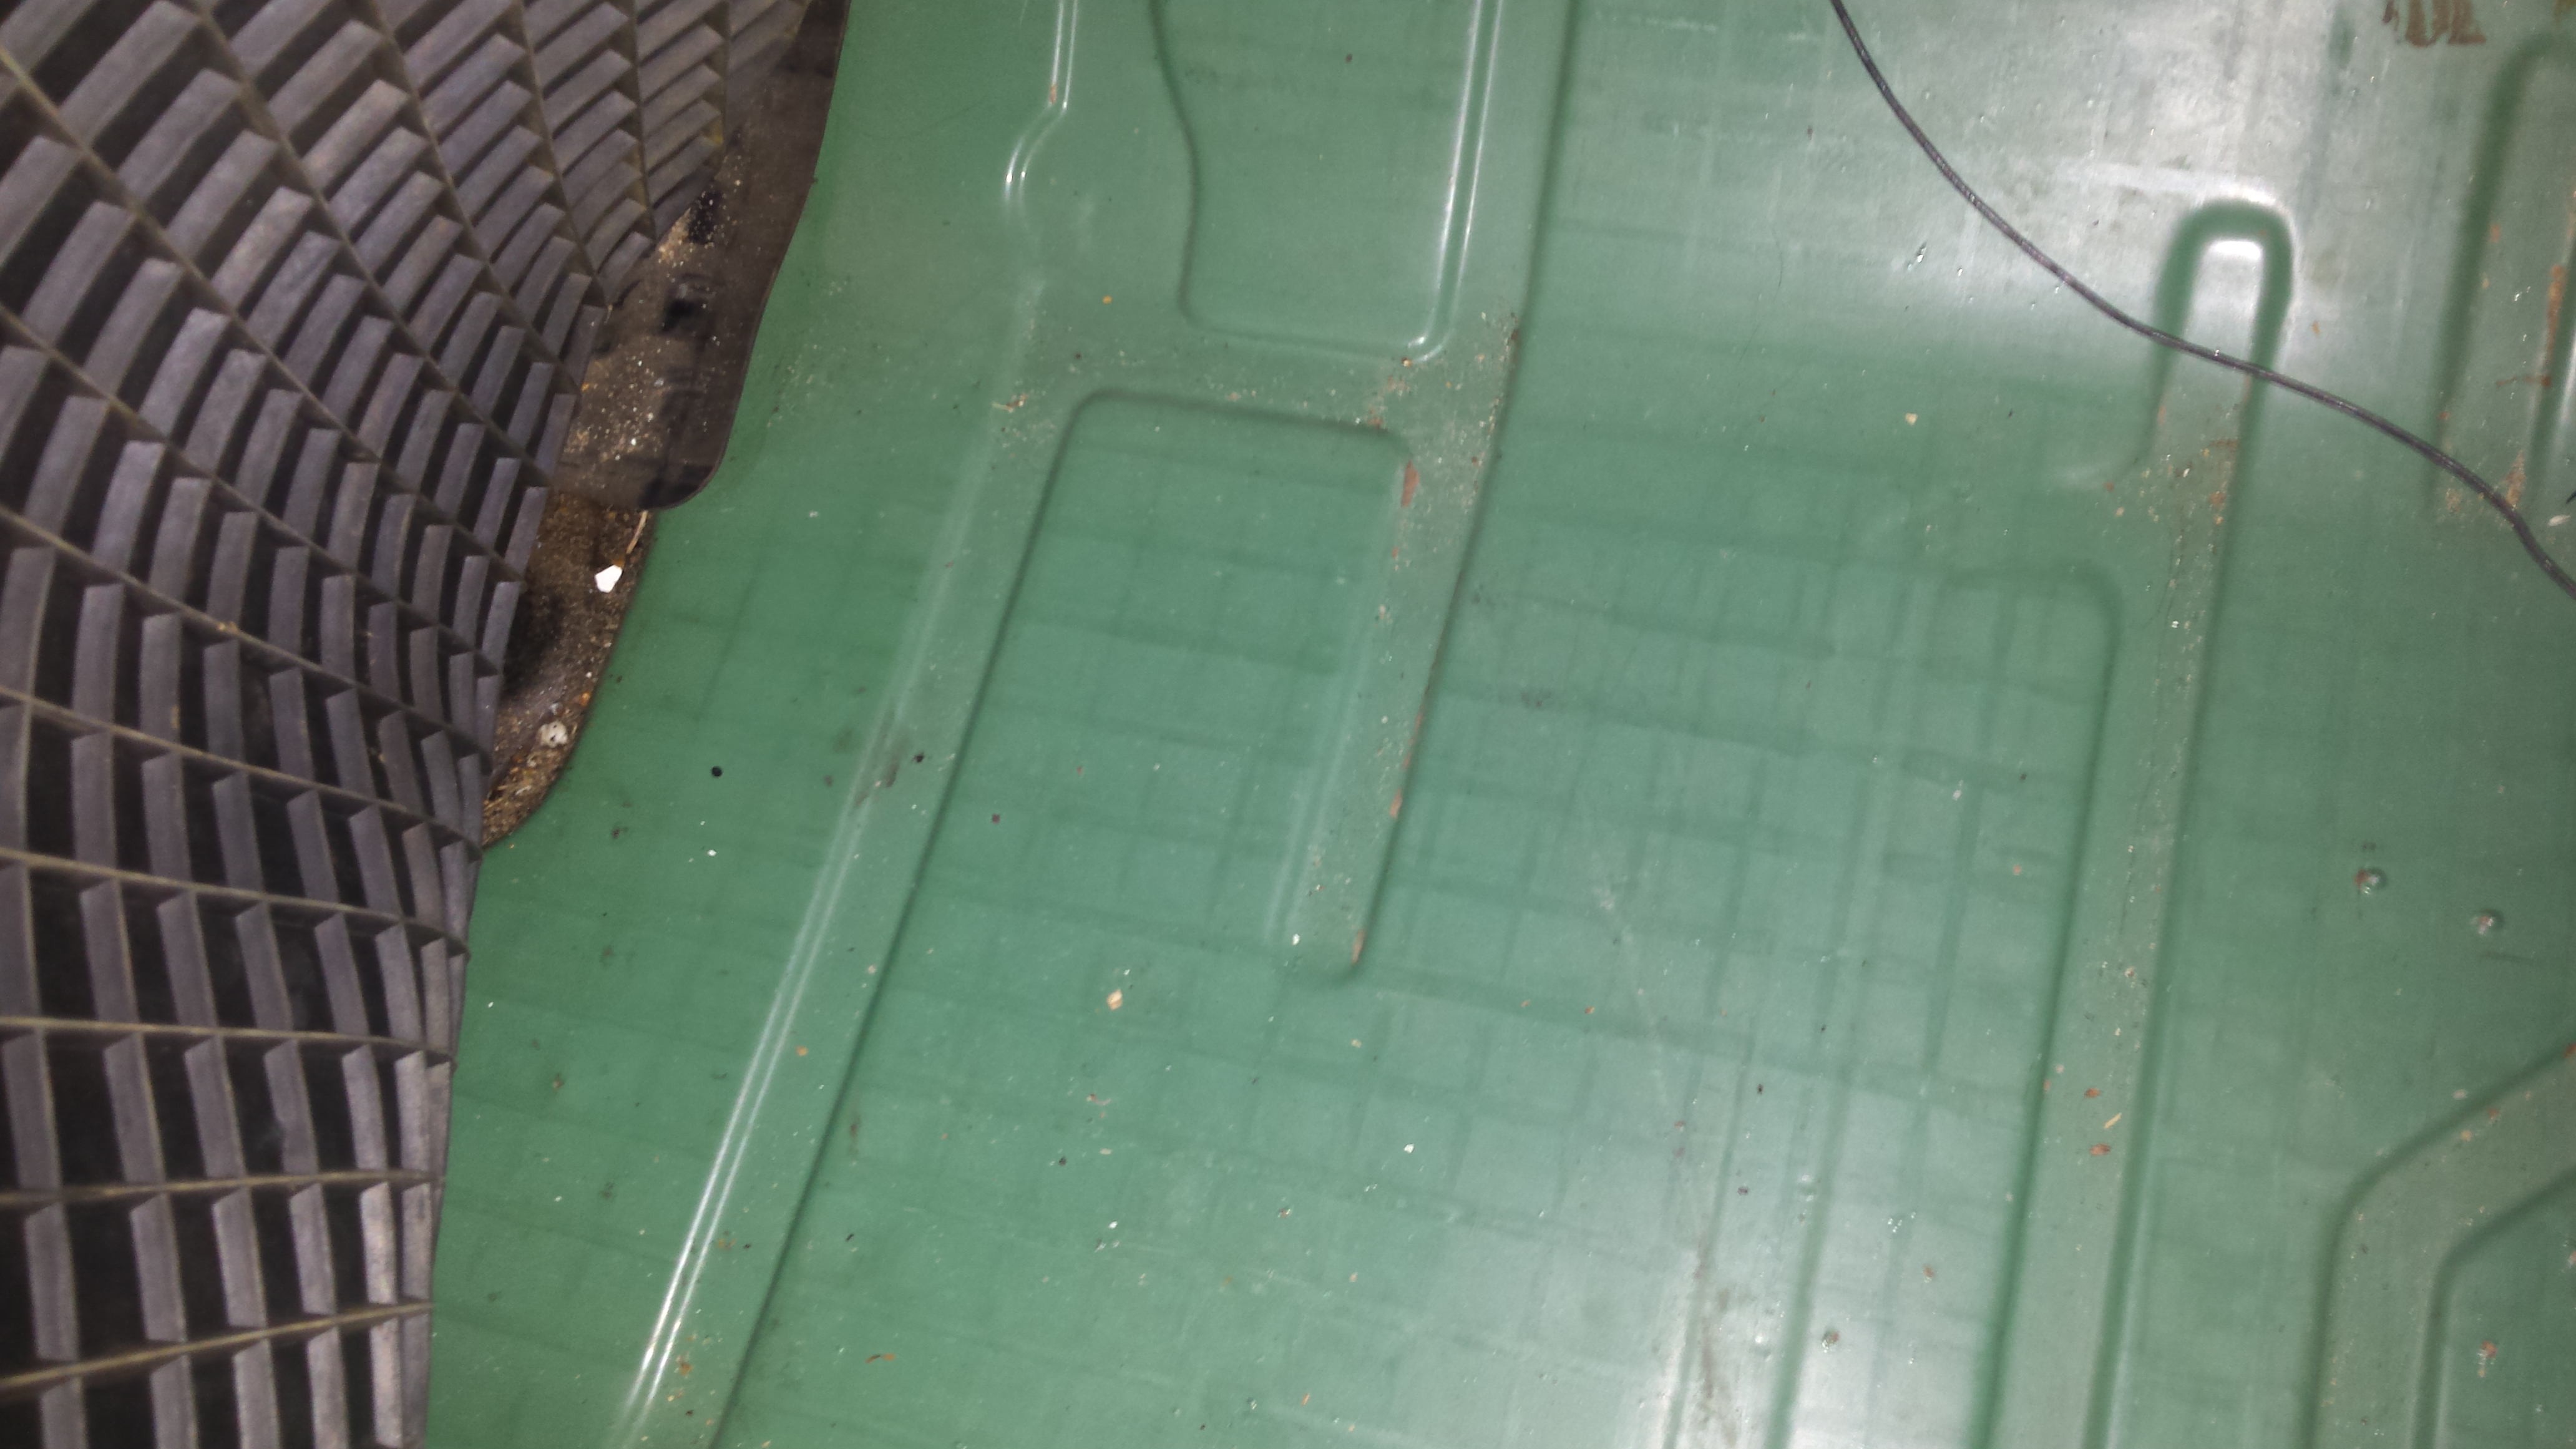
Passenger side front floor a little farther in from the door. If you look closely you can see the edge of the rubber bottom of the handbrake lever boot protruding from the floor mat. Paint is excellent here.
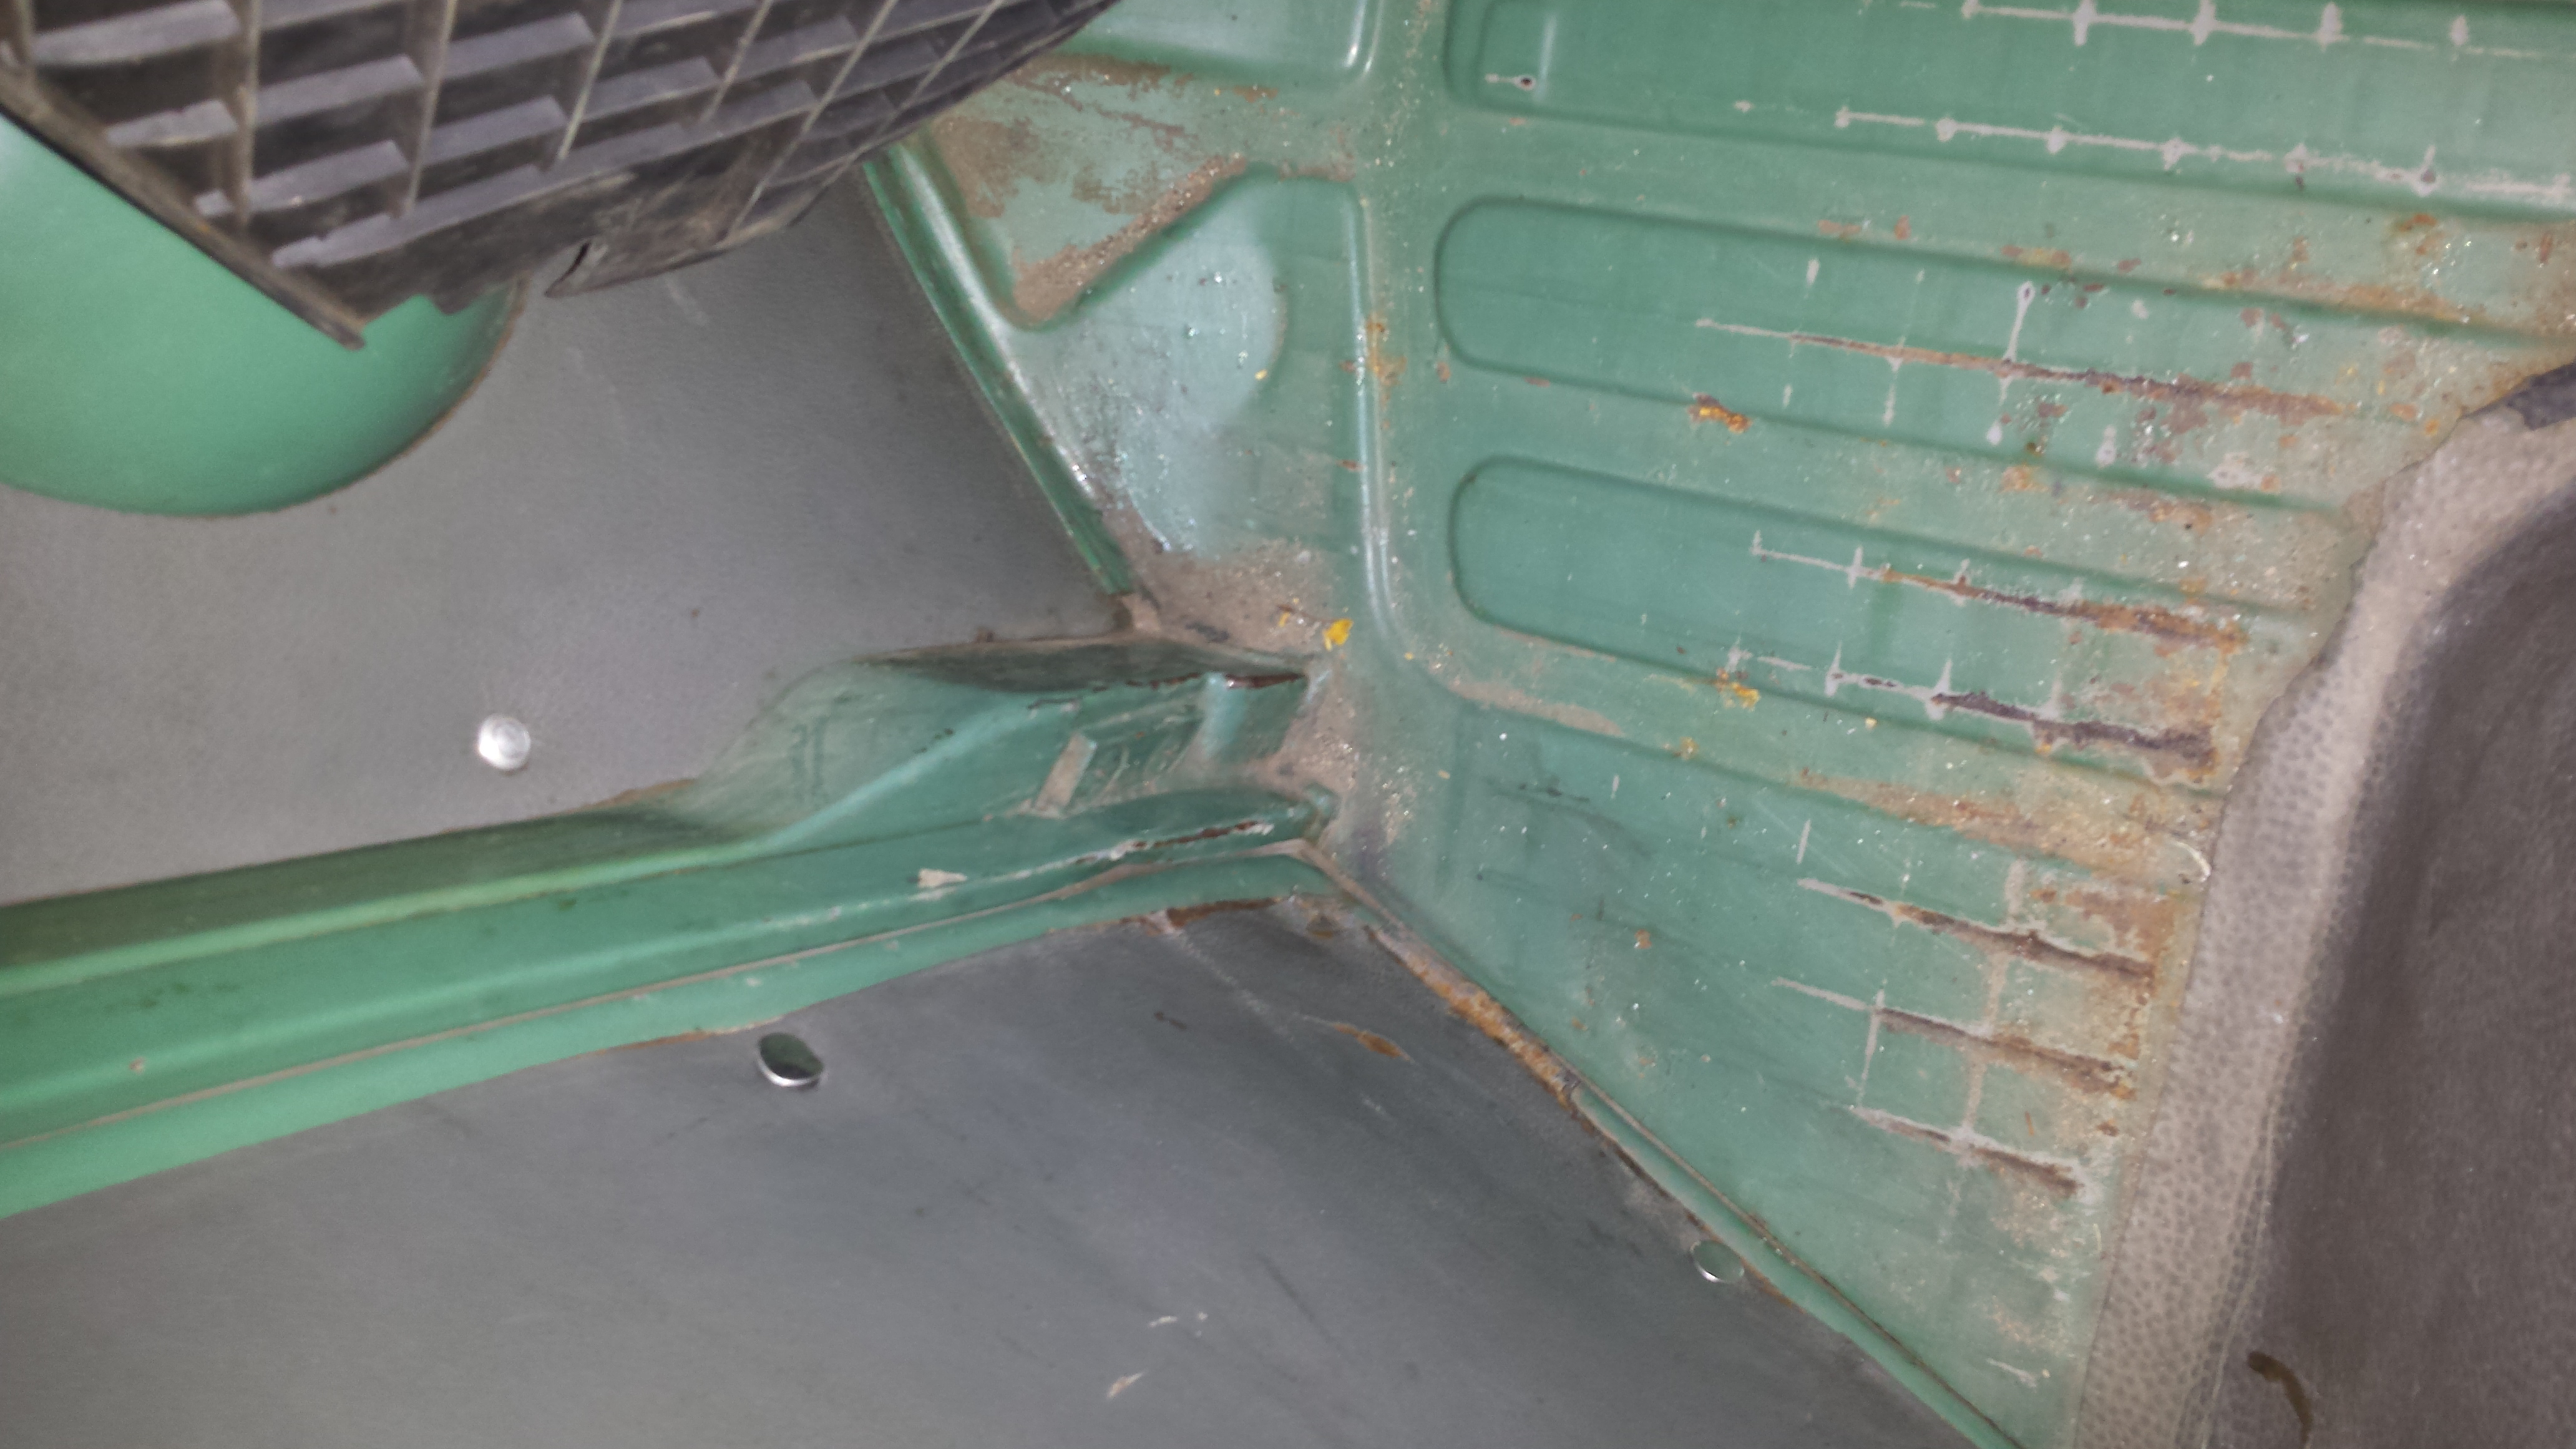
Drivers side front floor. Minor surface rust, totally superficial, paint worn to primer due to bottom surface of floor mat chafing. The stuff at the bottom of the door pillar is dust, not rust.

Original radio block off. No reason to believe it wasn’t installed on the assembly line way back when. There’s no antenna and no evidence of there ever being one. I guess the sound of the bus engine was music to the ears of the original owners. Or maybe they like singing.

Area below dash. Origonal kick panels. The tiny screws that hold them in are present as are the original finishing washers. Headlight housings show minor scratching but overall it’s real nice in this area.
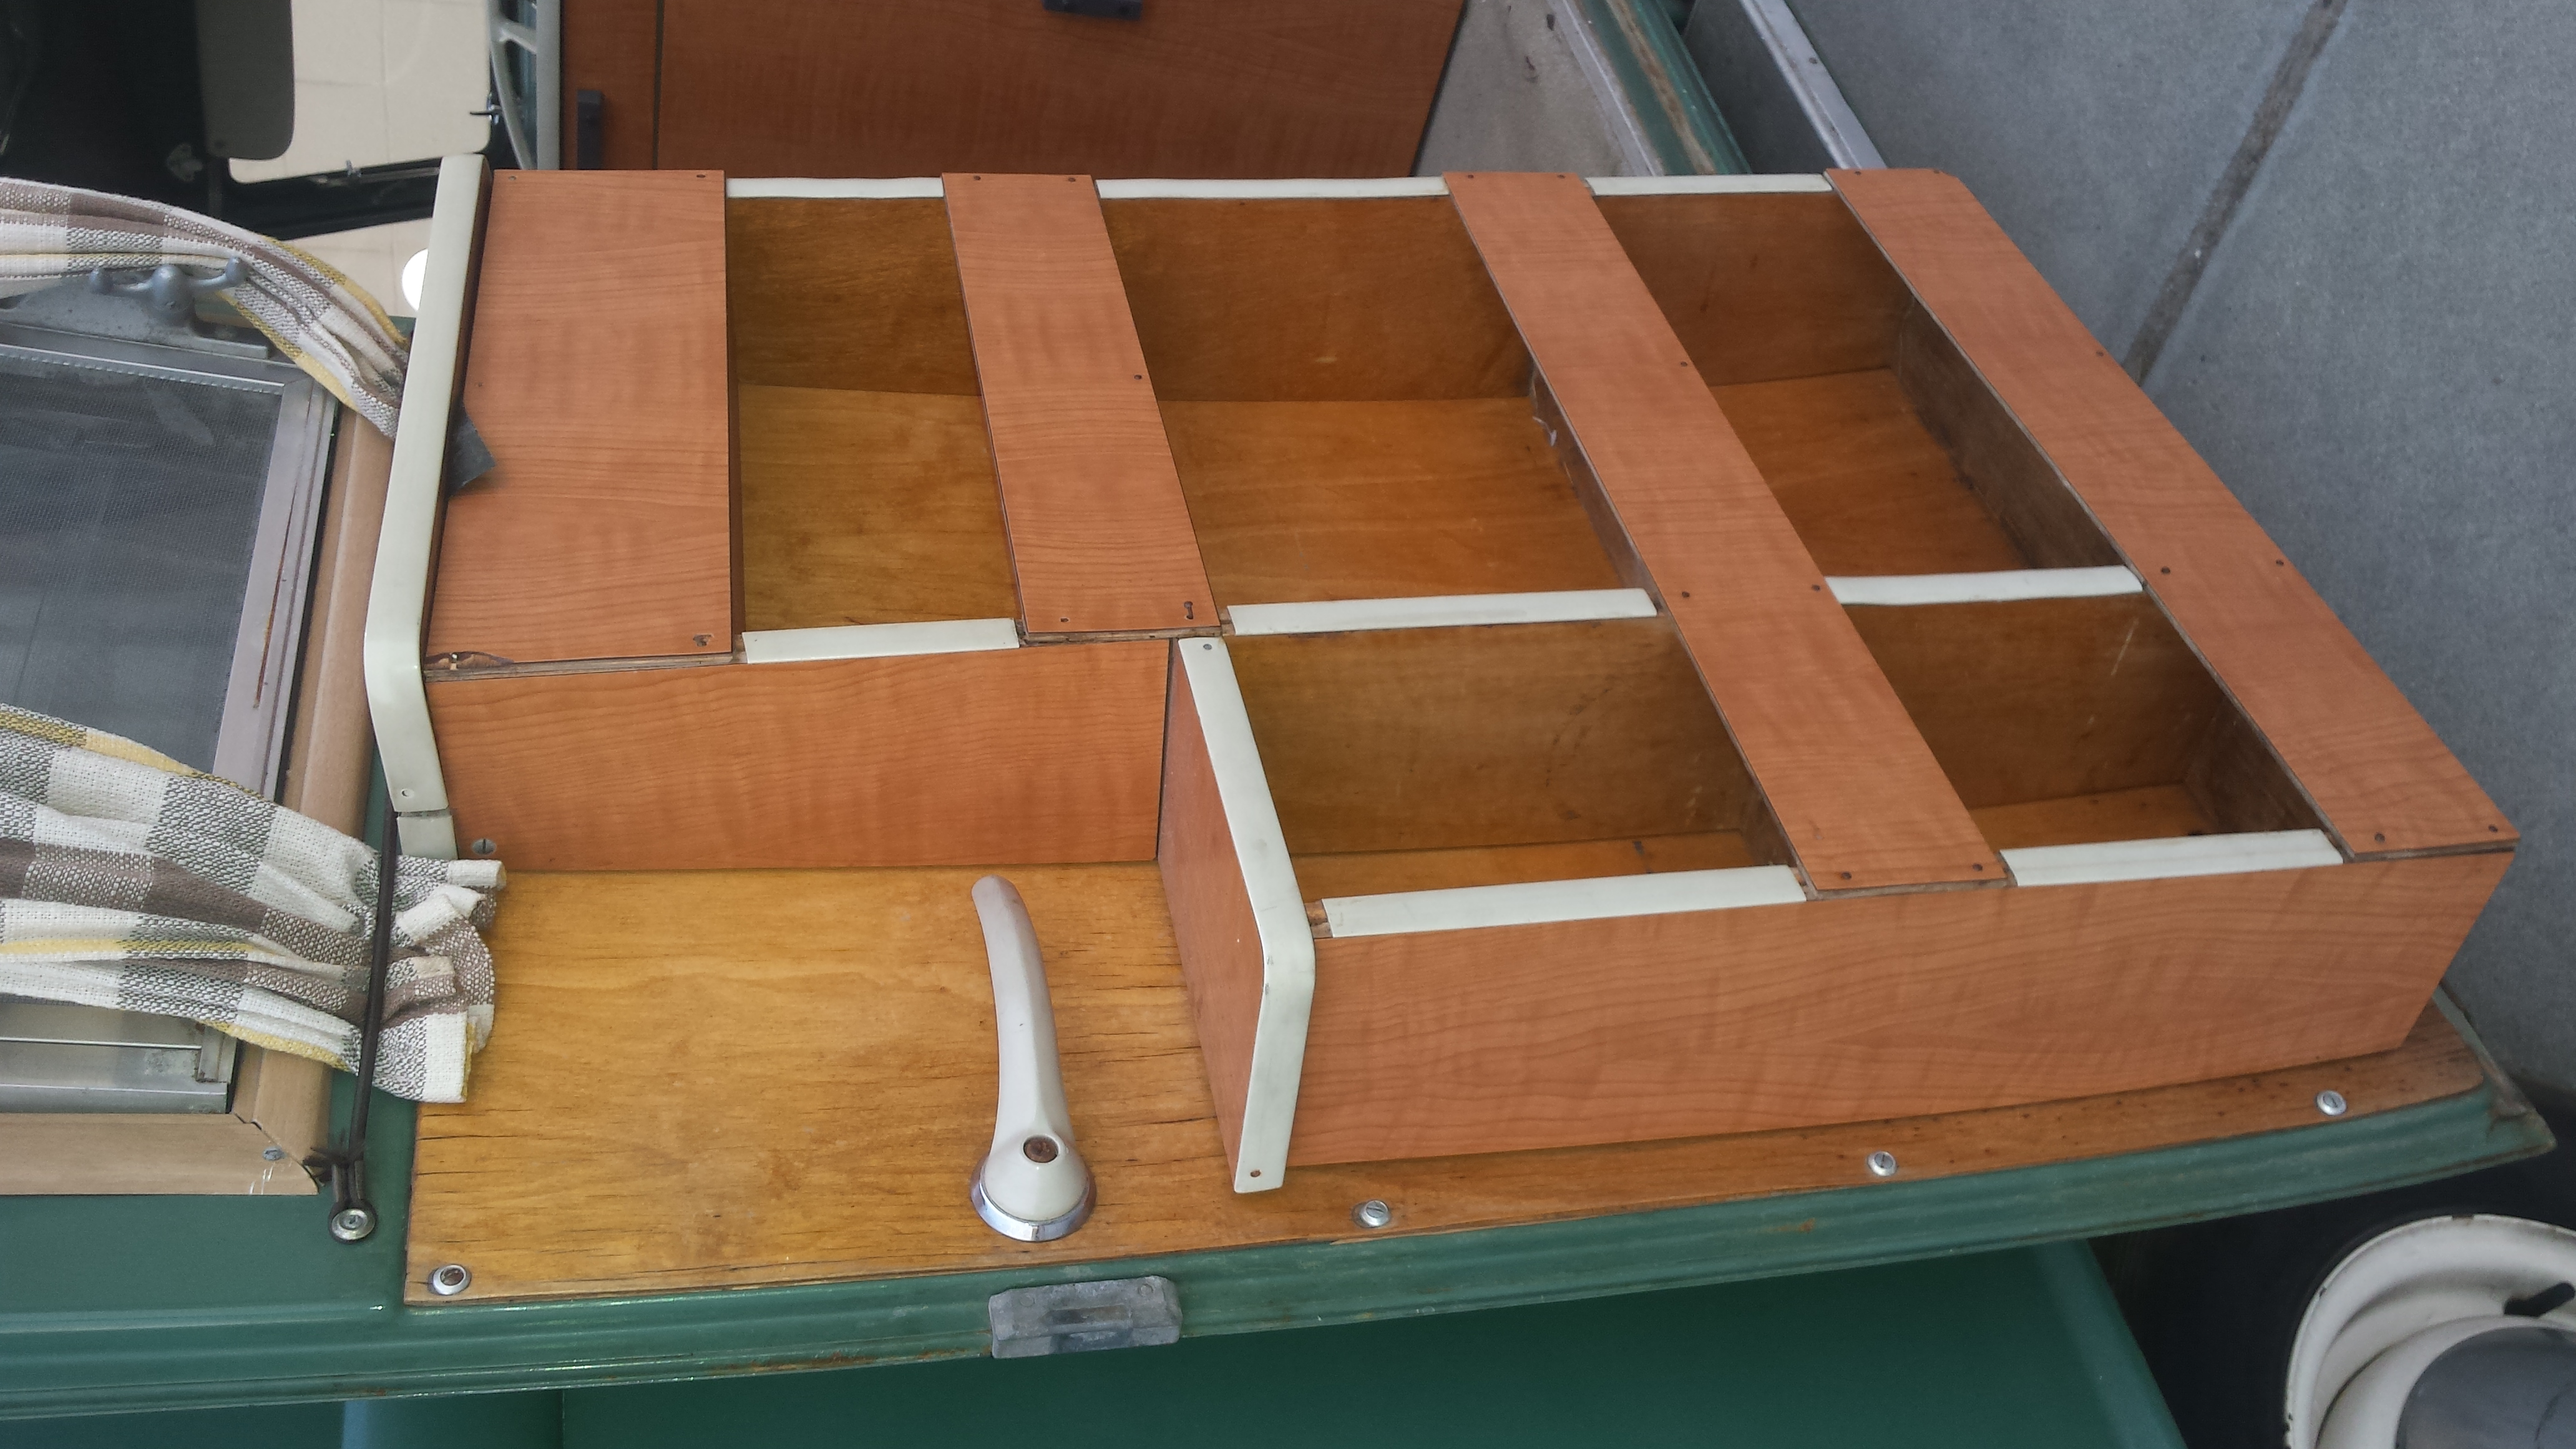
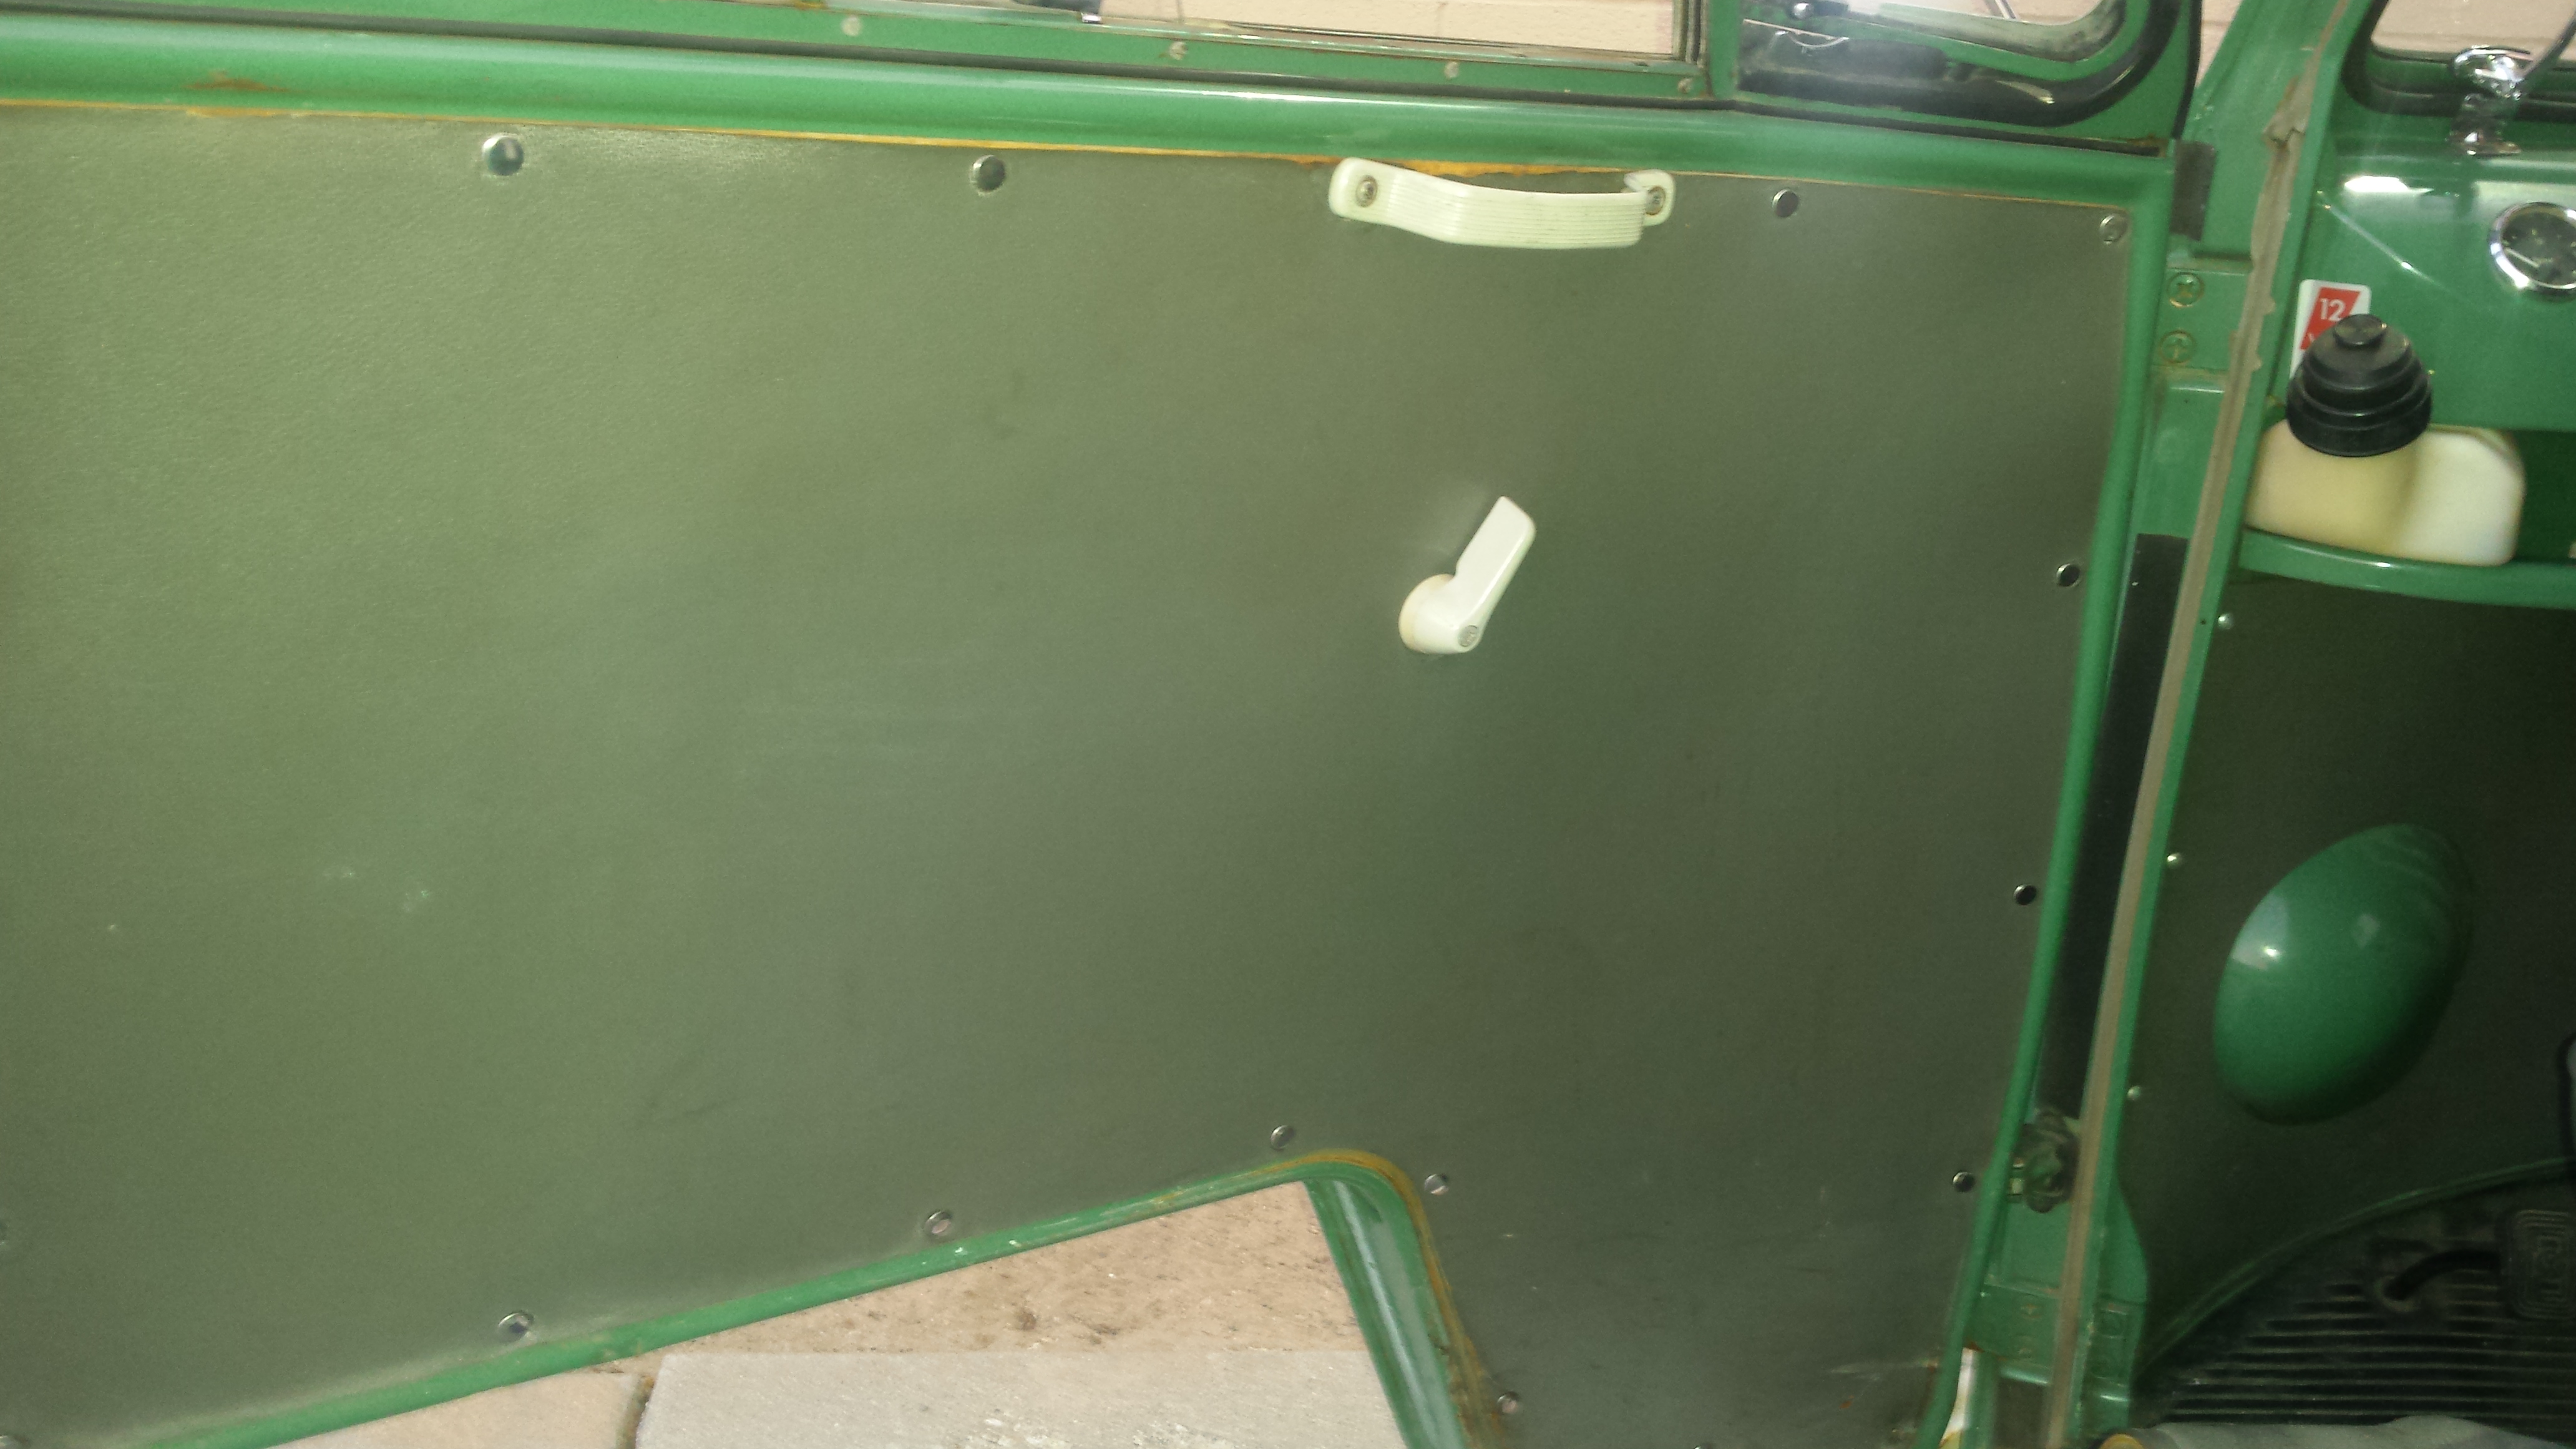
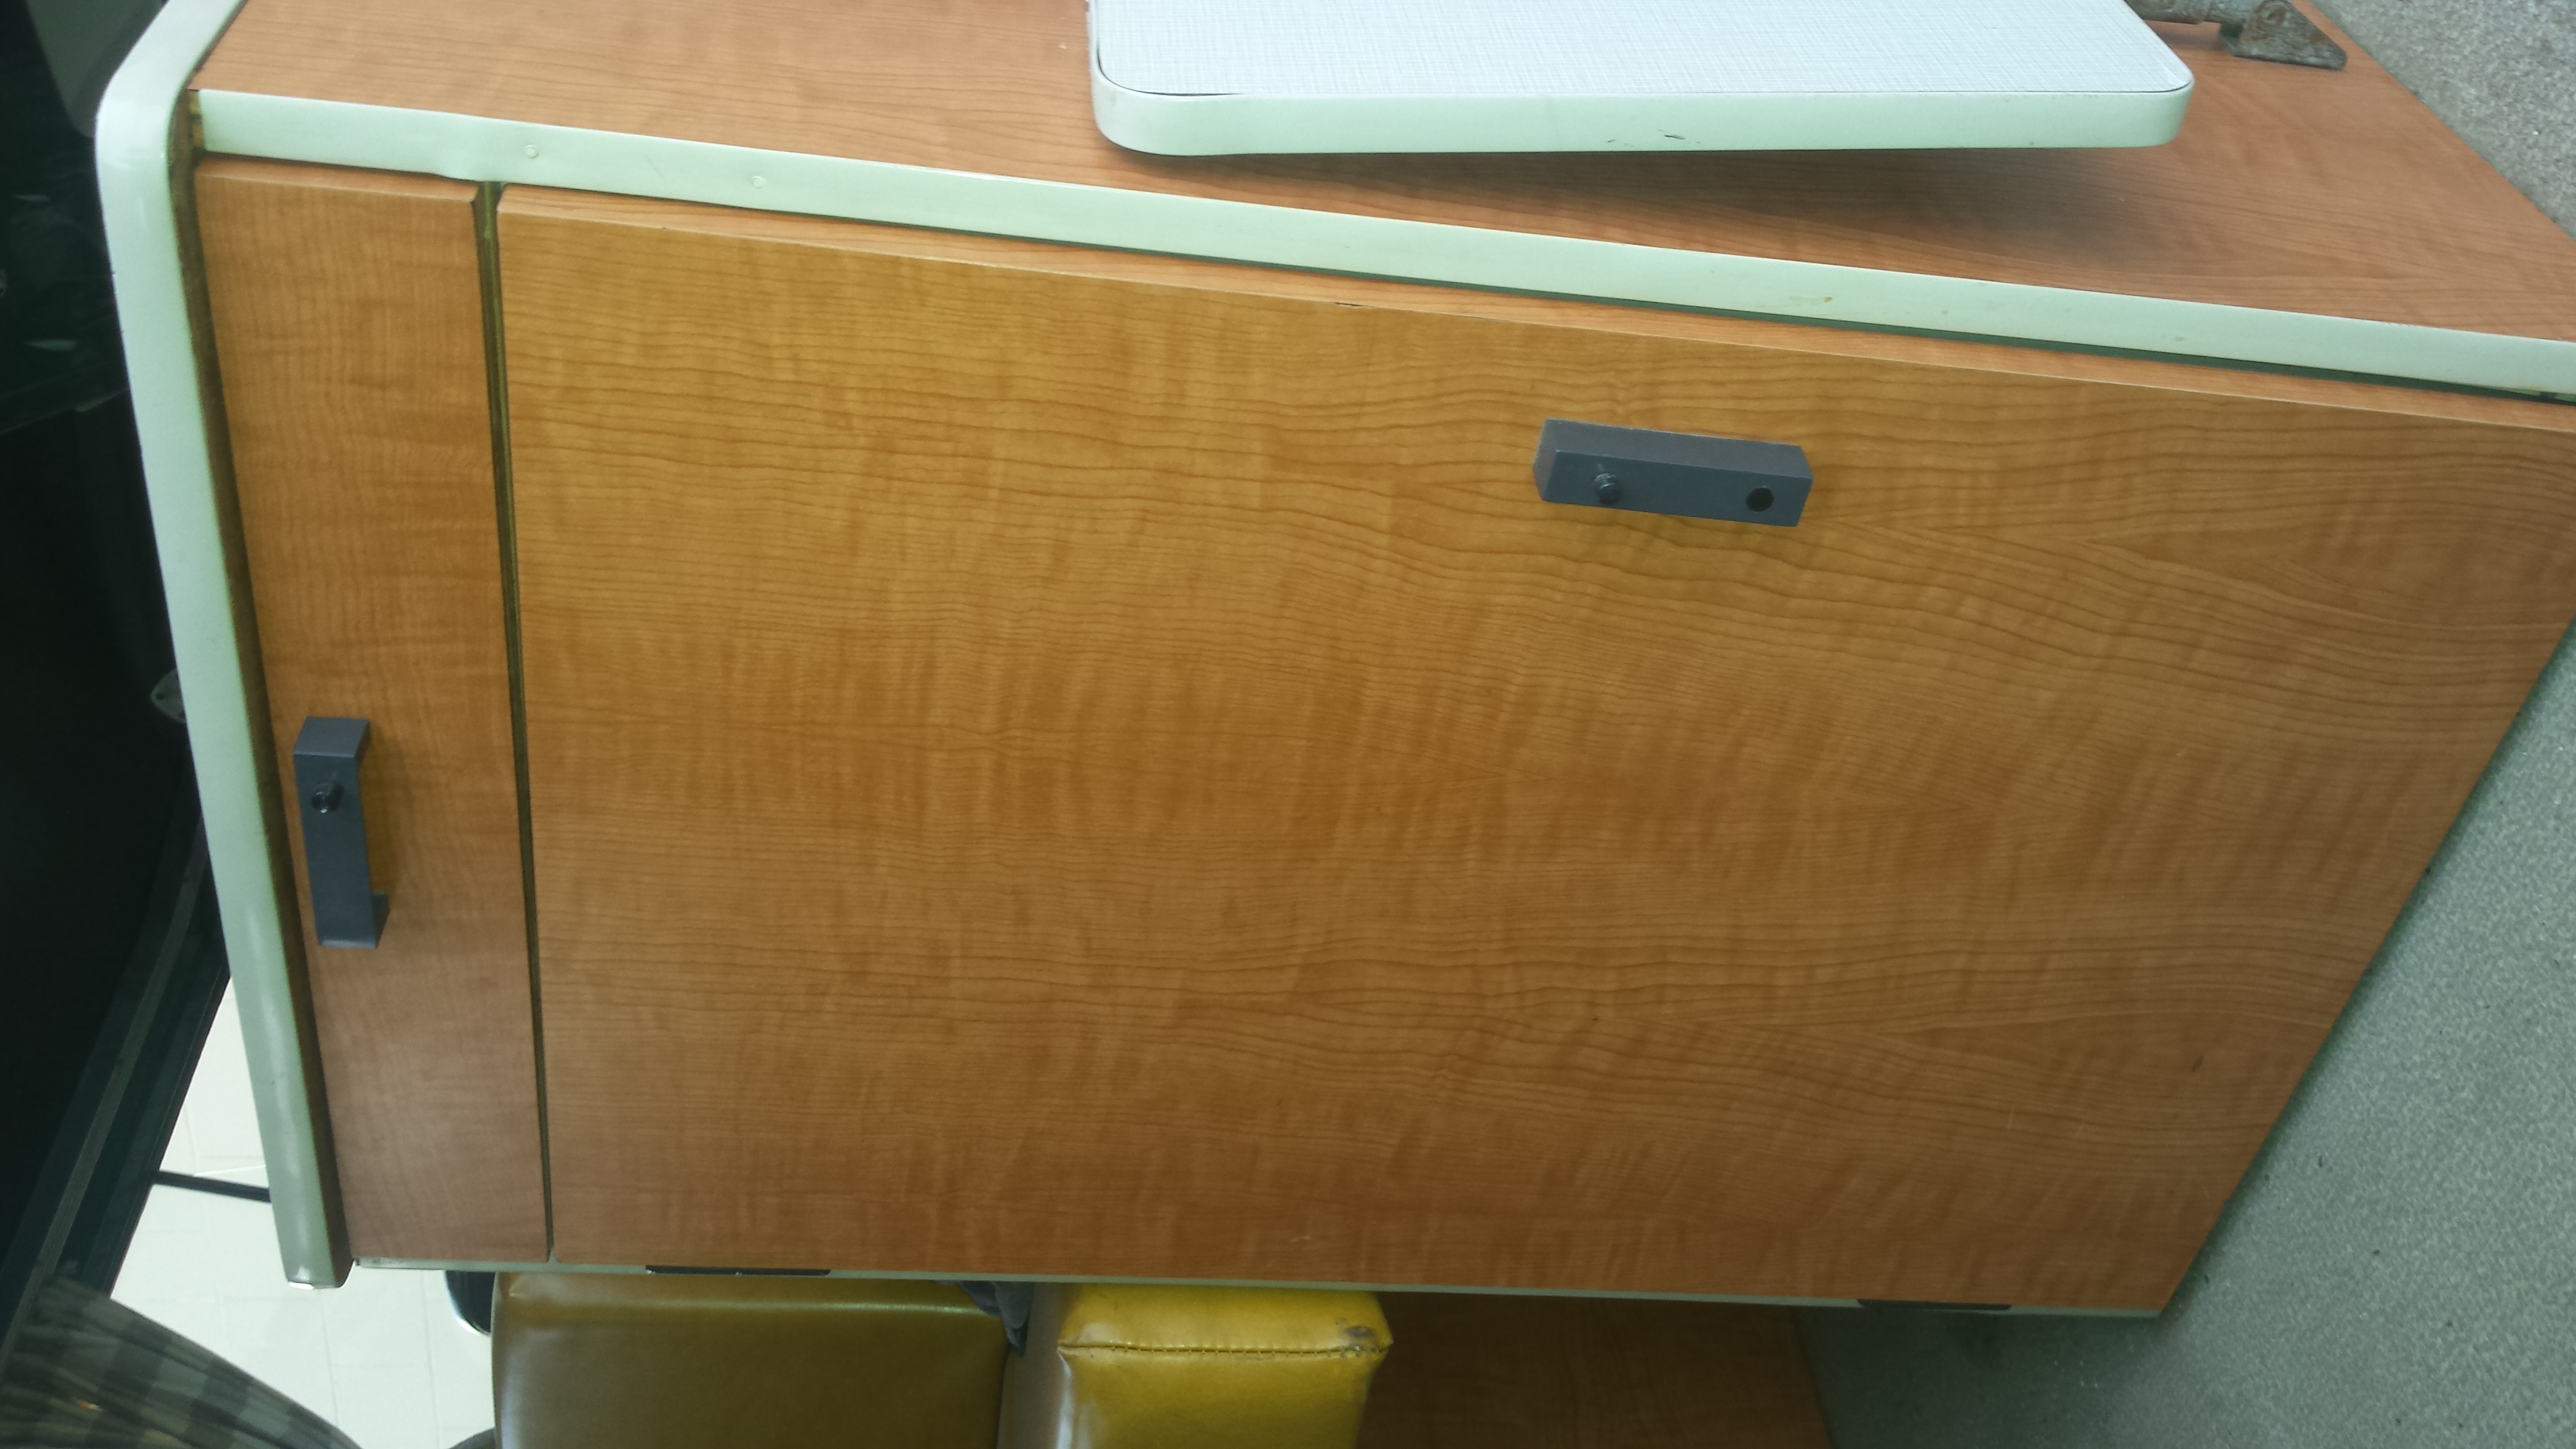
Cabinet on rear side door. Nice shape but shows it’s been used. Real tiny nails loosening a bit. Loving care needed but not urgent in any way.
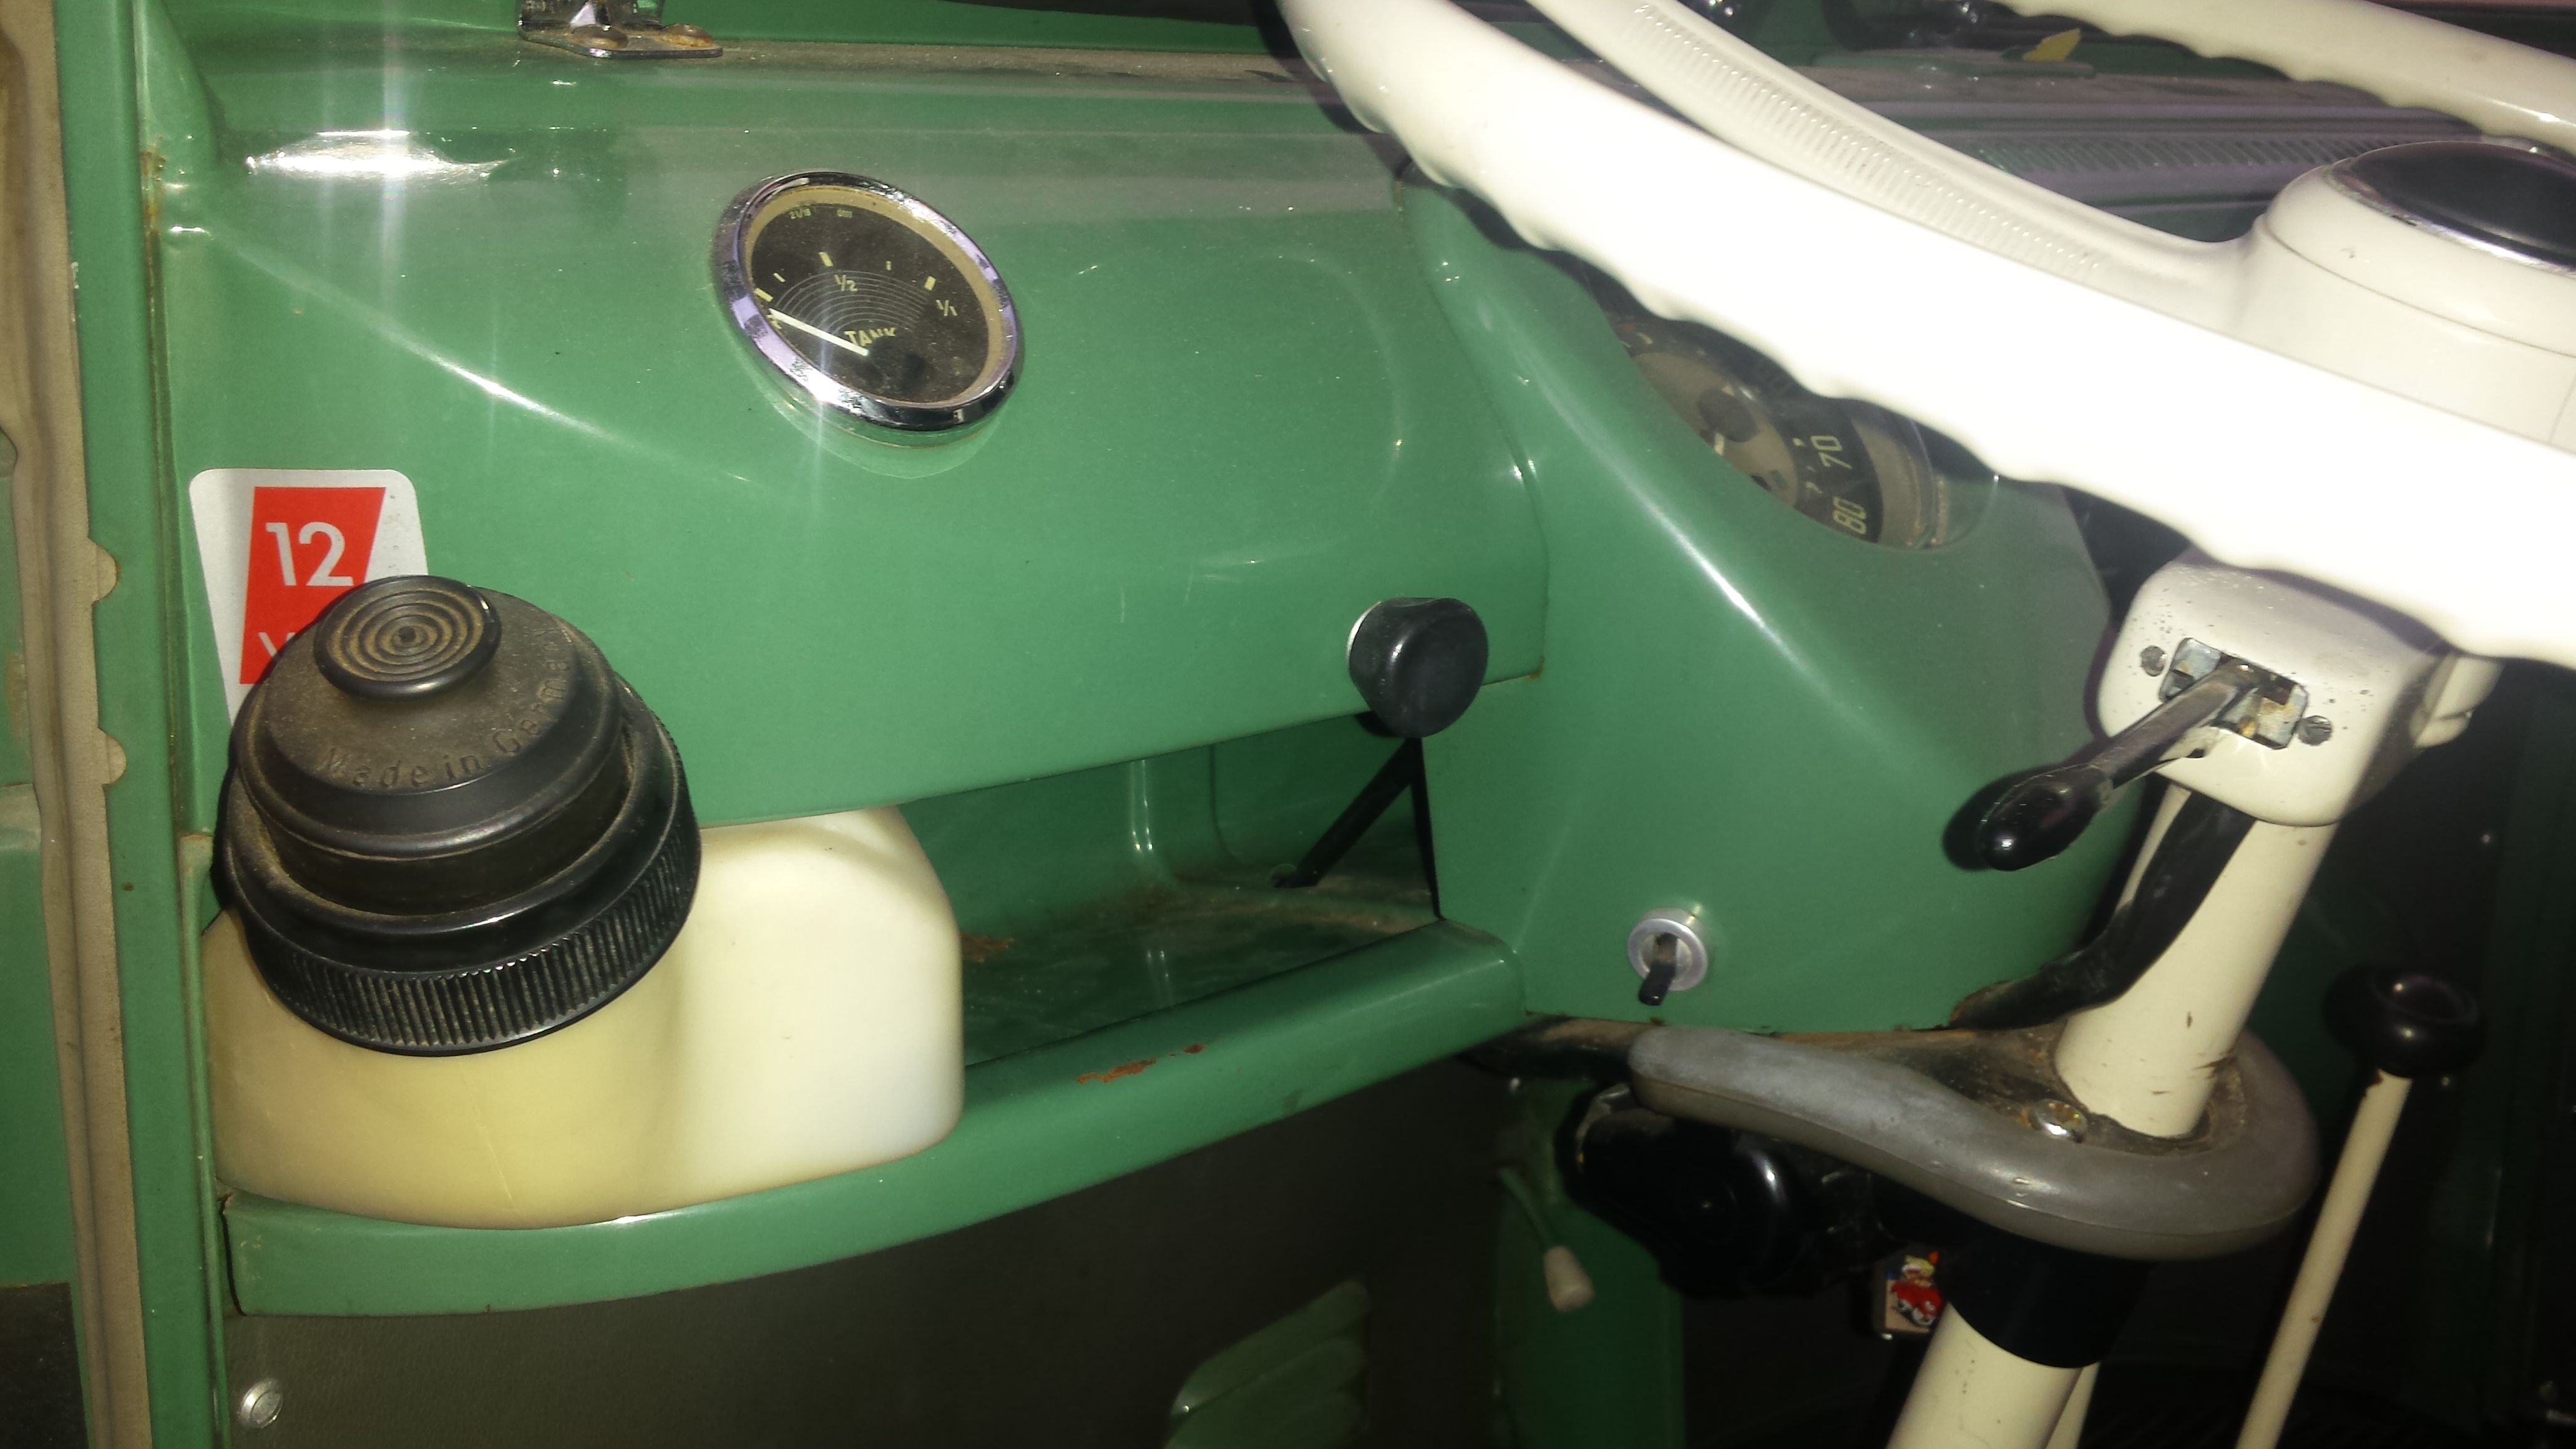
Washer bottle and drivers side view of speedo housing, gas gauge, headlight switch, and rear dome light switch. 12 volt sticker likely original. All door rubber is original and working perfectly. Don’t even think of replacing it. My 66 has original and I’ve got a whole garbage back full of it that I’ve been collecting since the stone age. It seems to last forever in the right climate. For perfect seal, shut door with a paper matchbook cover placed between rubber and door itself. Acts as a feeler gauge. Shut door with match cover in place. If it pulls out easy that’s an air leak and it’s easy to fix. Go to an auto glass shop and ask for a few feet of the material they use to seal a vent wing glass to it’s vent wing frame. It comes on a roll and it’s a couple inches wide. Some has fabric in it – like a tire. That’s best for use for actual vent glass sealing. If they only have the kind that’s rubber, that’ll work too. Just place strips of the apparent correct length behind the existing weatherstrip and repeat matchbook test. If there’s still a gap, place another layer of rubber behind it. Using this method, you can seal it so well you can hold a lit match next to the door to body interface at 50 mph and it won’t even flicker. Being a Westfalia, heating and defrost vents are only present in the front of the bus, so you can keep the front real warm if you’re traveling alone or with one other person like this – fabricate a curtian rod that conforms to the curvature of the roof that is as close to the roof as possible for the smallest gap beween curtain and roof. Make sure gap is big enought for a curtain to slide or rod. Make a curtain that goes all the way to the floor. Make sure the heater works real good. It does – promise. Set up like this you’ll be warm in Yellowstone in November. I know. I’ve been there.

View of passenger upper roof linging and fresh air vent duct. Paint on duct is excellent. Note presence of curtain track that engages with little tiny curtain track engagement dealies sewn to curtains that are still present.

Center part of windshield showing safari brackets. Original factory installation evident by the excellent, neat welding. Each safari wing nut has several fiber washers under it along with a single metal washer that’s looks like a miniature cylinder head washer from a 1967 engine – bevel on the outside “top” of the washer. They’re all there – 4. That’s the proper original washer safaris came with. I bought one or two from Charlie Hamill long ago. He said to me “You’re the only one who’s ever asked”.
Another shot of the vent duct. Paint excellent.
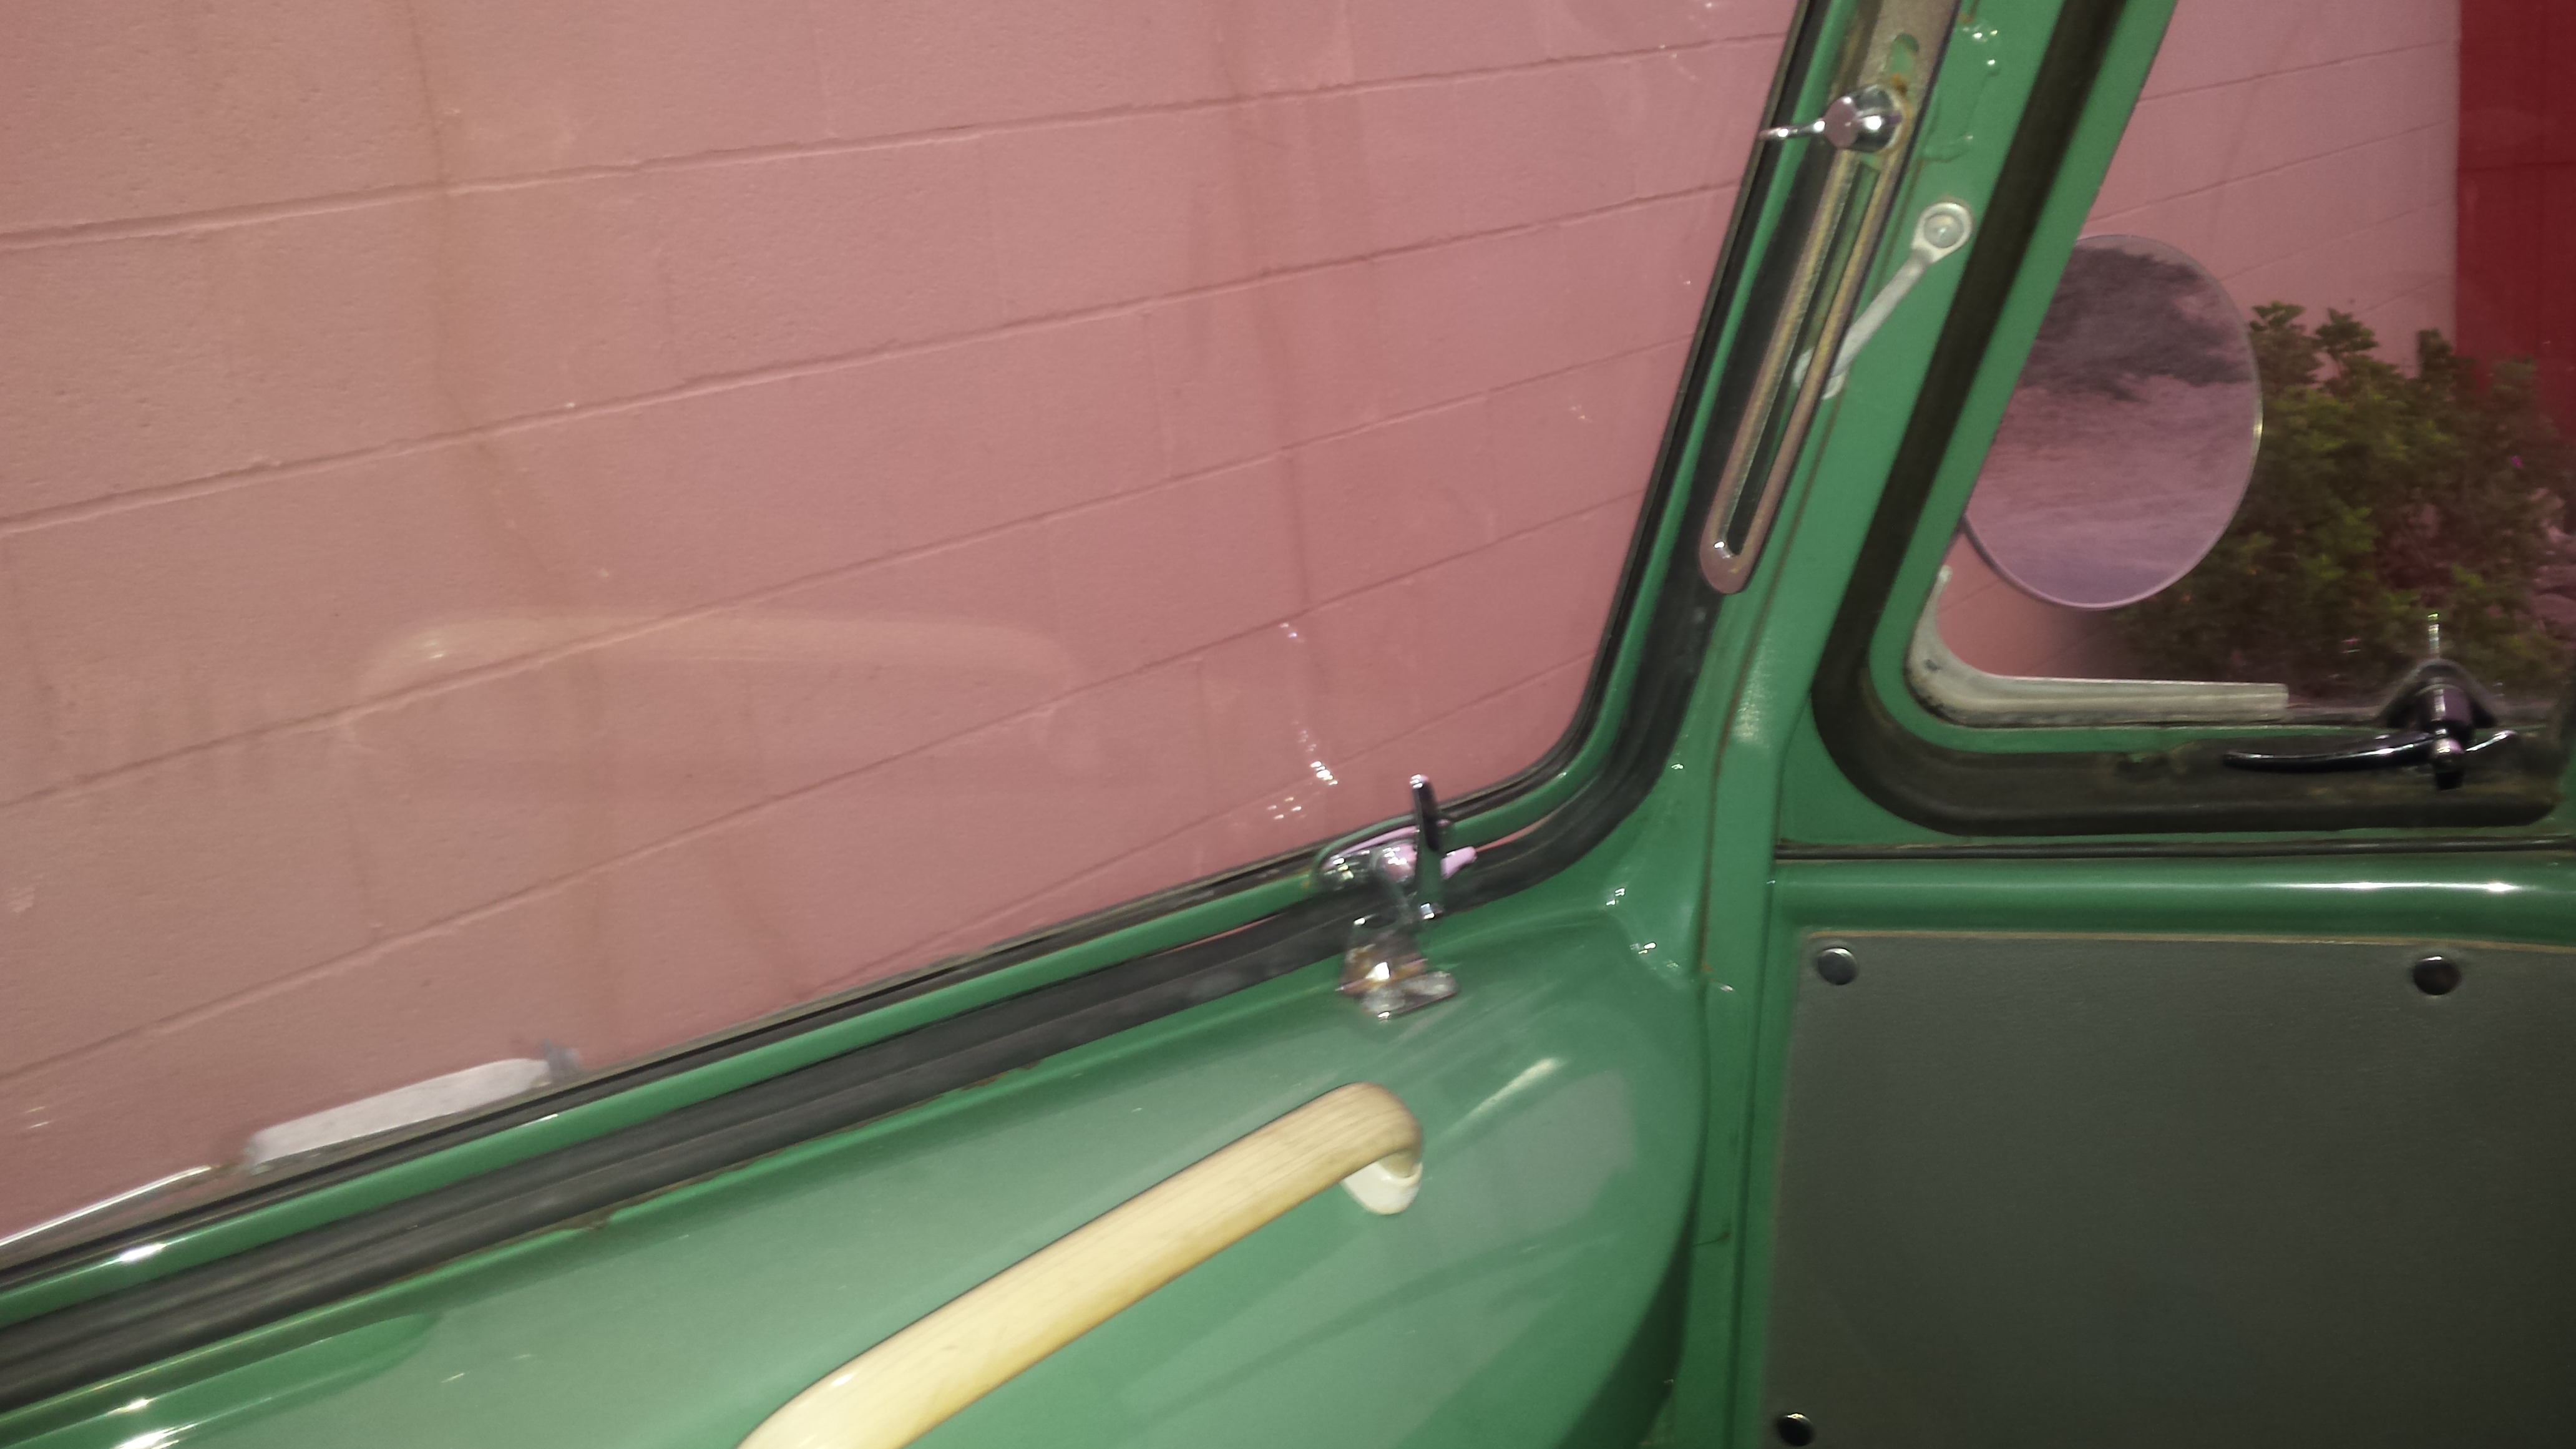
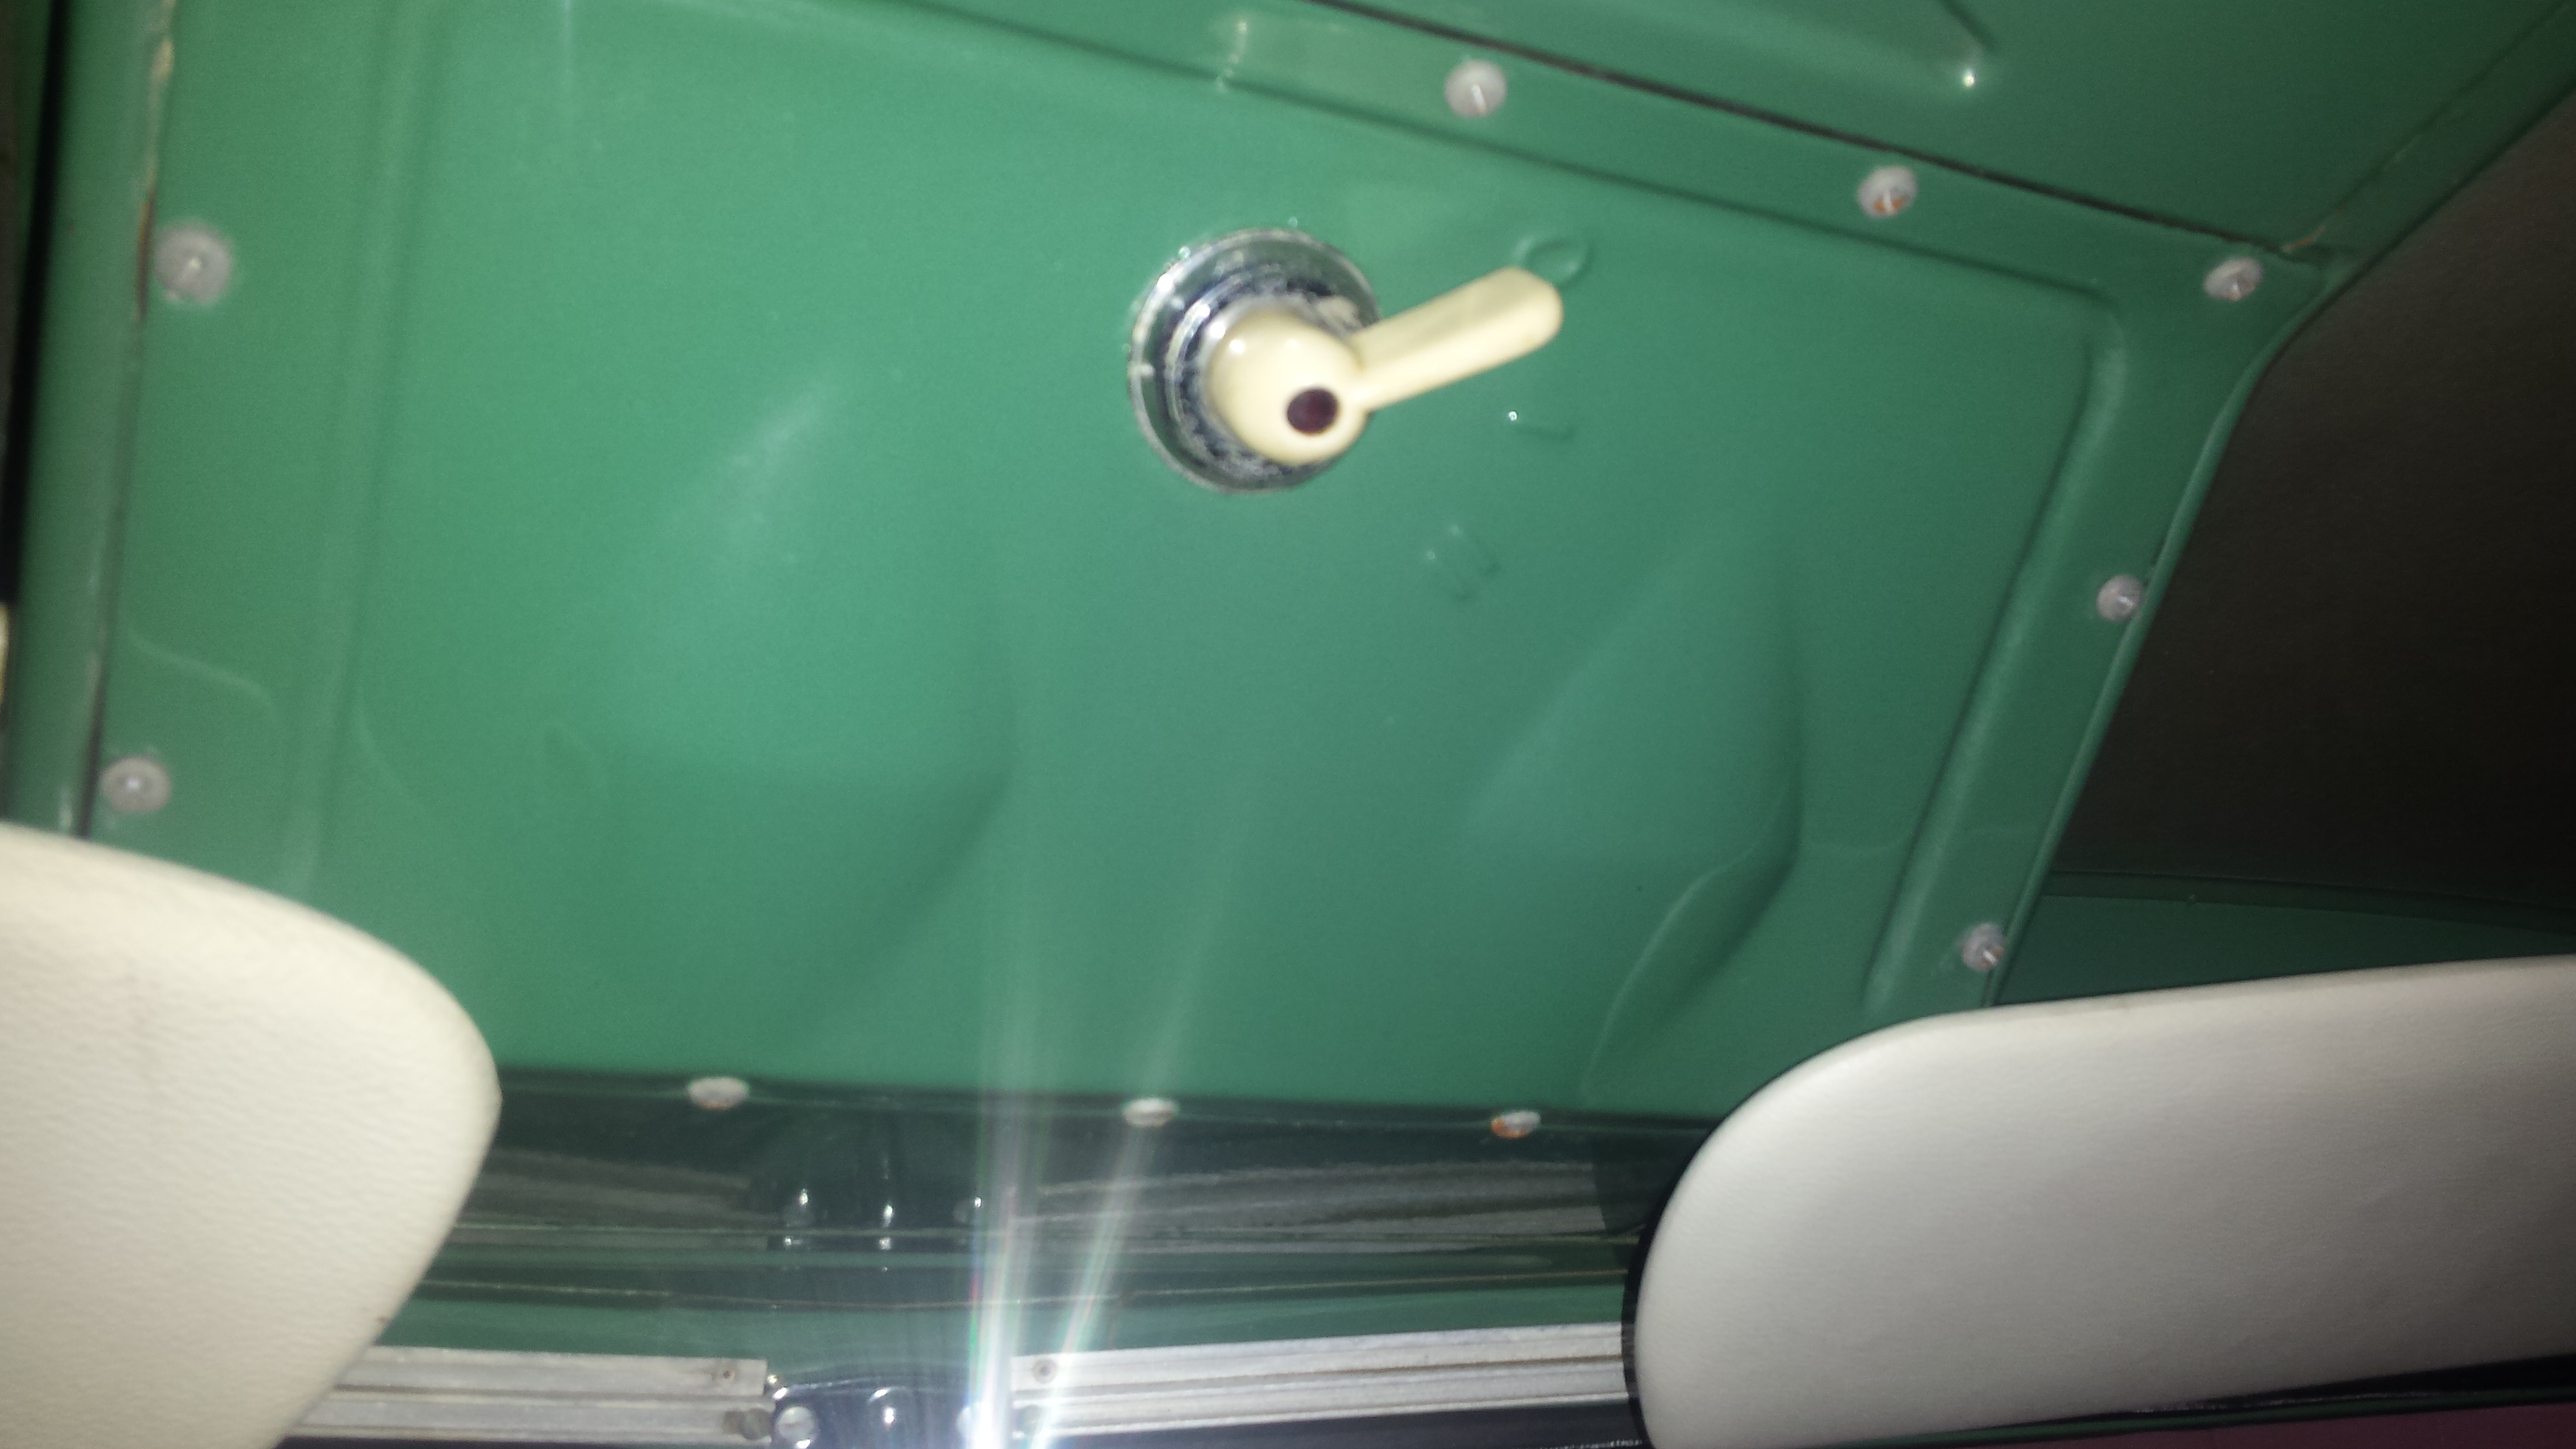
View along passenger side dash. Note original black vent wing latches.
Driver’s door panel. Original pull handle and hardware – original self tapping screws (they engage with speed nuts in door – all totally original. Proper finishing washers there too. Unlike a typical finishing washer, these are pretty long and protrude nearly all the way through the handle itself. They’re all there. Pull handles y0u see on most buses today are repro. Screw hole meant for screw only and use typical finishing washer you can pick up in Home Depot. Bus is very original.
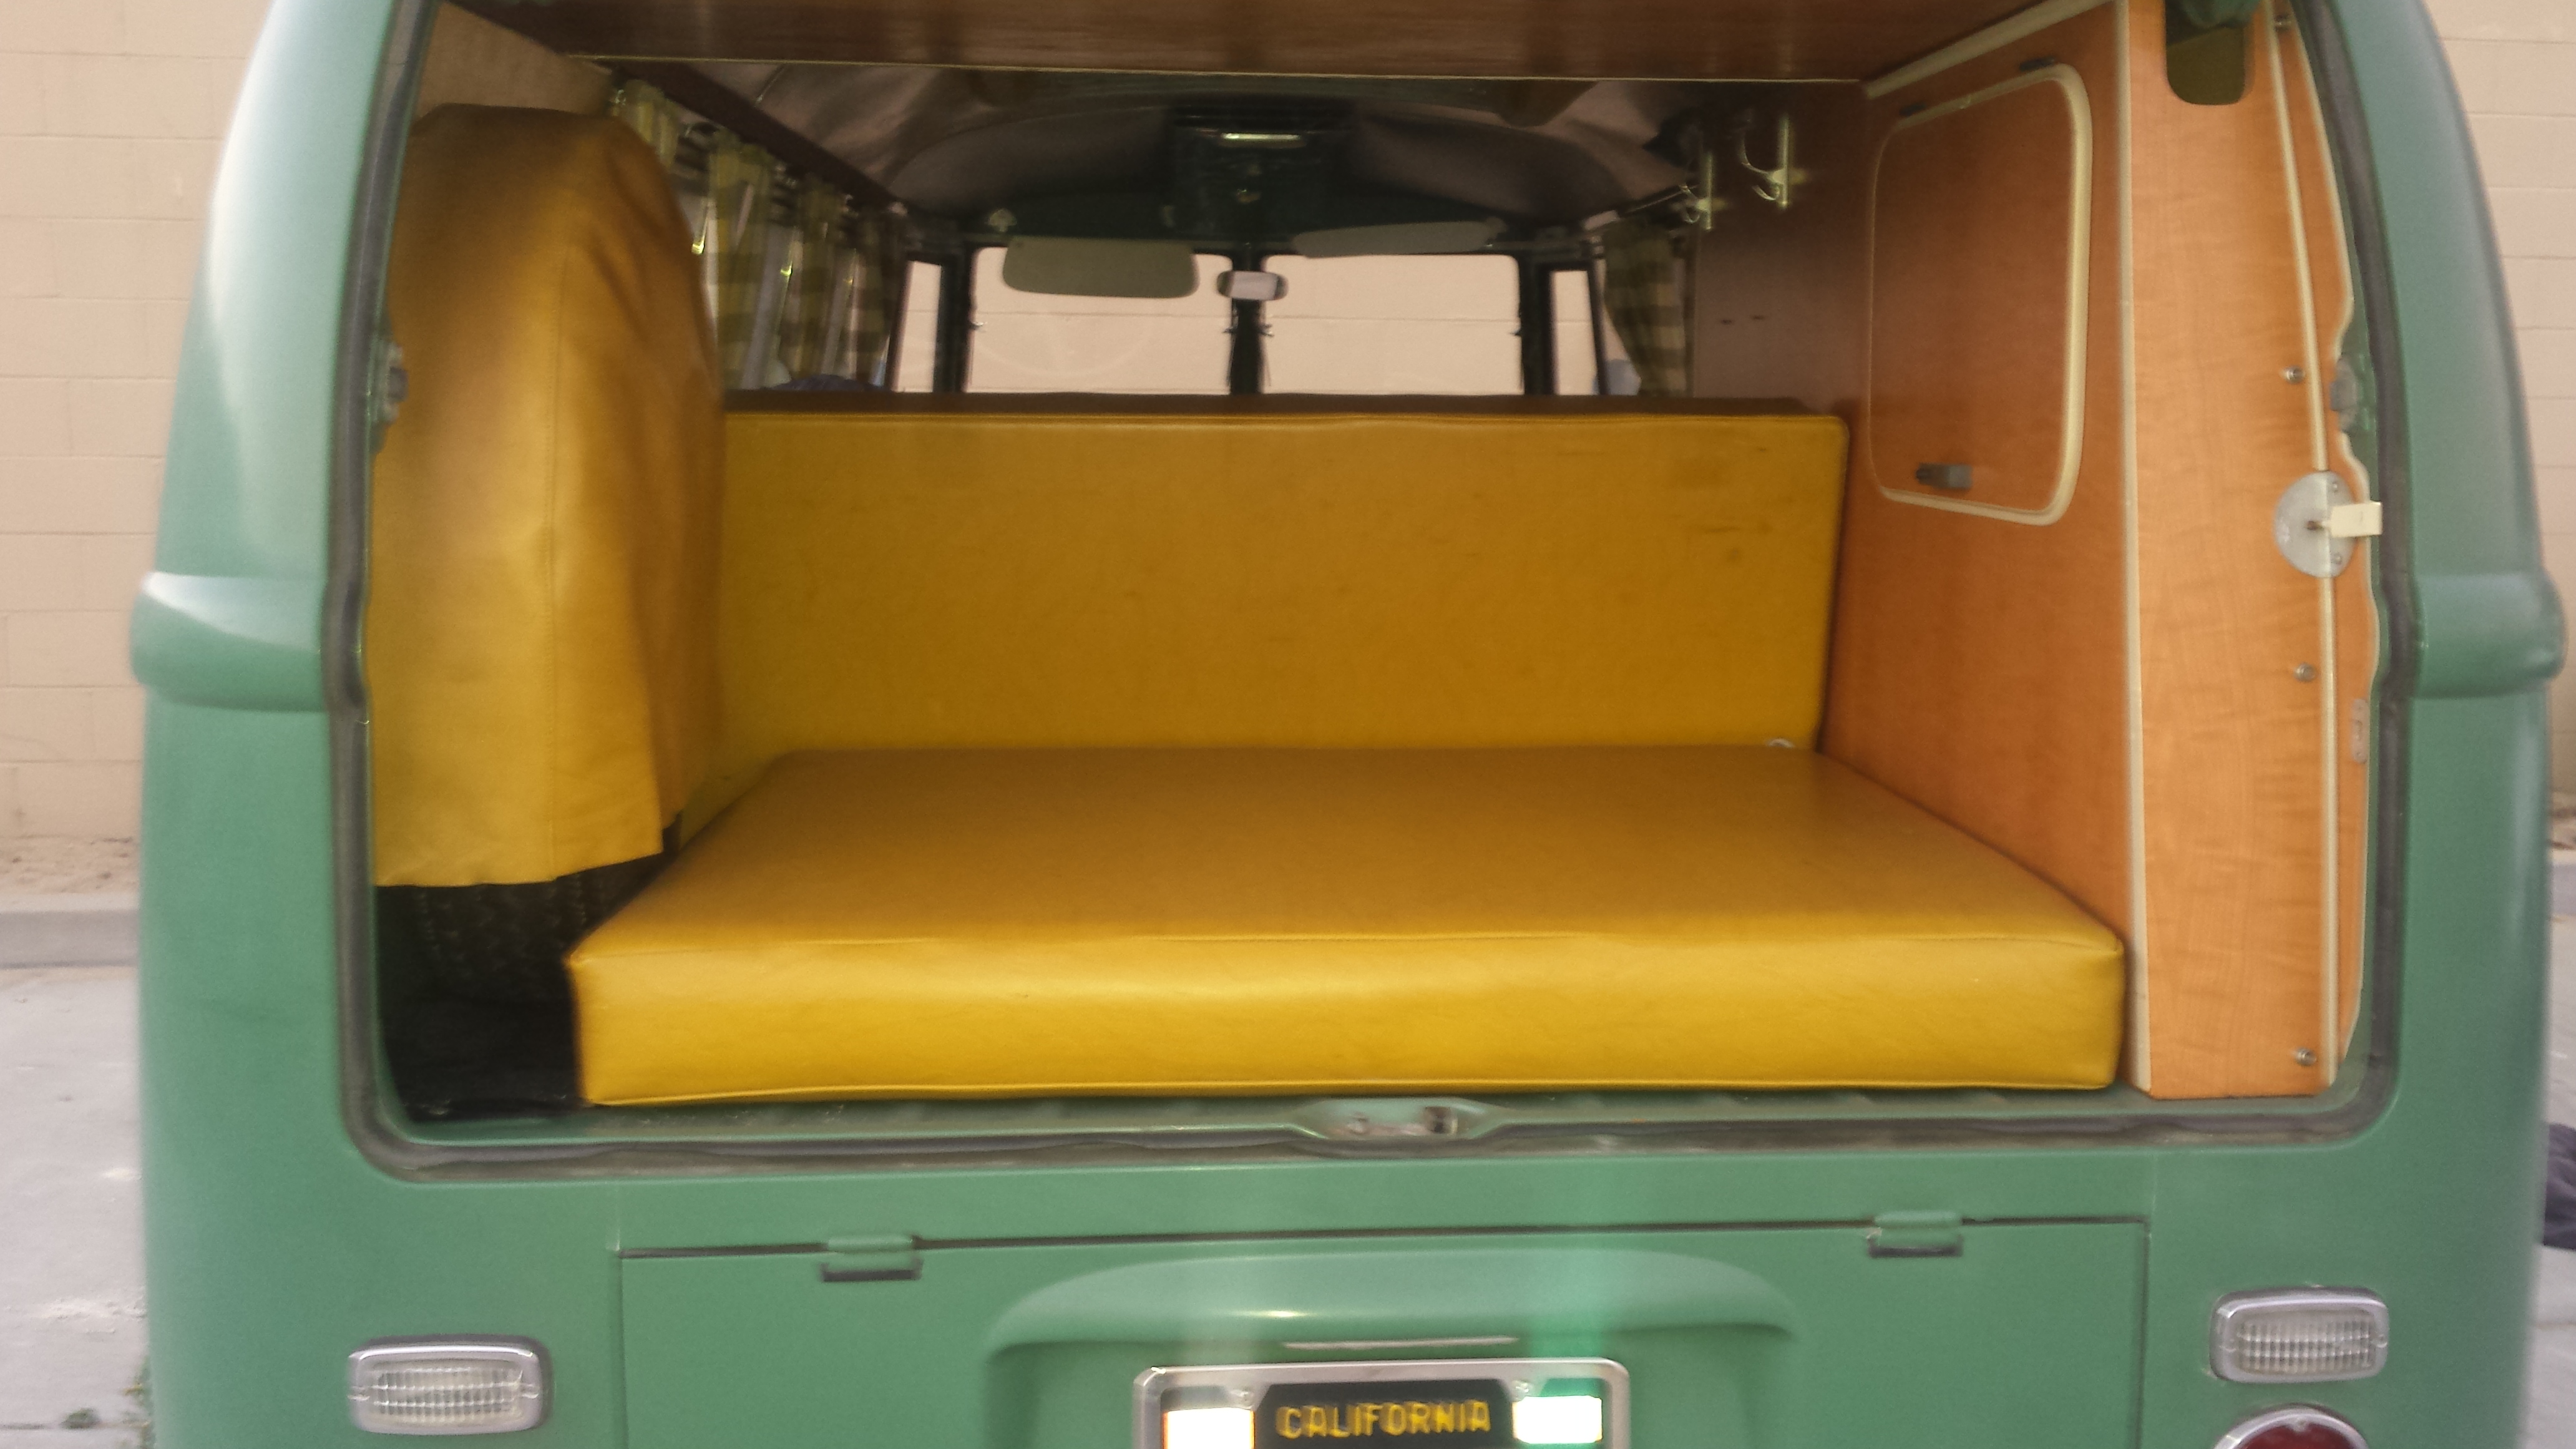
Another shot of the rear. Sleeping bag is mine. Was in my bug at the shop so I tossed it into the fan to get it outta the way. No place in the shop I can put it that’s really clean other than this bus.
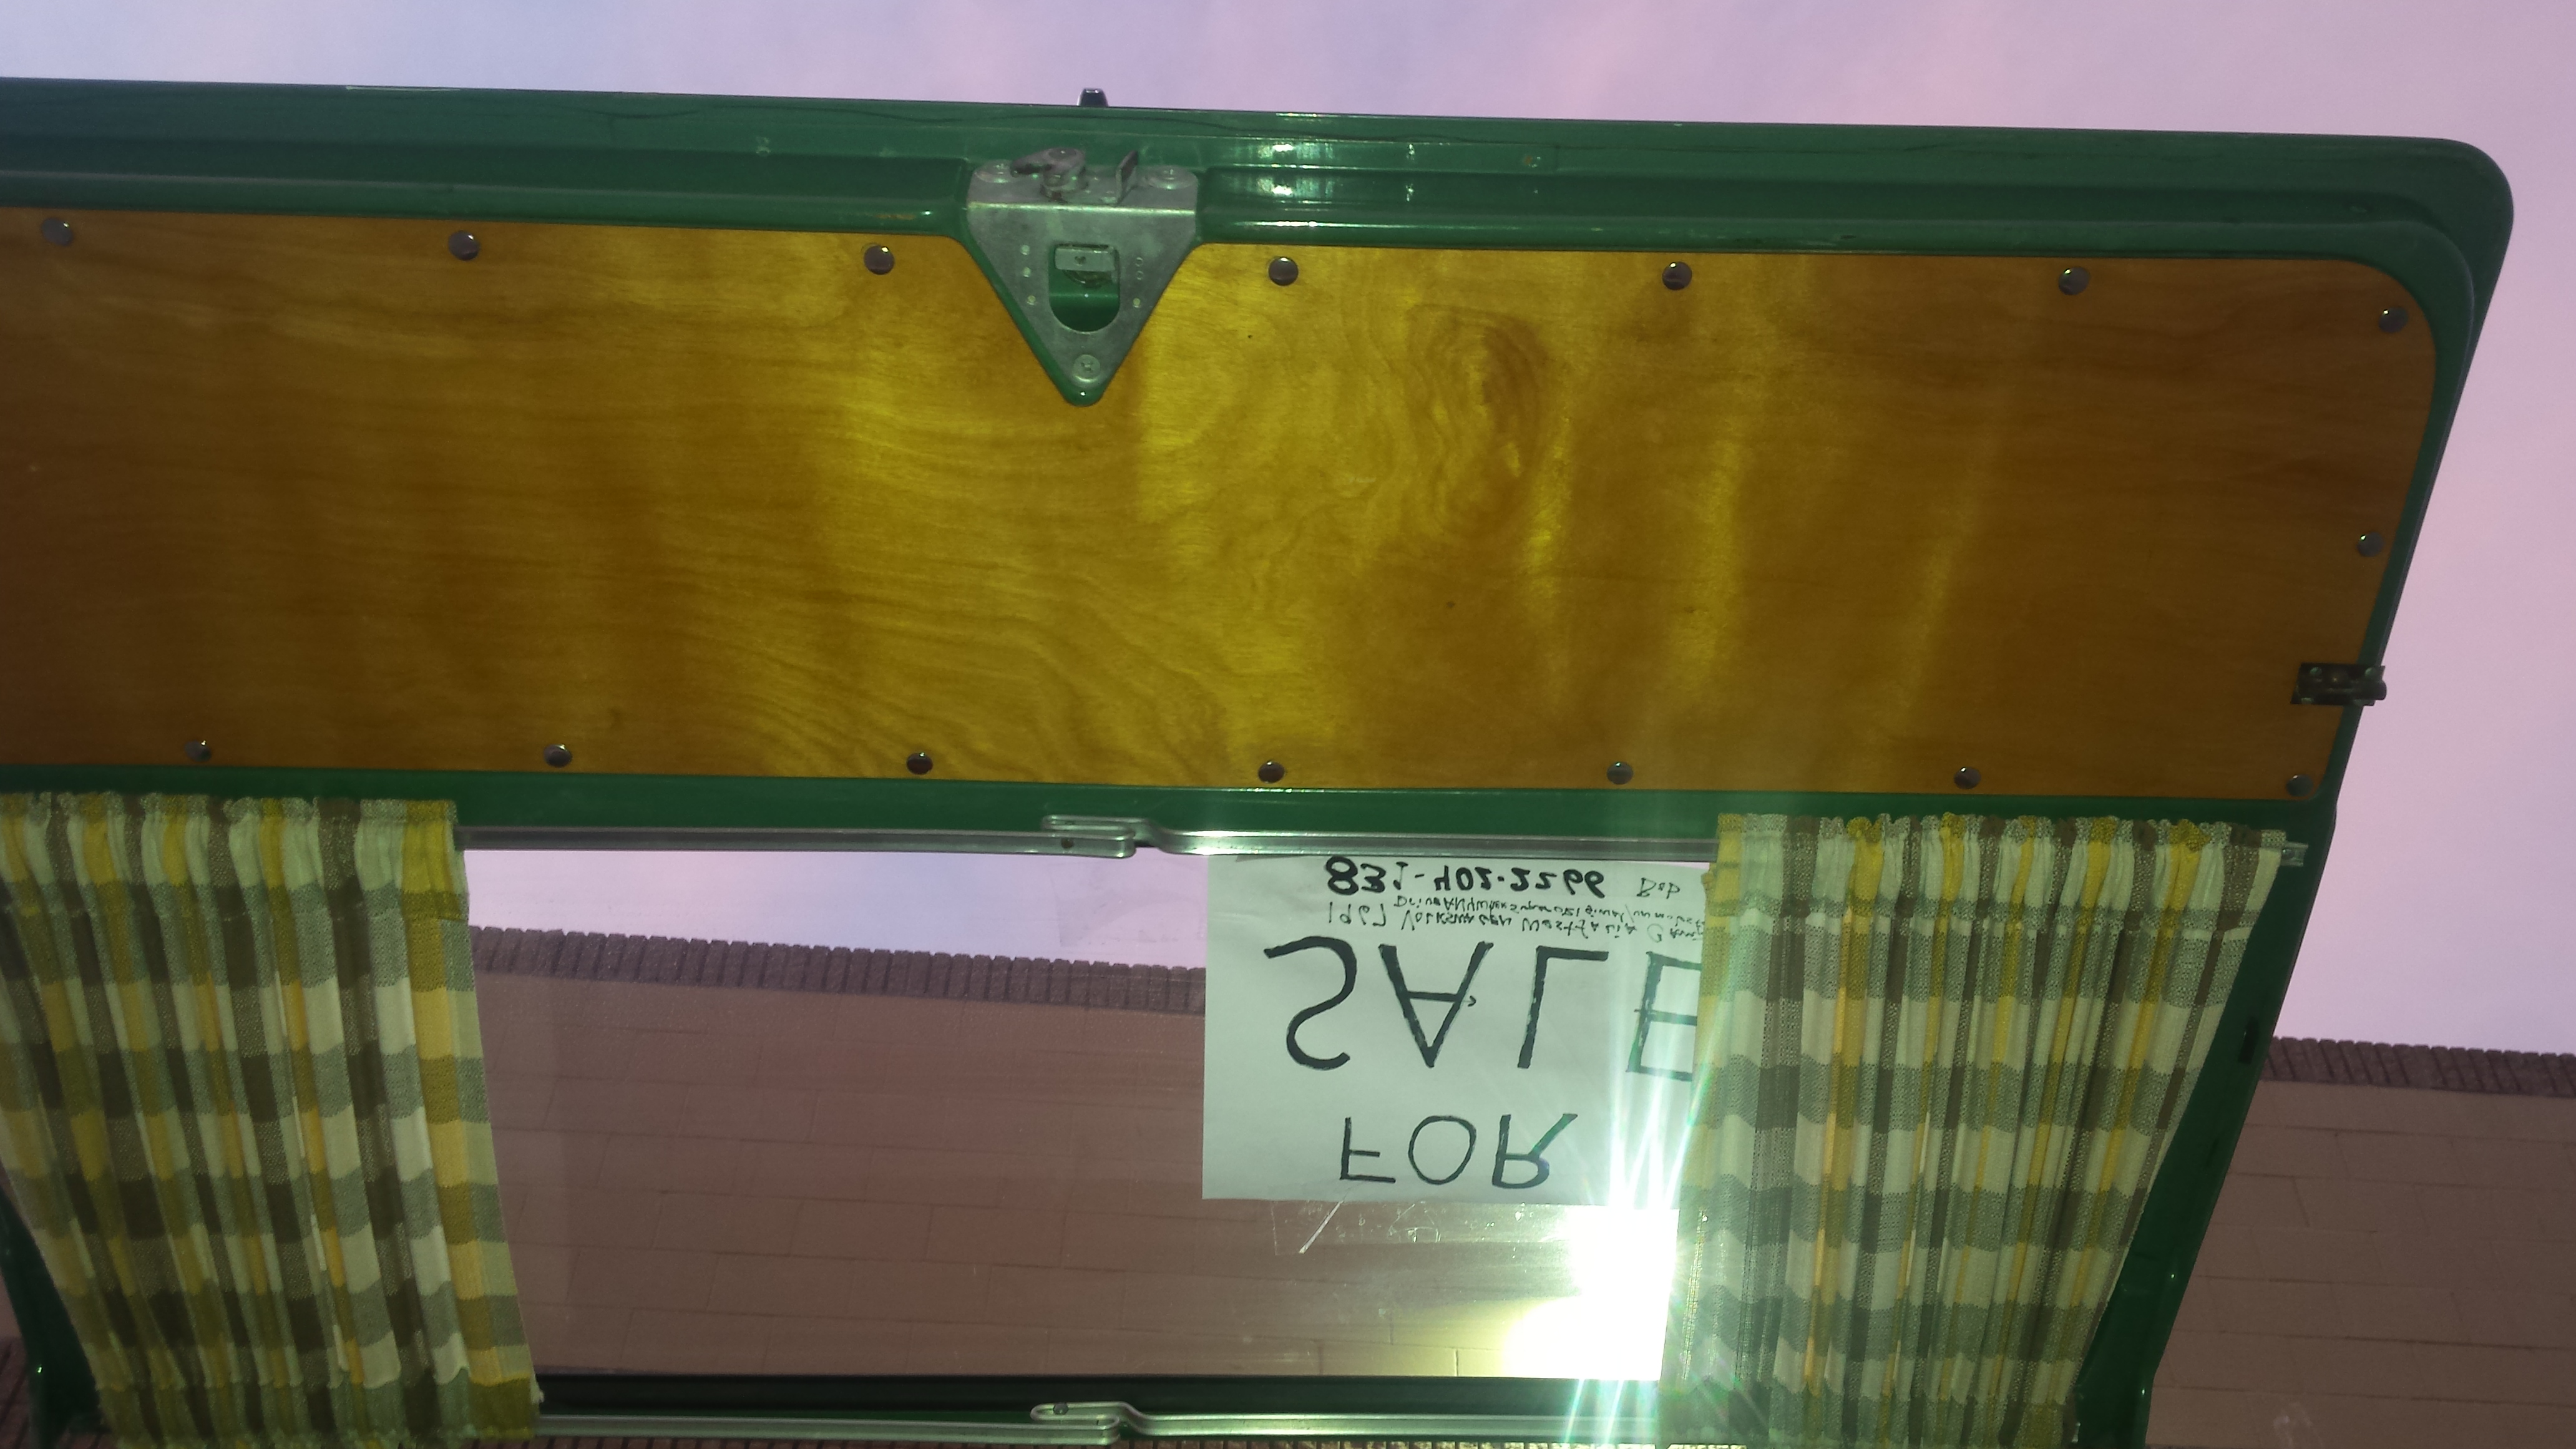
Looking up at back hatch above engine. Wood in very nice shape.
Ambulance fan. Screws are original. Possibly bus came with this originally. Also possible Ross found one with proper color plate. He had this bus in 1985 and likely before that. Back then, finding the proper original plate with perfect original plate was probably not that hard. These days, one may never find one. Regardless, paint looks like real Volkswagen paint, no way it was painted. Fans seem to turn slow. Perhaps like my bathroom fan in my house if they’re left on for a few minutes they’s speed up. Also, first position is fast and second position is slow. Maybe it’s supposed to be that way but I’m not sure. Wires may be crossed. But the main thing is that slow turning is evidence that it’s likely a 12 volt fan motor rather than a six volt. That means it’s the proper one year only part. I can imagine there’s quite a few 12 volt buses out there with 6 volt fans. They’d turn real fast with 12 volts. Like a 6 volt starter in a 12 volt car – slow but effective flywheel killer.

Here’s the cover for the hole created by removal of the spare tire well for fitmet of the Stewart Warner heater. Looks like it came with a kit rather than made out of random scarp. Note screw spacing. I think even the edges have paint. Likely powder paint. You can see the tire sitting on it.
This is what it looks like from inside the engine compartment with camera on my phone pointing straight up from aux battery. Someone skilled c0uld replace this with a used well and there’d be little evidence it ever happened. Whoever did it didn’t cut all the way to the outside or to the channel at the engine side so there’s enough overhang to drp another one over it provided there was a flange all the way around. Or one could fix the gas heater and put it back in. Living without an aux battery is not a hardship.

This is the area between the drivers side of the engine and the area where auxilliary battery resides. The two holes next to the engine are for the intake and exhaust of the hearter. The hole at the front leads to the oulet at the folding bed. The wiring for the aux battery crosses the picture. Wires are in heat shrink tubing.
I have the heater in a box at my shop. The burner is rusted out. By that I mean the canister where the combustion actually takes place. Like an old Wedgewood stove. Probably easy to fabricate. It’s basically a large round can. Fuel pump bad. Parts available? There used to be a guy in Colorado.
But both Webasto and the other guys still make gas heaters. They’re remote control now. Wake up in your down bag in a blizzard, reach for the remote and turn on the heat. Crawl outta the sleeping bag in five minutes to tropical temperatures while the storm rages. $1500 to $2000 last time I checked. I wouldnt be surprised if there’s a dealer in your area. They go under the bus I think. Safer re exhaust fumes.
Me, I’d opt for a new one if funds would allow. Close the holes next to the engine and route the heat into the bus via the old Stewart Warner vent.
Here’s the Stewart Warner vent. Installed with care. Cover rotates to increase, decrease or turn off heat. Those are deluxe trim rings and a dash basket. Bus was in a photo shoot for an advertisement about a year ago and I almost put the trim rings on for them but dedided not to. Basket was in bus but never used. Fits onto grill in dash. Here’s a ad pic sent to me by the coordinator (producer I think she was) of the whole ad effort. This is on a utility road between Carmel River Lagoon and Point Lobos. No one can drive their that’s not authorized but they paid a lot of money for the permit so I had the honor of driving it to where they needed it. Point Lobos in the background leads off and out of the photo to the right. Ad was for a small clothing company with outlets in Alabama or Georgia – somewhere around there. Three or four girls. They traveled a long way for this. I got 600 for one day of letting them use the van but they only used itfor about 2 hours. I fell asleep against a fence on the left. Doris Day’s house is on the left out of the pic. Coulda been her fence.

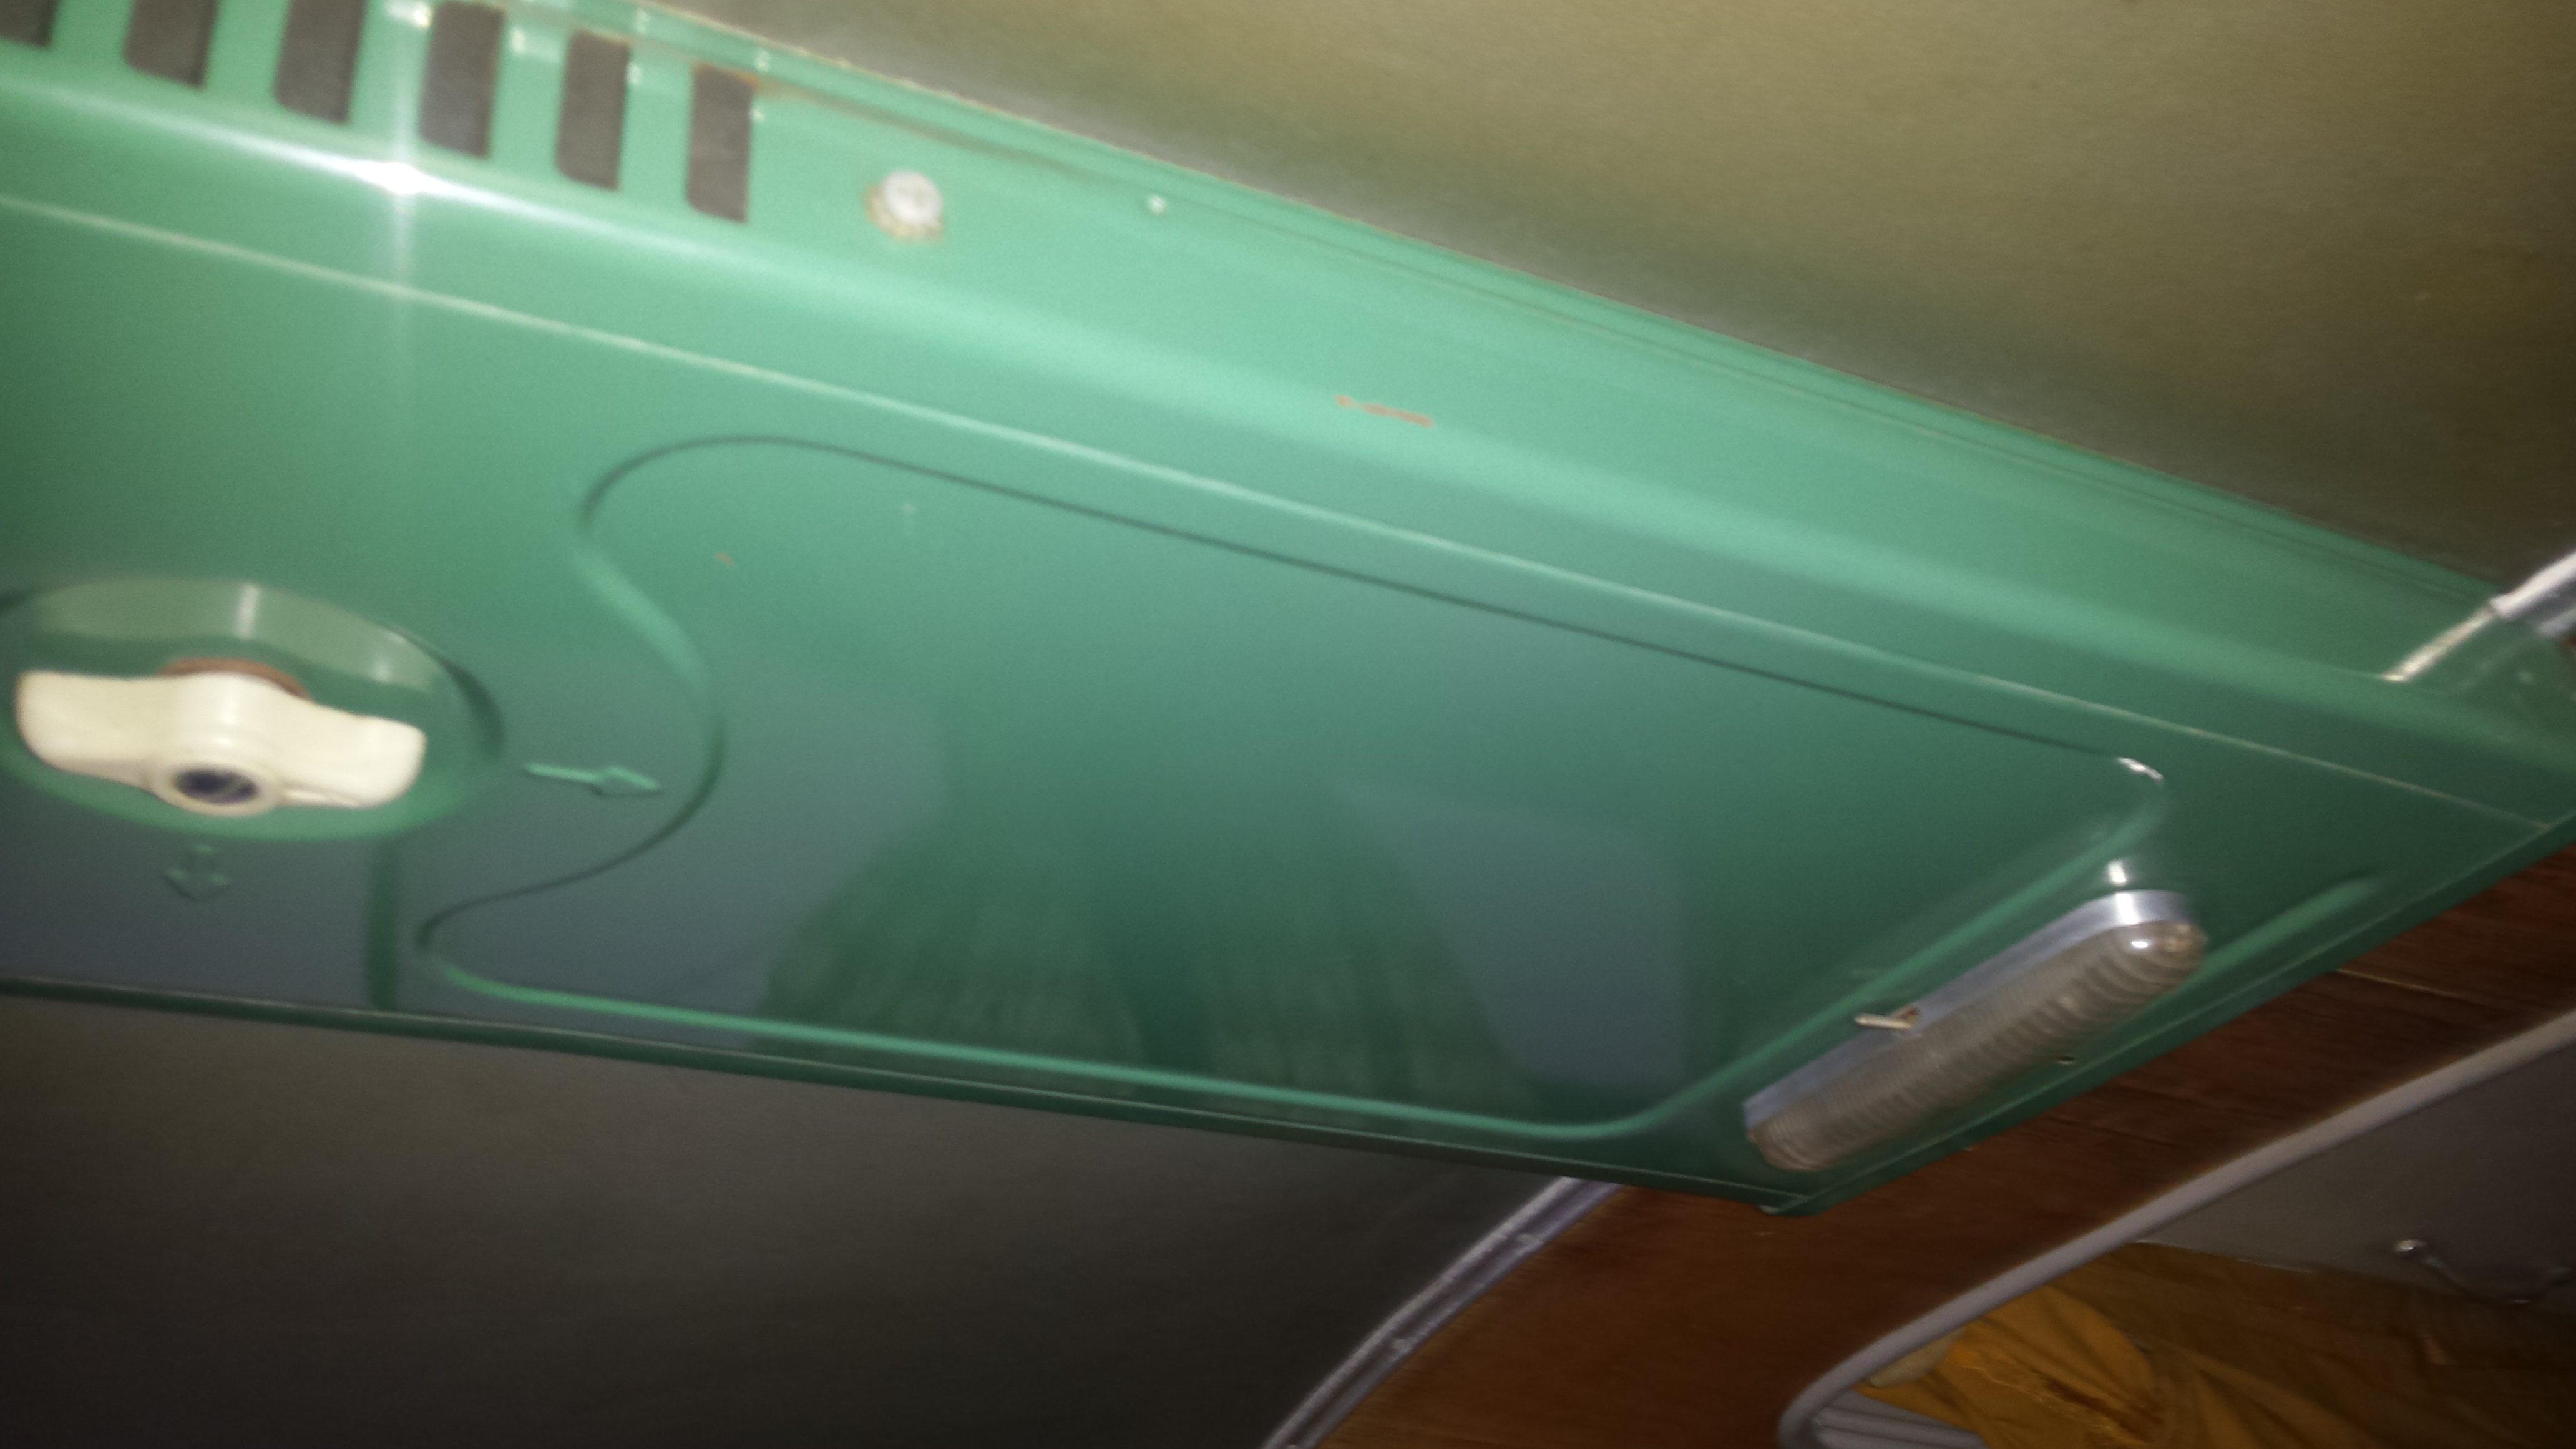
And here’s the only body damage this vehicle has ever incurred …
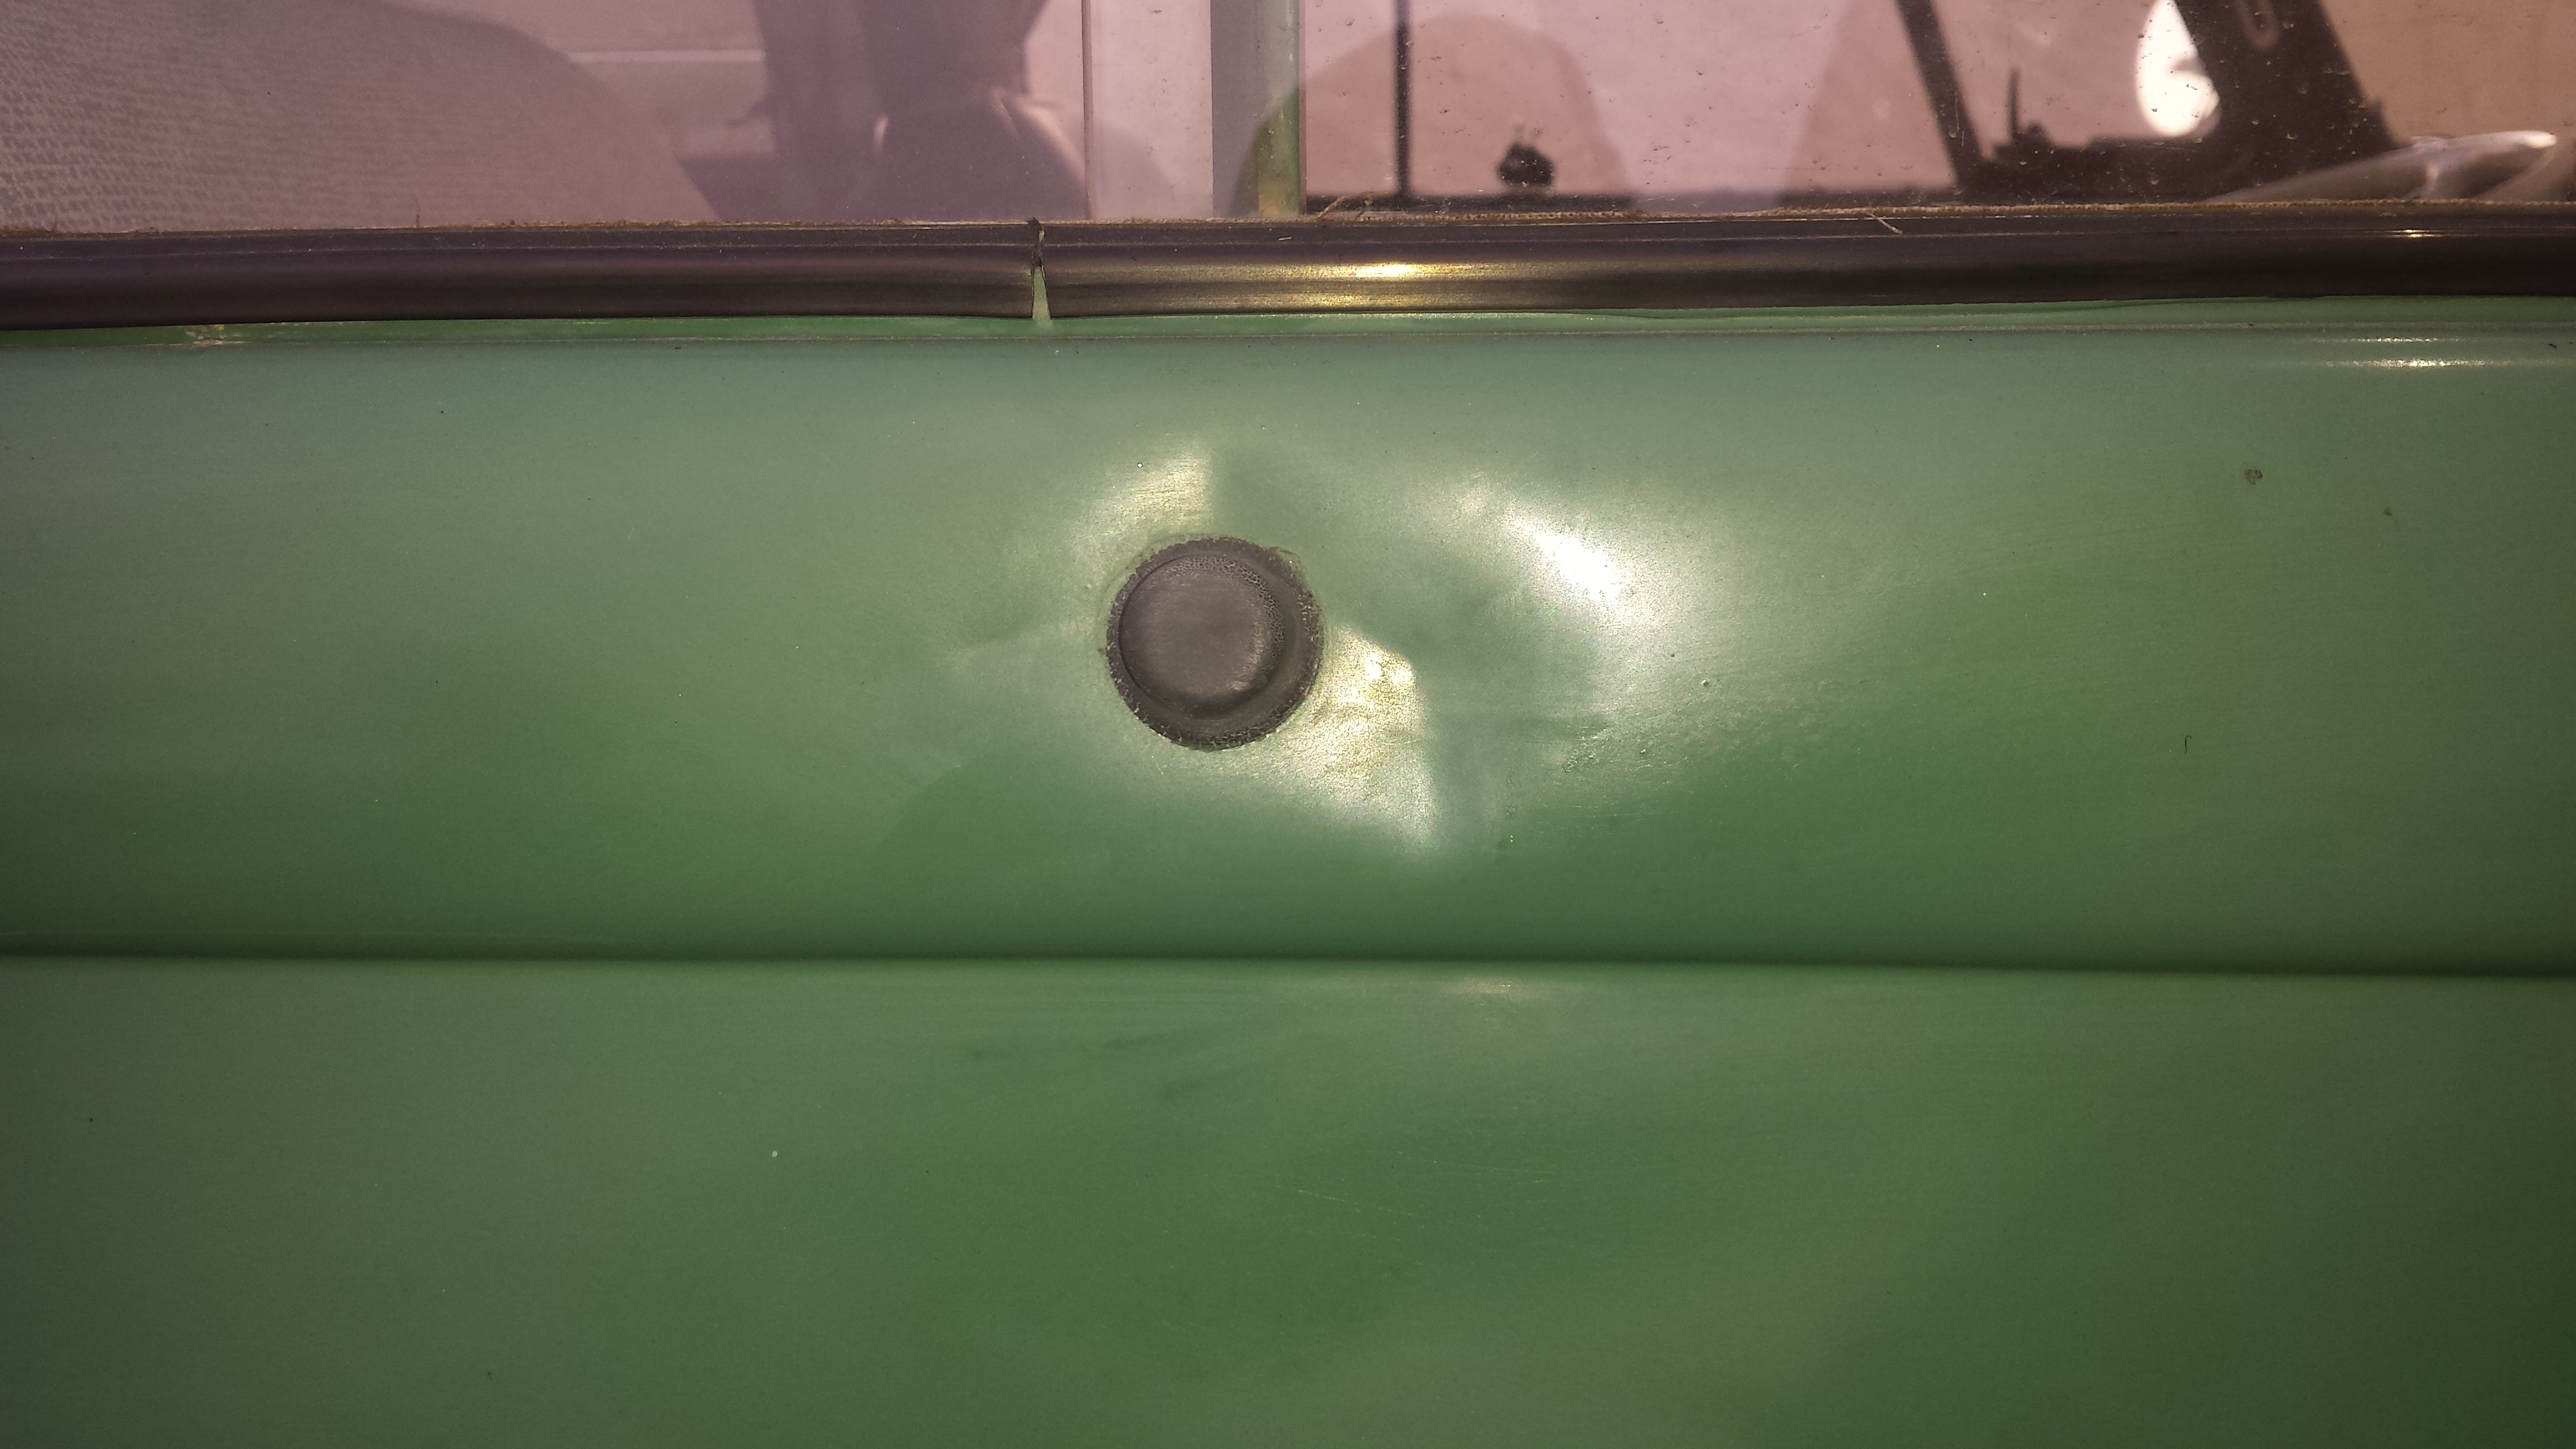
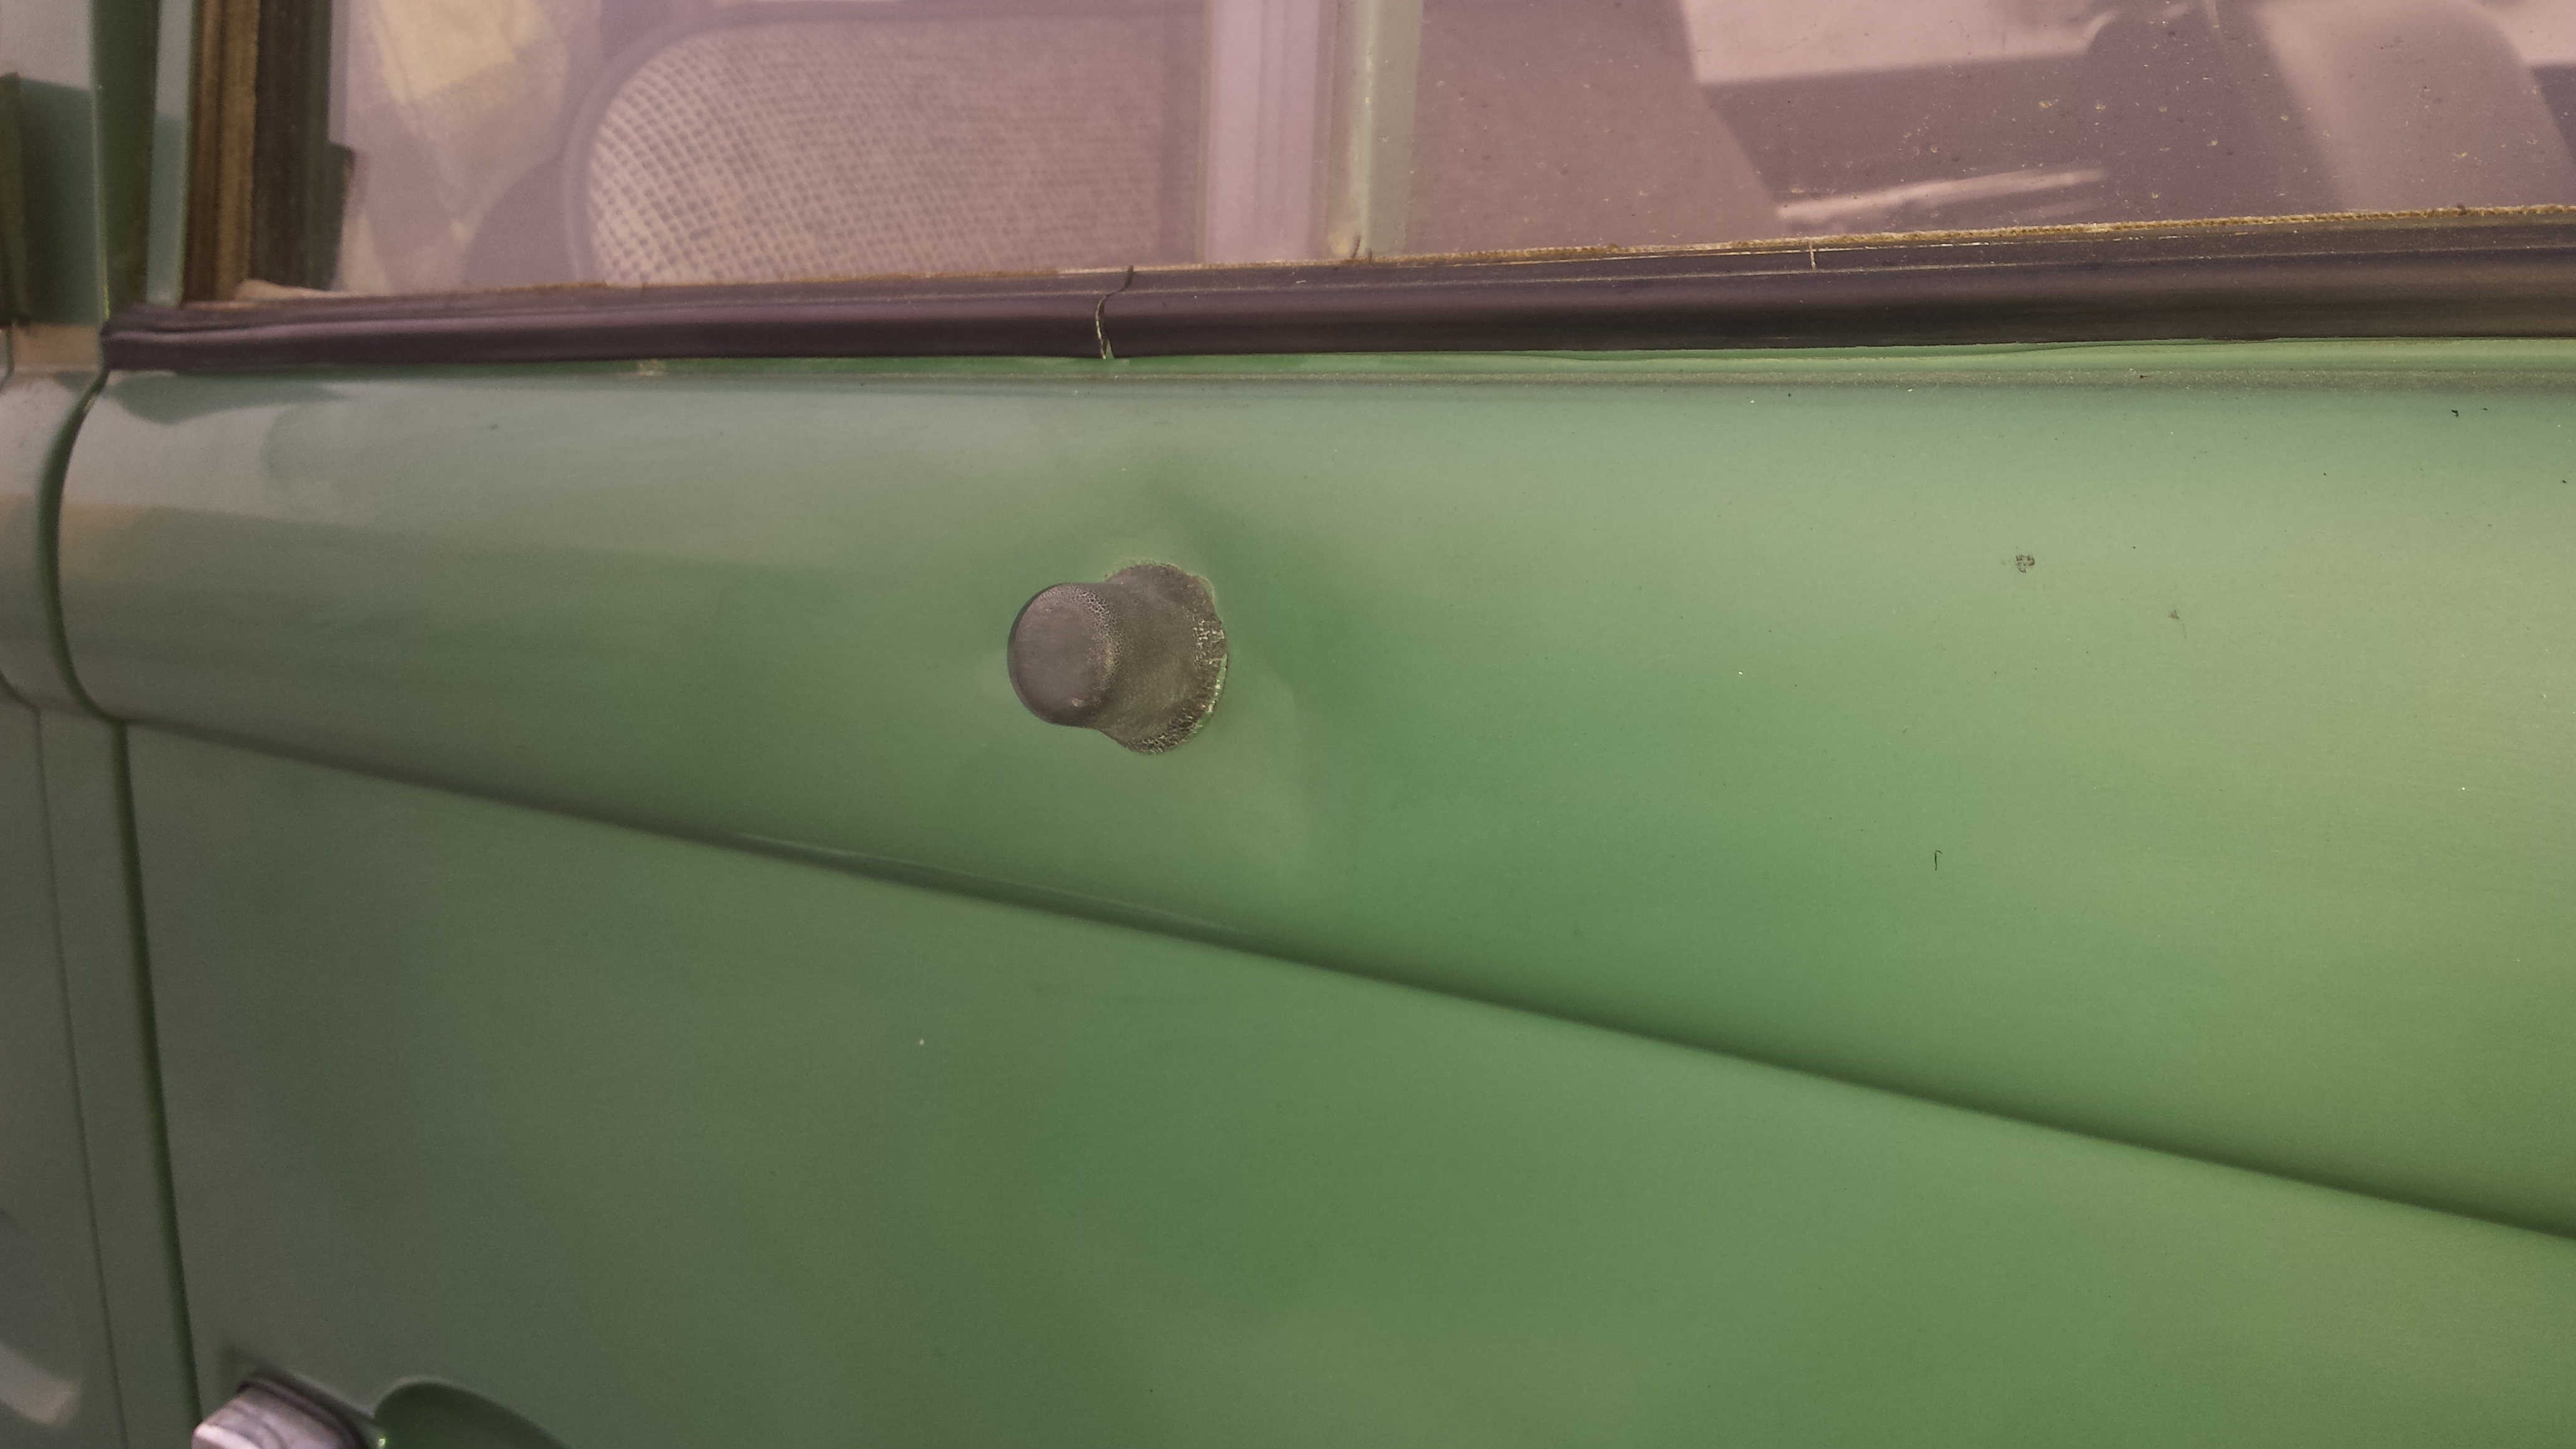
It’s on the passenger door and caused when the front side door retainer straip broke and allowed it to swing into the passenger door. The strap’s there now.
This entry was posted on Monday, October 2nd, 2017 at 8:49 am
You can follow any responses to this entry through the RSS 2.0 feed.
